Let’s walk through how to set up Kimi K2.6 on TypingMind so you can compare it in your own coding workflows.
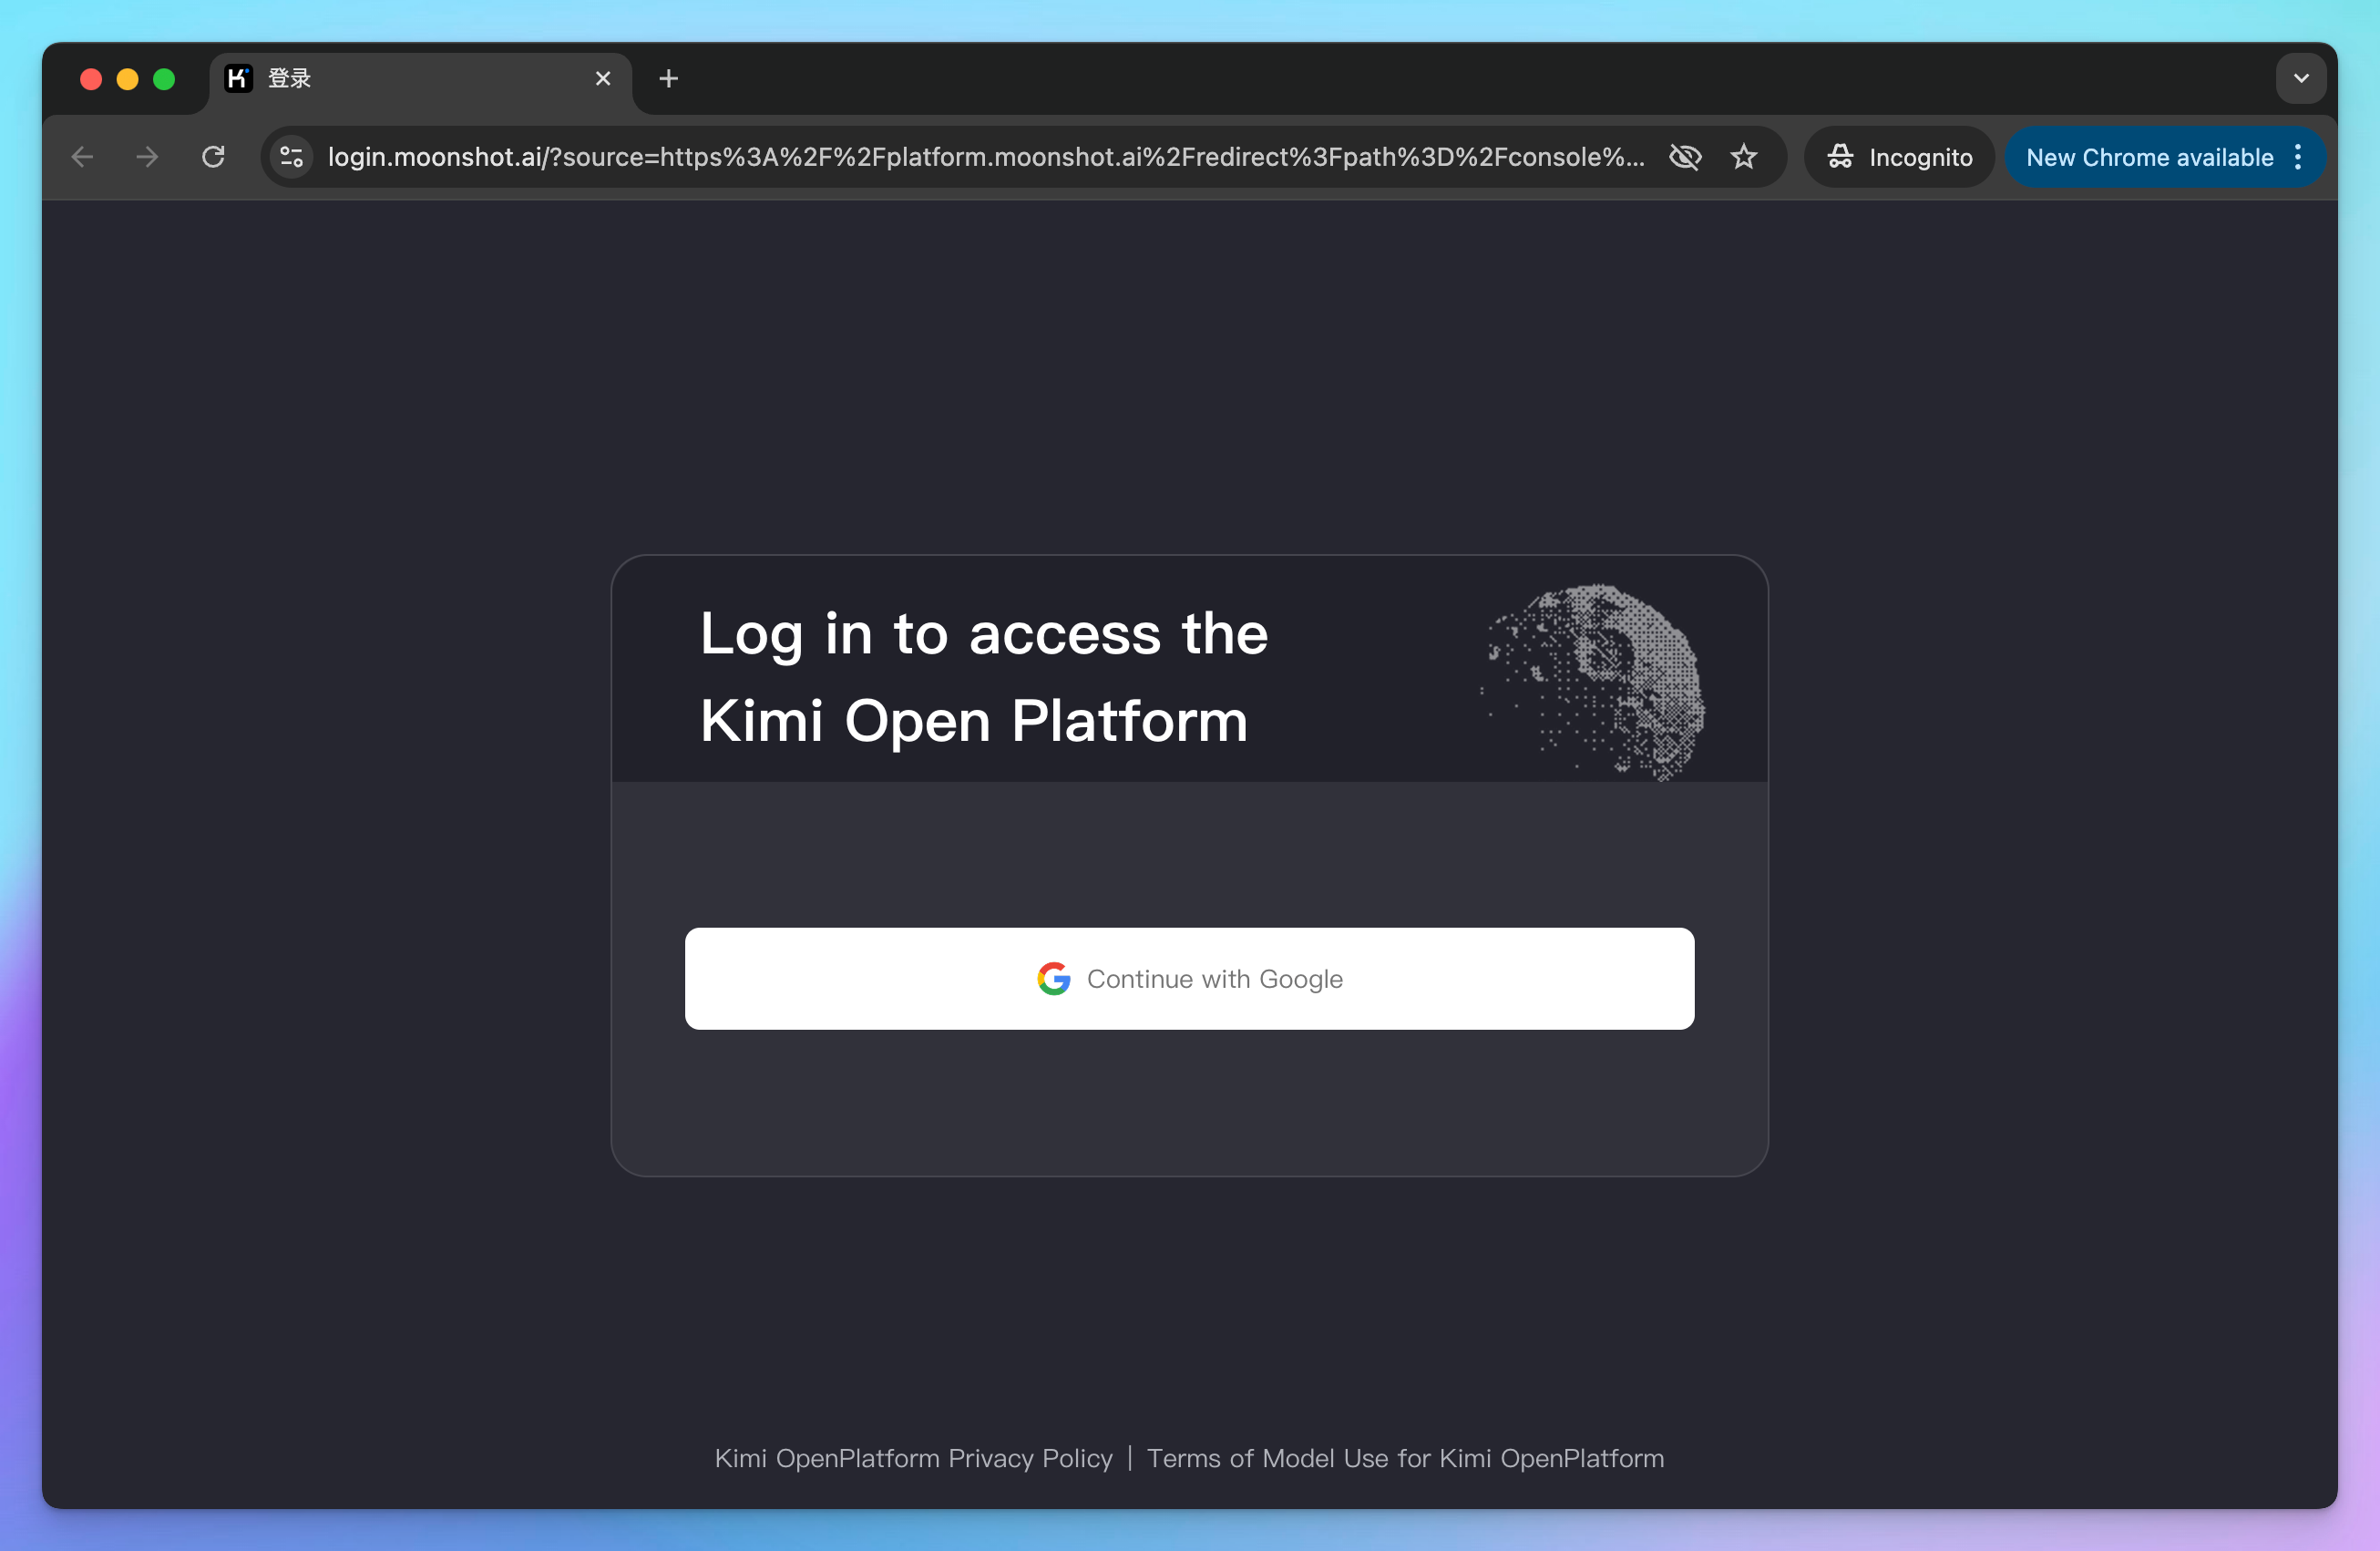
Step 1: Create a Moonshot API account
Go to https://platform.moonshot.ai/console and create a new Moonshot API account.
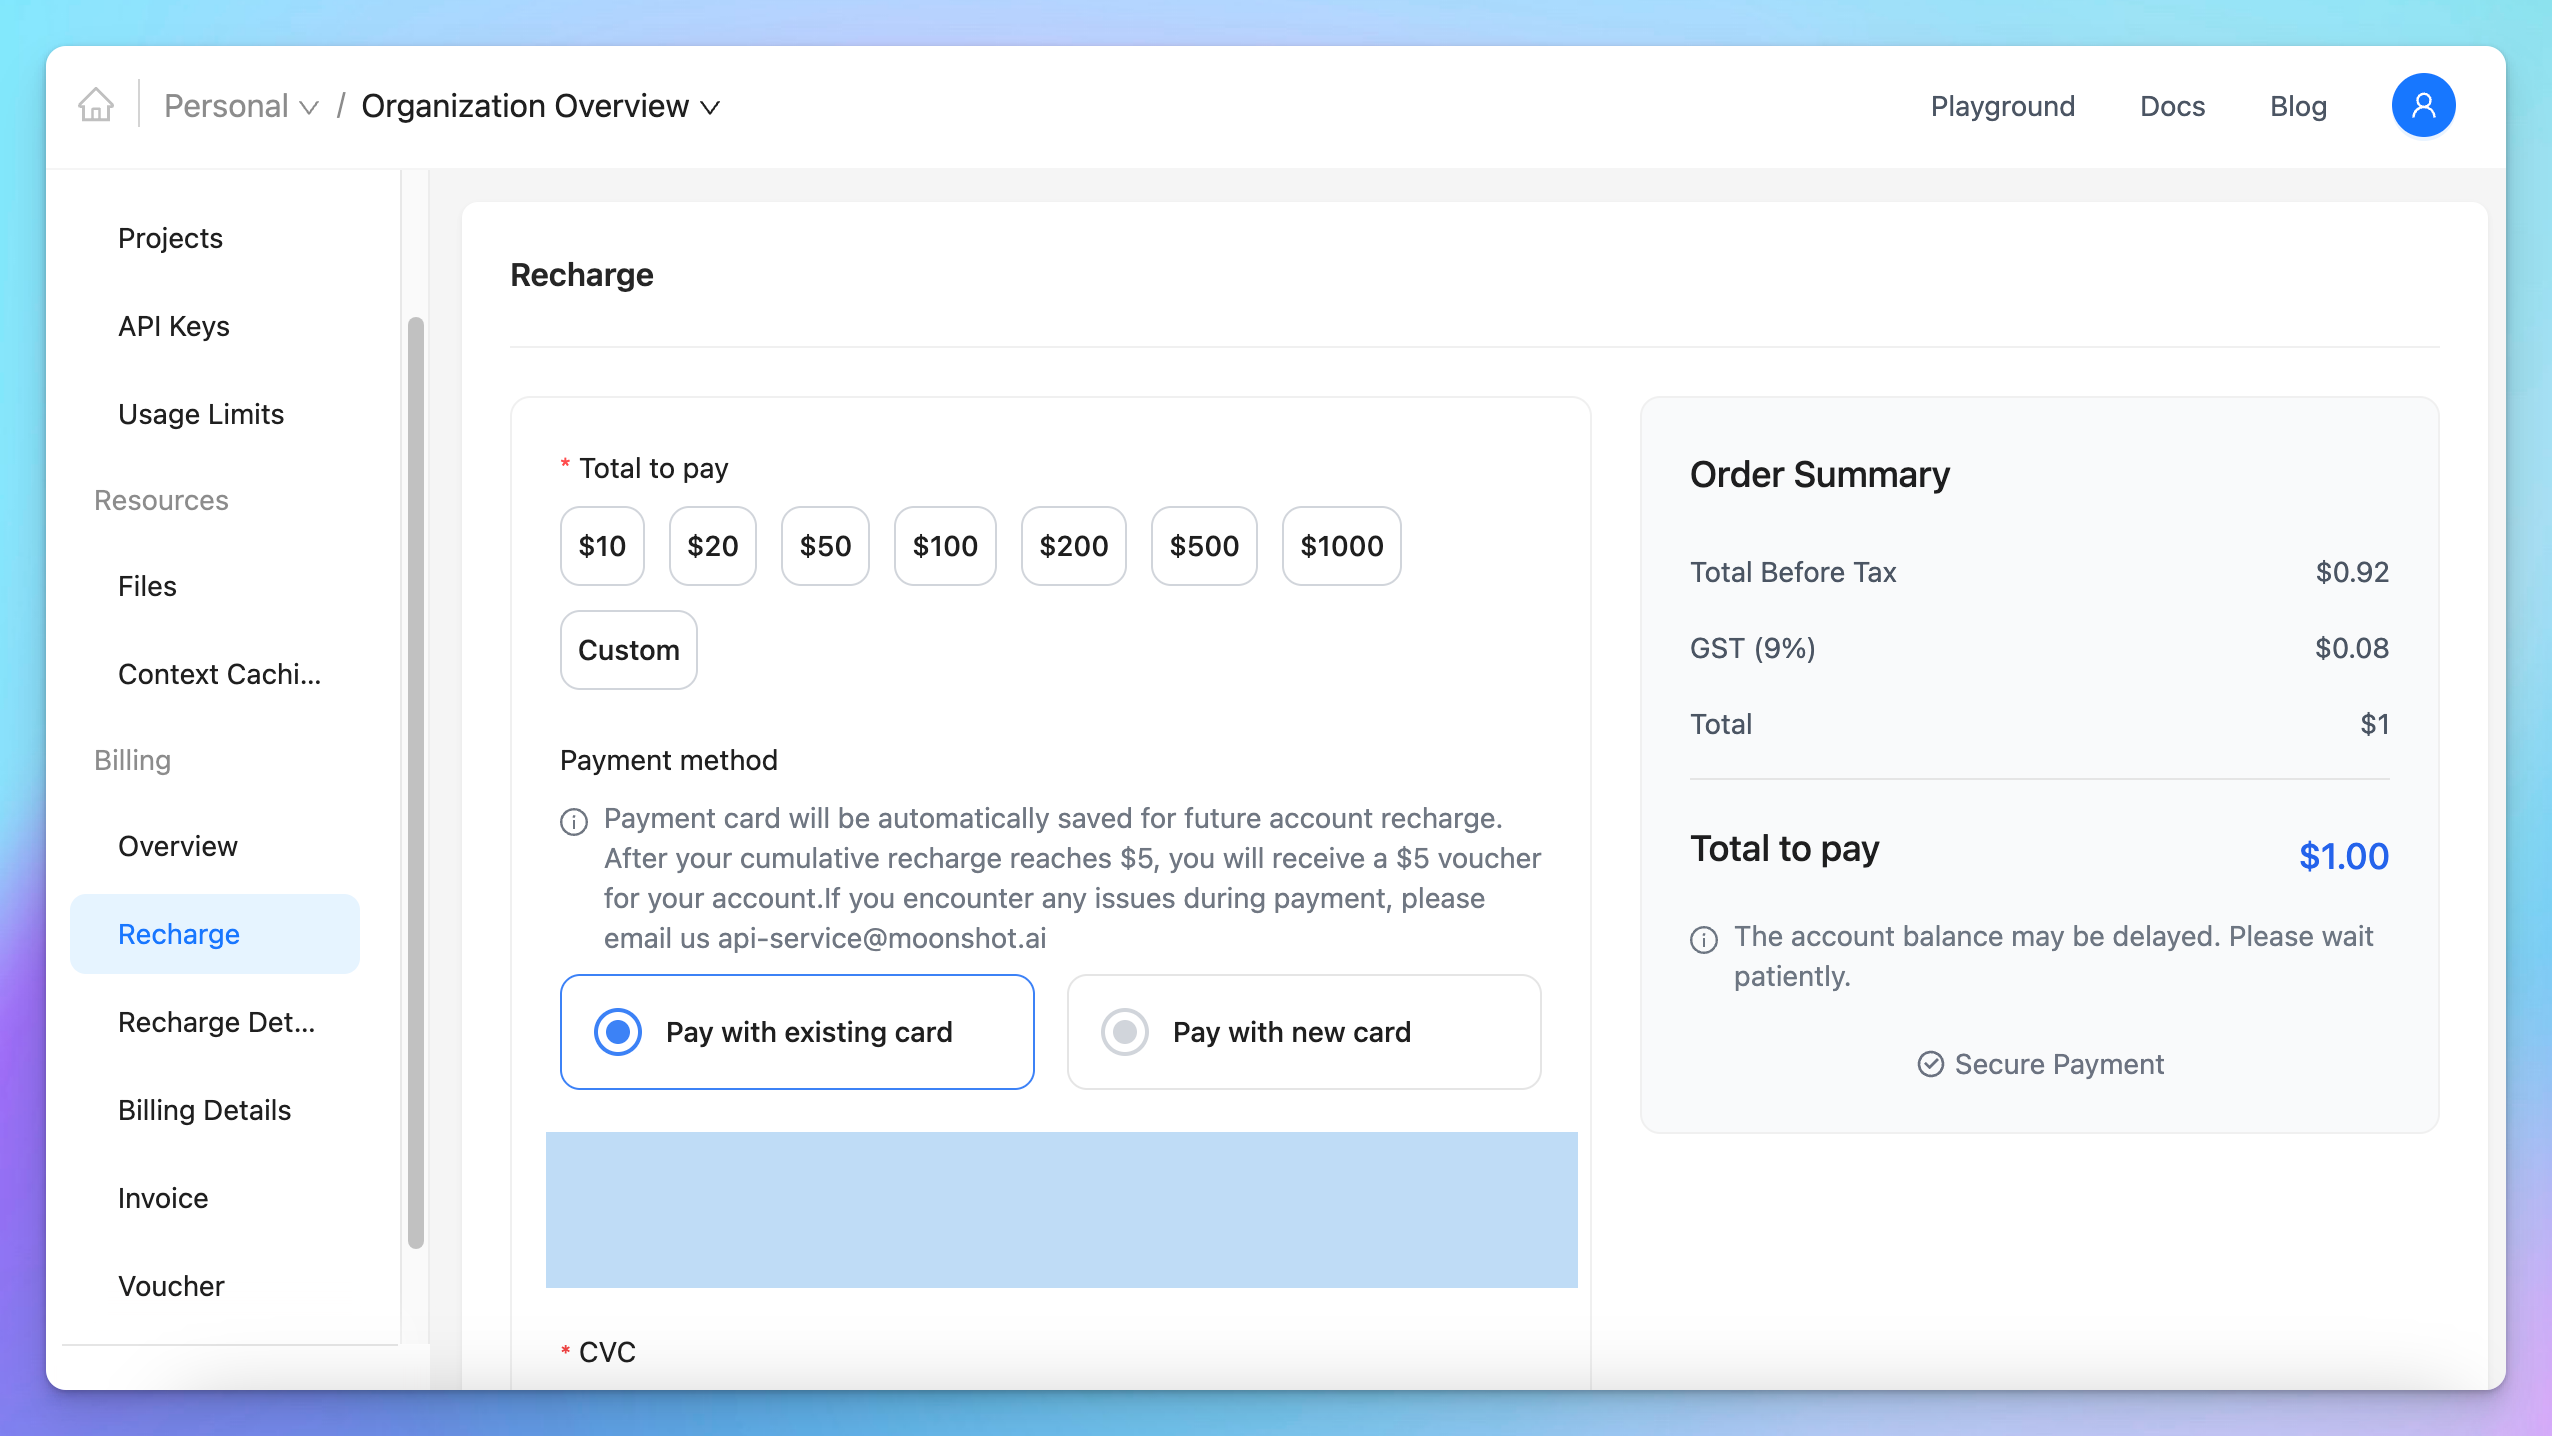
Step 2: Set up Moonshot API account
To use the model via API, you’ll need to add balance to your account.
Visit https://platform.moonshot.ai/console/pay to top up — you can start with as little as $1 to test it out.
Step 3: Get your Moonshot API key
Go to https://platform.moonshot.ai/console/api-keys and create a new API key.
Be sure to copy and save it securely — you’ll need it to set up Kimi K2 on TypingMind.
Step 4: Set up Kimi as custom model on TypingMind
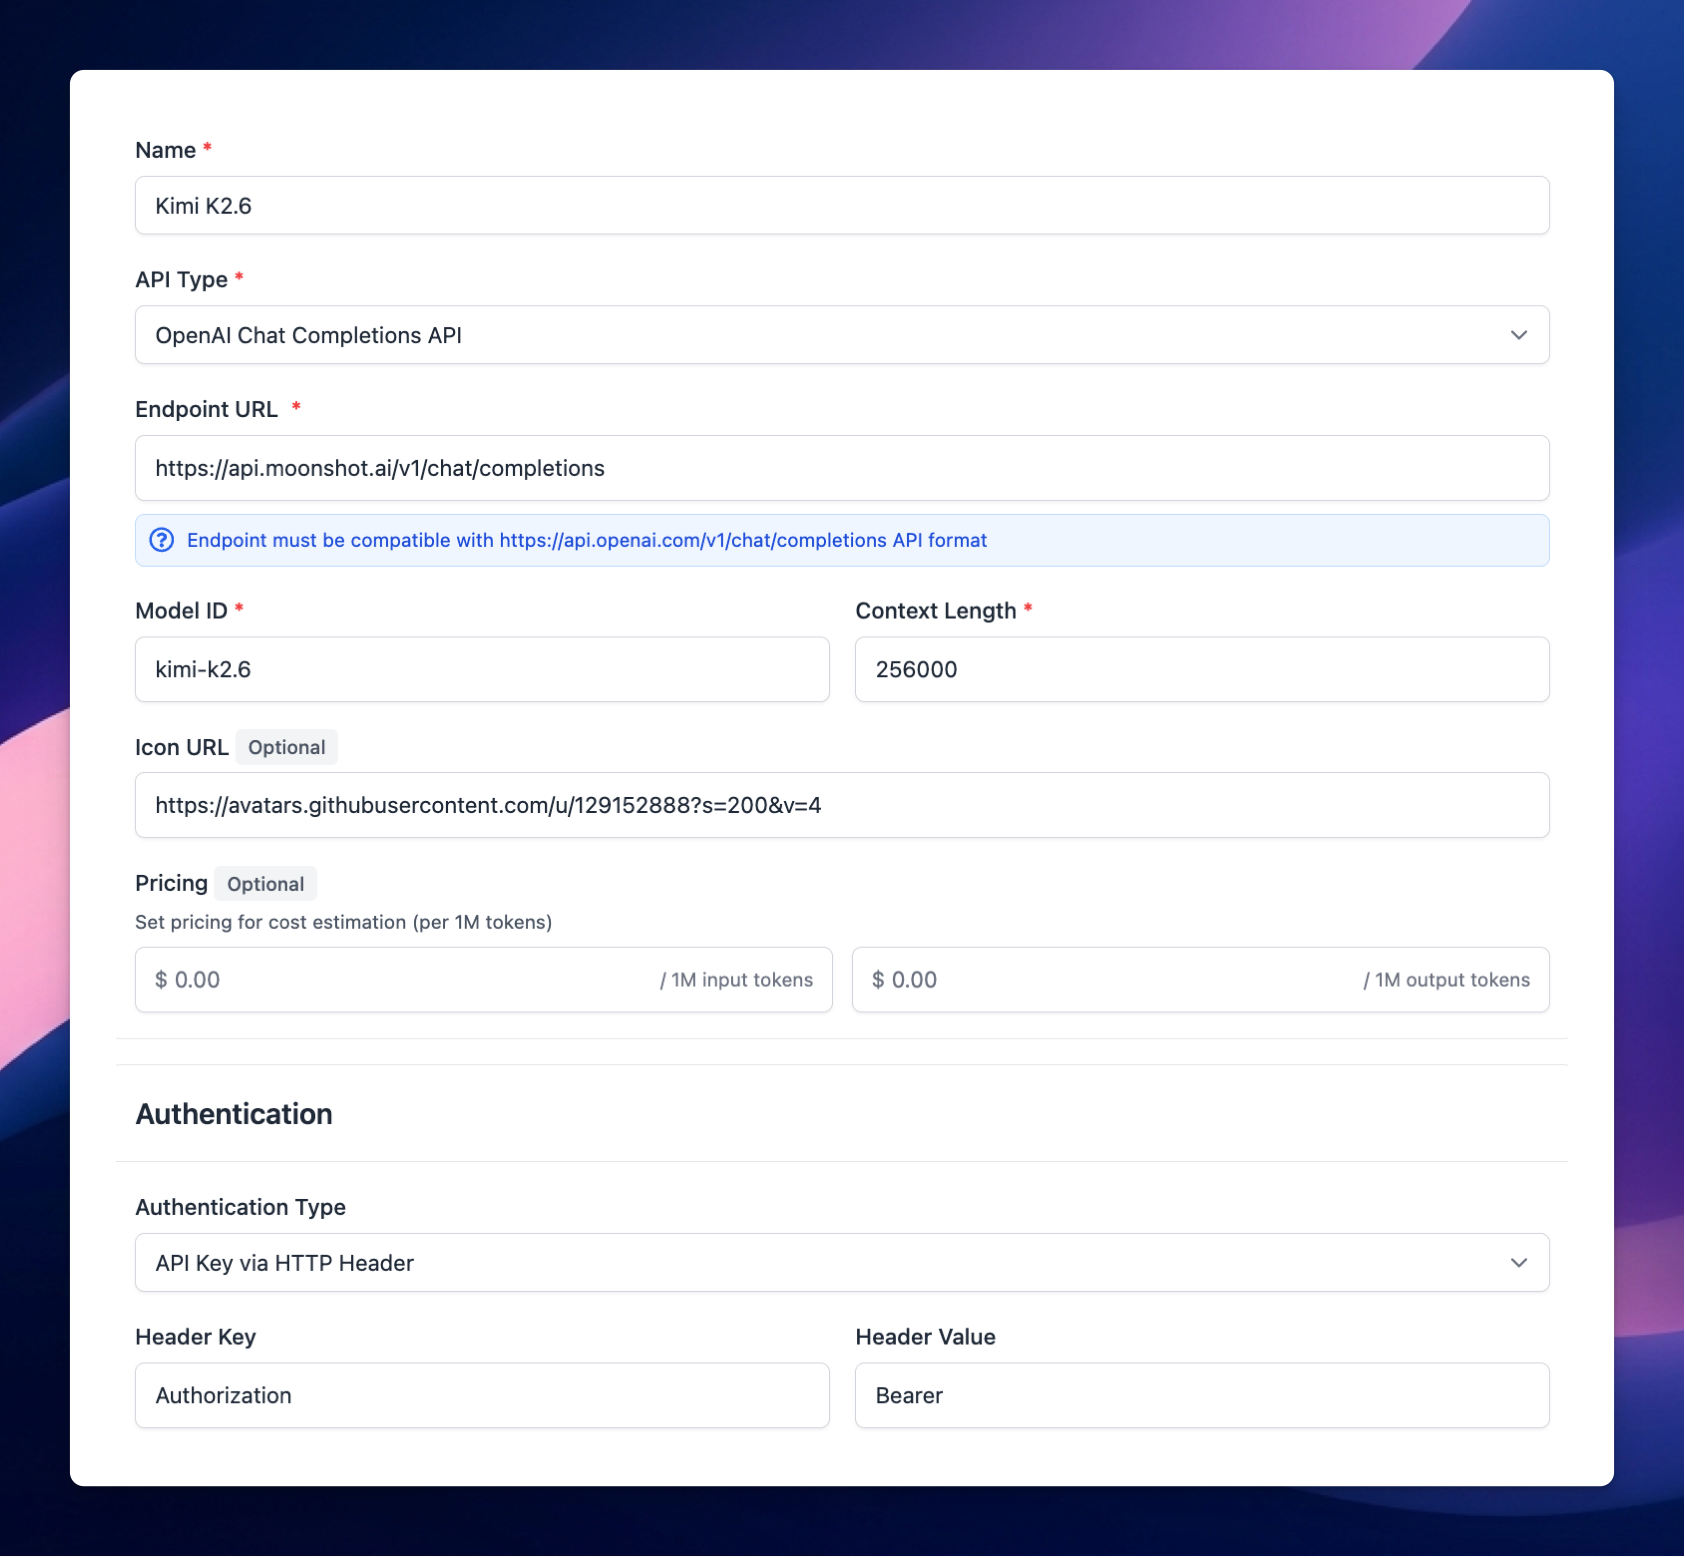
On TypingMind, go to Models —> Add Custom Models and enter the following details:
- Give the model any name you prefer
- Enter the endpoint:
https://api.moonshot.ai/v1/chat/completions
- Enter the Model ID and context length:
kimi-k2.6. View all available models here: https://platform.kimi.ai/docs/models
- Add a custom header row, then enter
Authorizationand the API key in the value textbox in the format:Bearer your_api_key
- Click “Test” to verify the information is correct
- Click Add Model.