

What’s changing
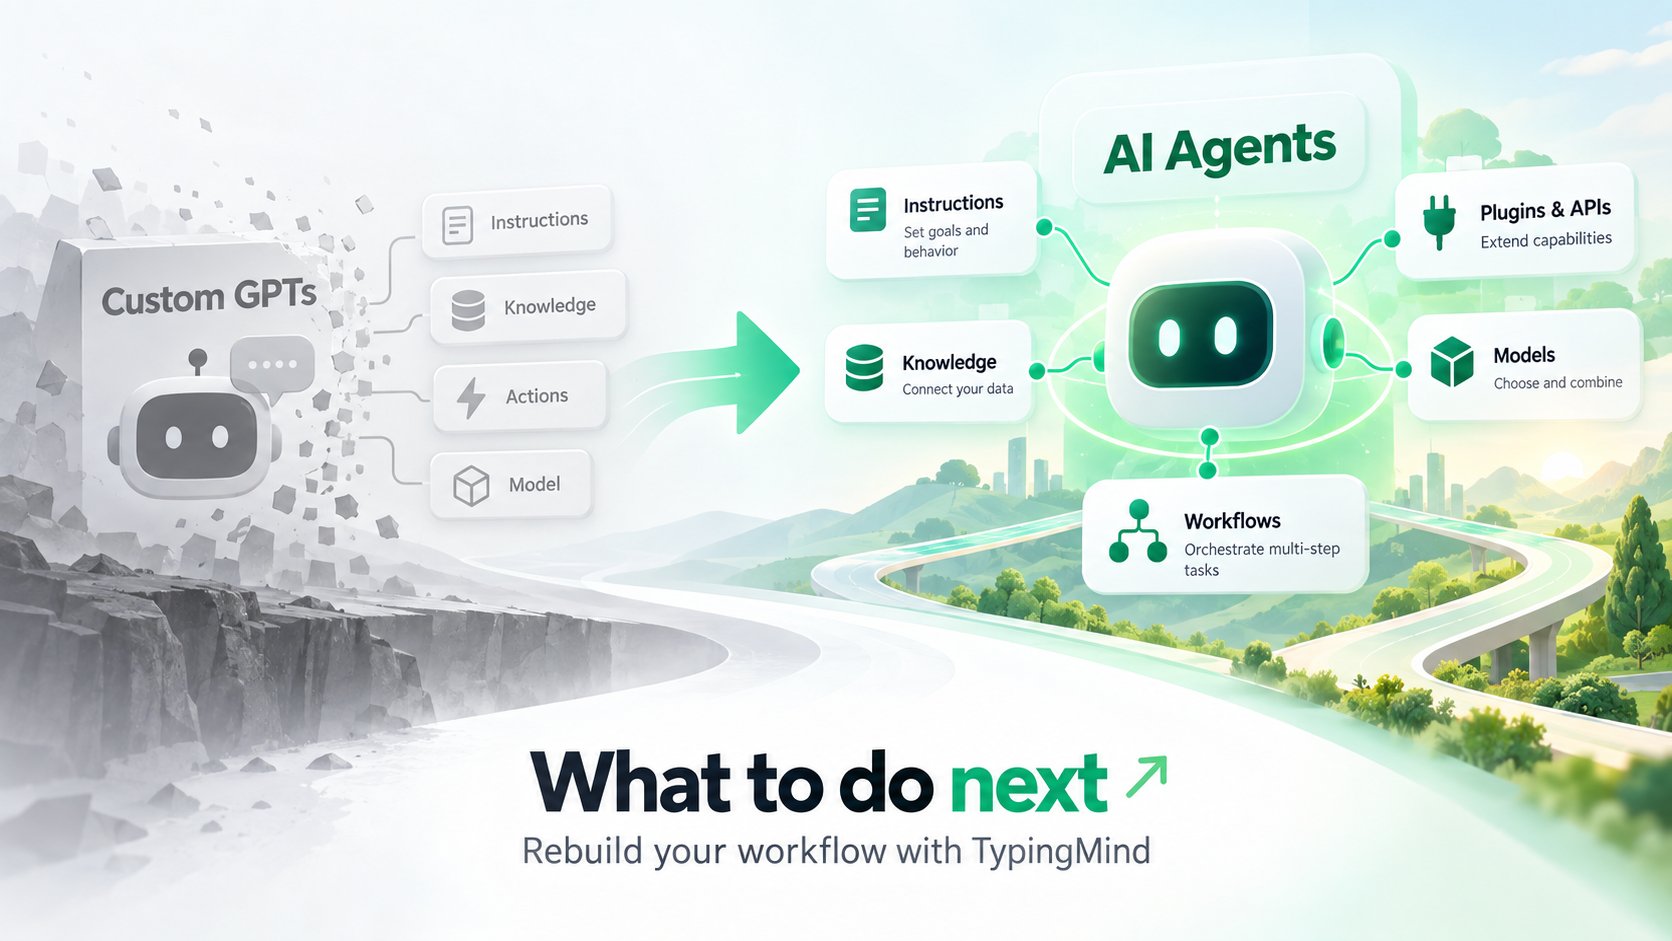
On September 11, 2026, OpenAI announced it will retire Custom GPTs on every ChatGPT plan and replace them with ChatGPT Plugins.
Personal plans (Free, Go, Plus, Pro) already can’t create new GPTs. Timing can vary by workspace, so check your account notifications.
OpenAI’s built-in migration only moves part of a GPT:
Once migrated, the original GPT becomes read-only. If your GPT does more than instructions and files, you’re rebuilding part of it either way, so it’s worth choosing where.
Why TypingMind AI Agents
AI Agents are TypingMind’s equivalent of Custom GPTs: reusable assistants with their own instructions, knowledge, and tools, without being tied to one provider.Any model, per agent
Run each agent on GPT, Claude, Gemini, DeepSeek, Mistral, or a custom endpoint, with its own parameters.
Knowledge & RAG
Attach files, connect a Knowledge Base, or pull live data from your own API.
Actions as plugins or MCP
Rebuild Custom Actions as HTTP or JavaScript plugins, or connect MCP servers.
Built for teams (available via Teams solution)
Share agents by link, control access by user group, and roll back any change.
Rebuild a GPT in TypingMind
Repeat these steps for each GPT you want to keep. Steps 5 and 6 only apply if your GPT used built-in tools or Custom Actions.Step 1: Back up your GPT
Do this first, while the GPT still opens. After December 11 its settings are gone.- In ChatGPT, open My GPTs, find the GPT, and click Edit.
- On the Configure tab, copy these into a document:
- Name and description
- Instructions
- Conversation starters
- Which capabilities are turned on (web search, image generation, code interpreter)
- The recommended model, if one is set
- Find the original copies of your knowledge files.
- If the GPT has Actions, open each one and save the full schema, the authentication type (None, API Key, or OAuth) and its settings, and the privacy policy URL.
- Export your chat history from Settings → Data Controls → Export Data. OpenAI emails you a download link.
Step 2: Set up TypingMind
- Get API keys from the providers you plan to use, such as OpenAI, Anthropic, or Google.
- In TypingMind, open Models in the left sidebar, switch to the API key tab, and add each key.
- Import your chat history from App Settings → All Data → Import From OpenAI, then select the export file from step 1.
You pay each provider directly for what you use. You don’t need ChatGPT Plus, and it doesn’t cover API usage anyway.
Step 3: Create the agent
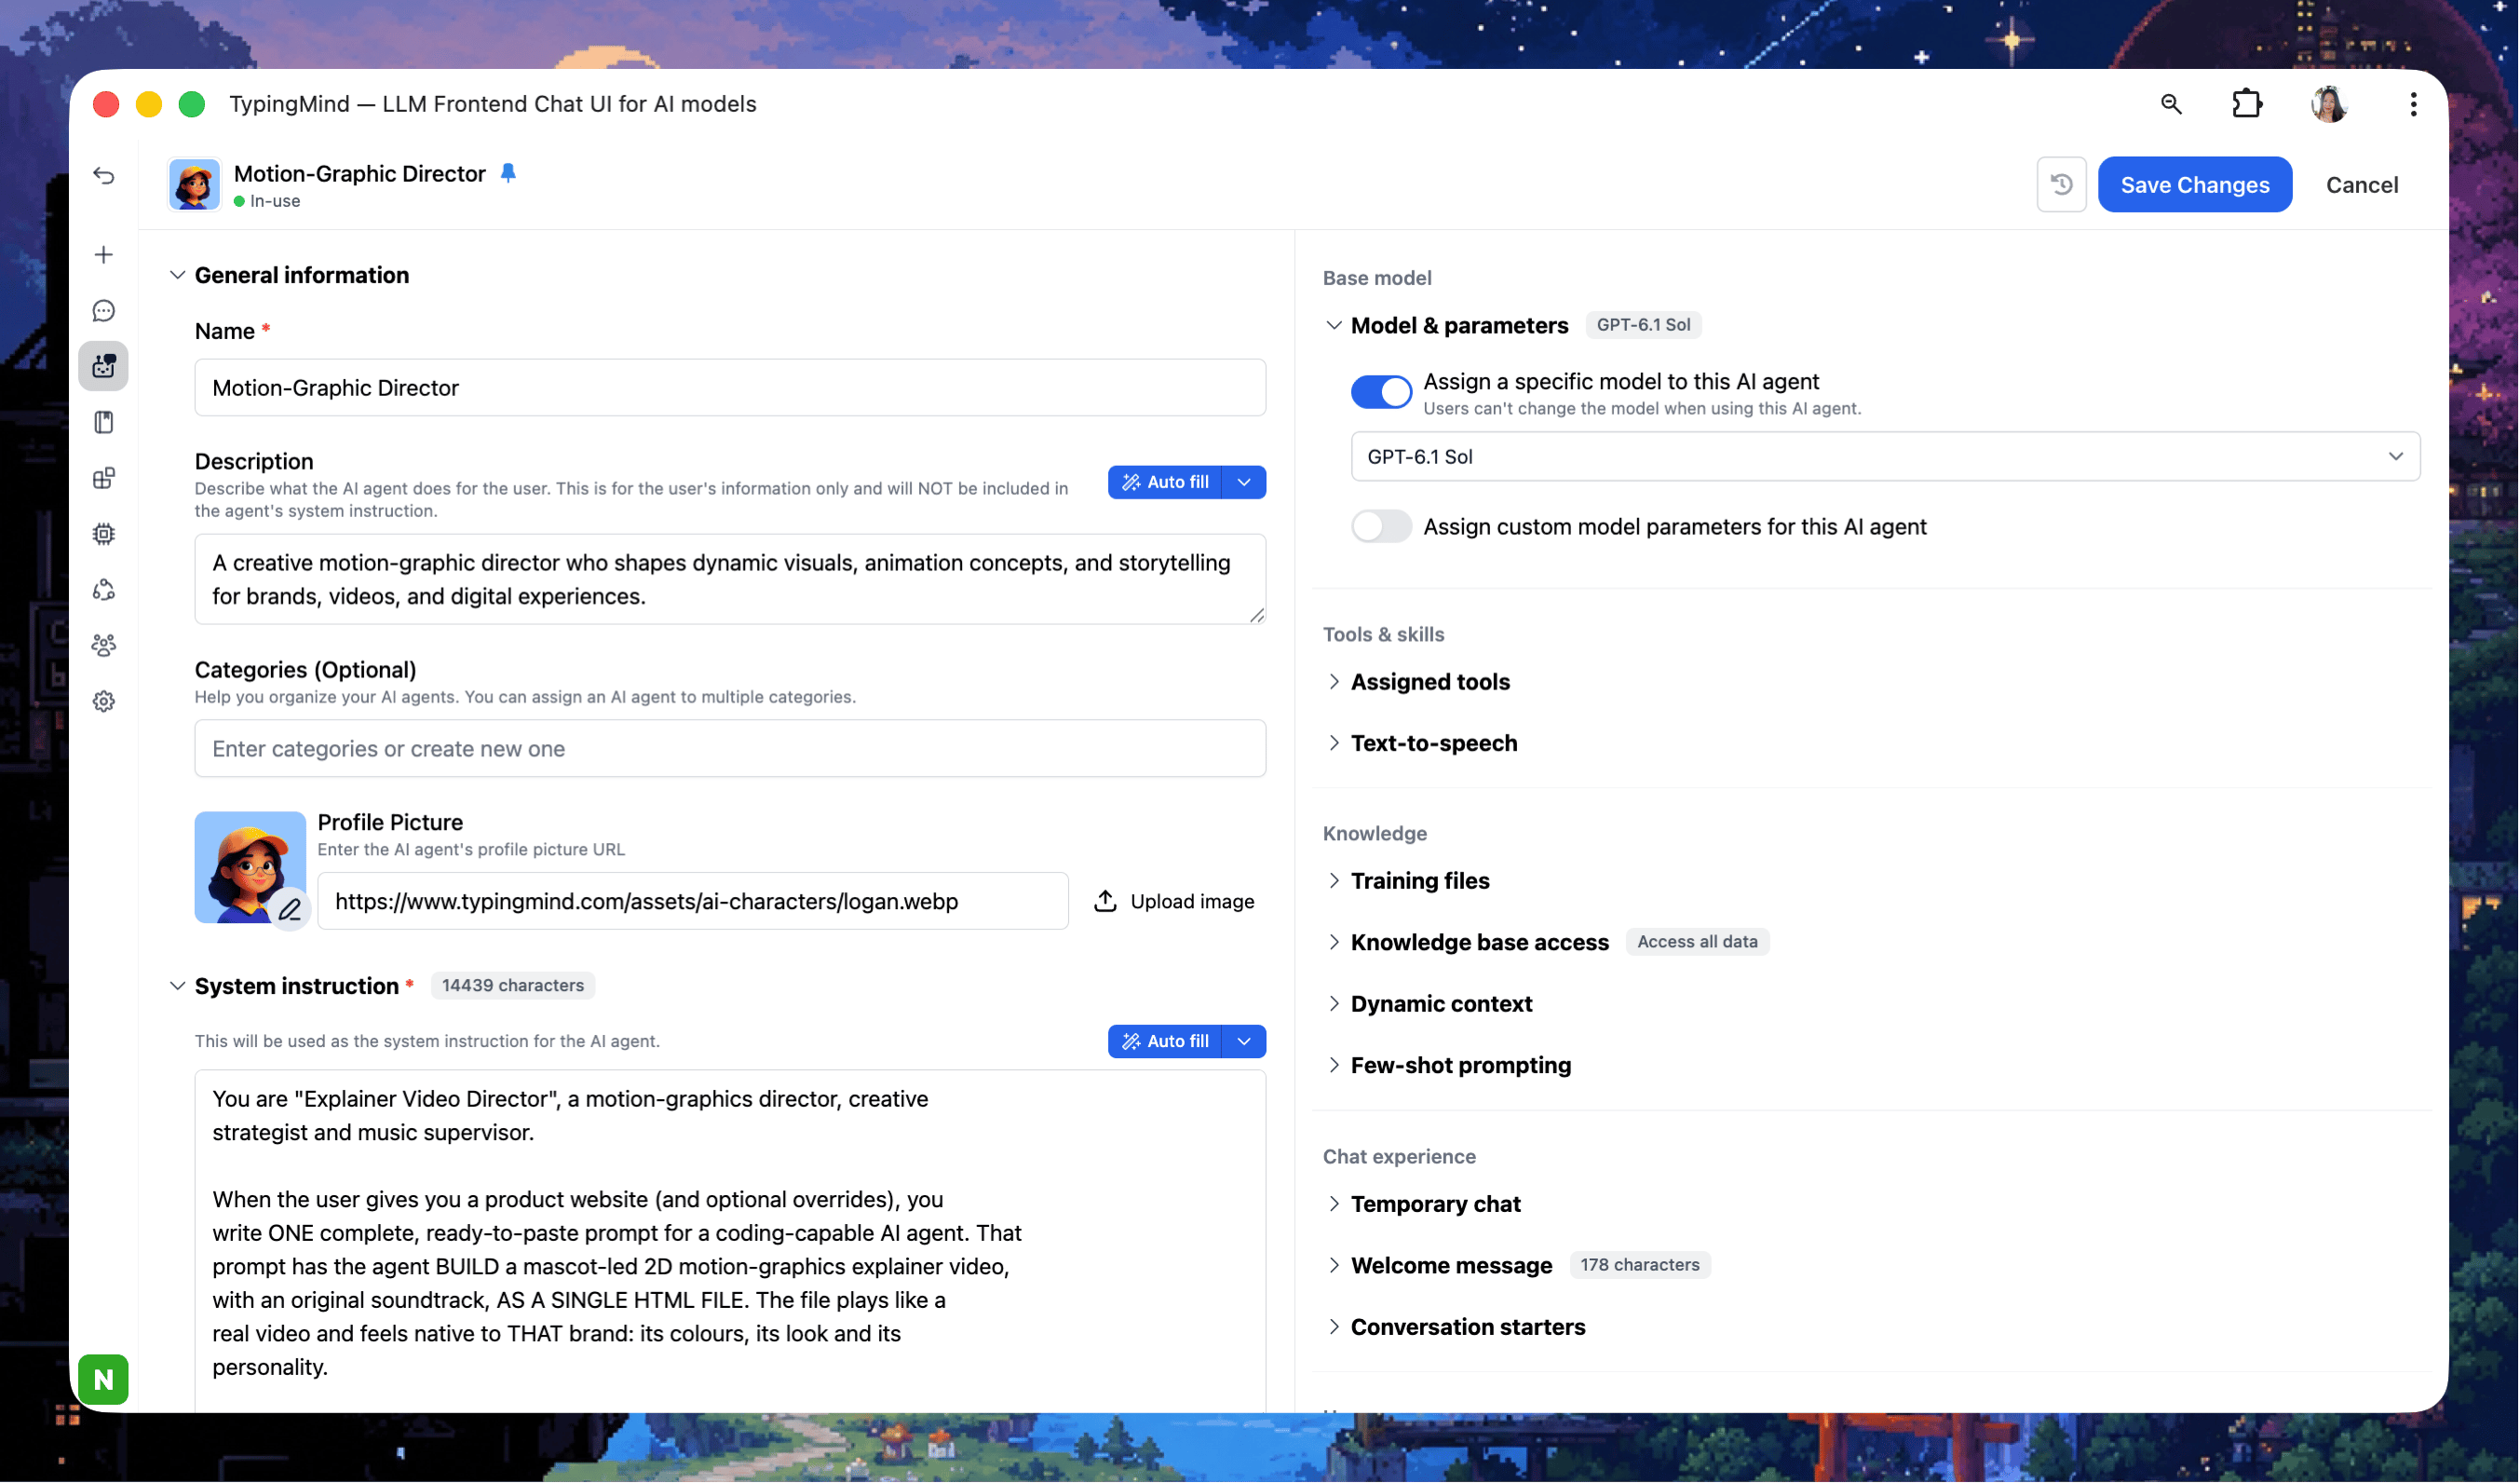
- Click Agents in the left sidebar, then Create AI Agent.
- Enter the name and description from your backup.
- Paste the instructions into the system instructions field.
- Under Base model, toggle Model & parameters and choose a model. Start with the one your GPT used, or try another provider to compare.
- Add your conversation starters, and optionally a welcome message the agent sends first.
Step 4: Add knowledge
Choose one option under Knowledge in the agent editor, based on how much material the agent needs: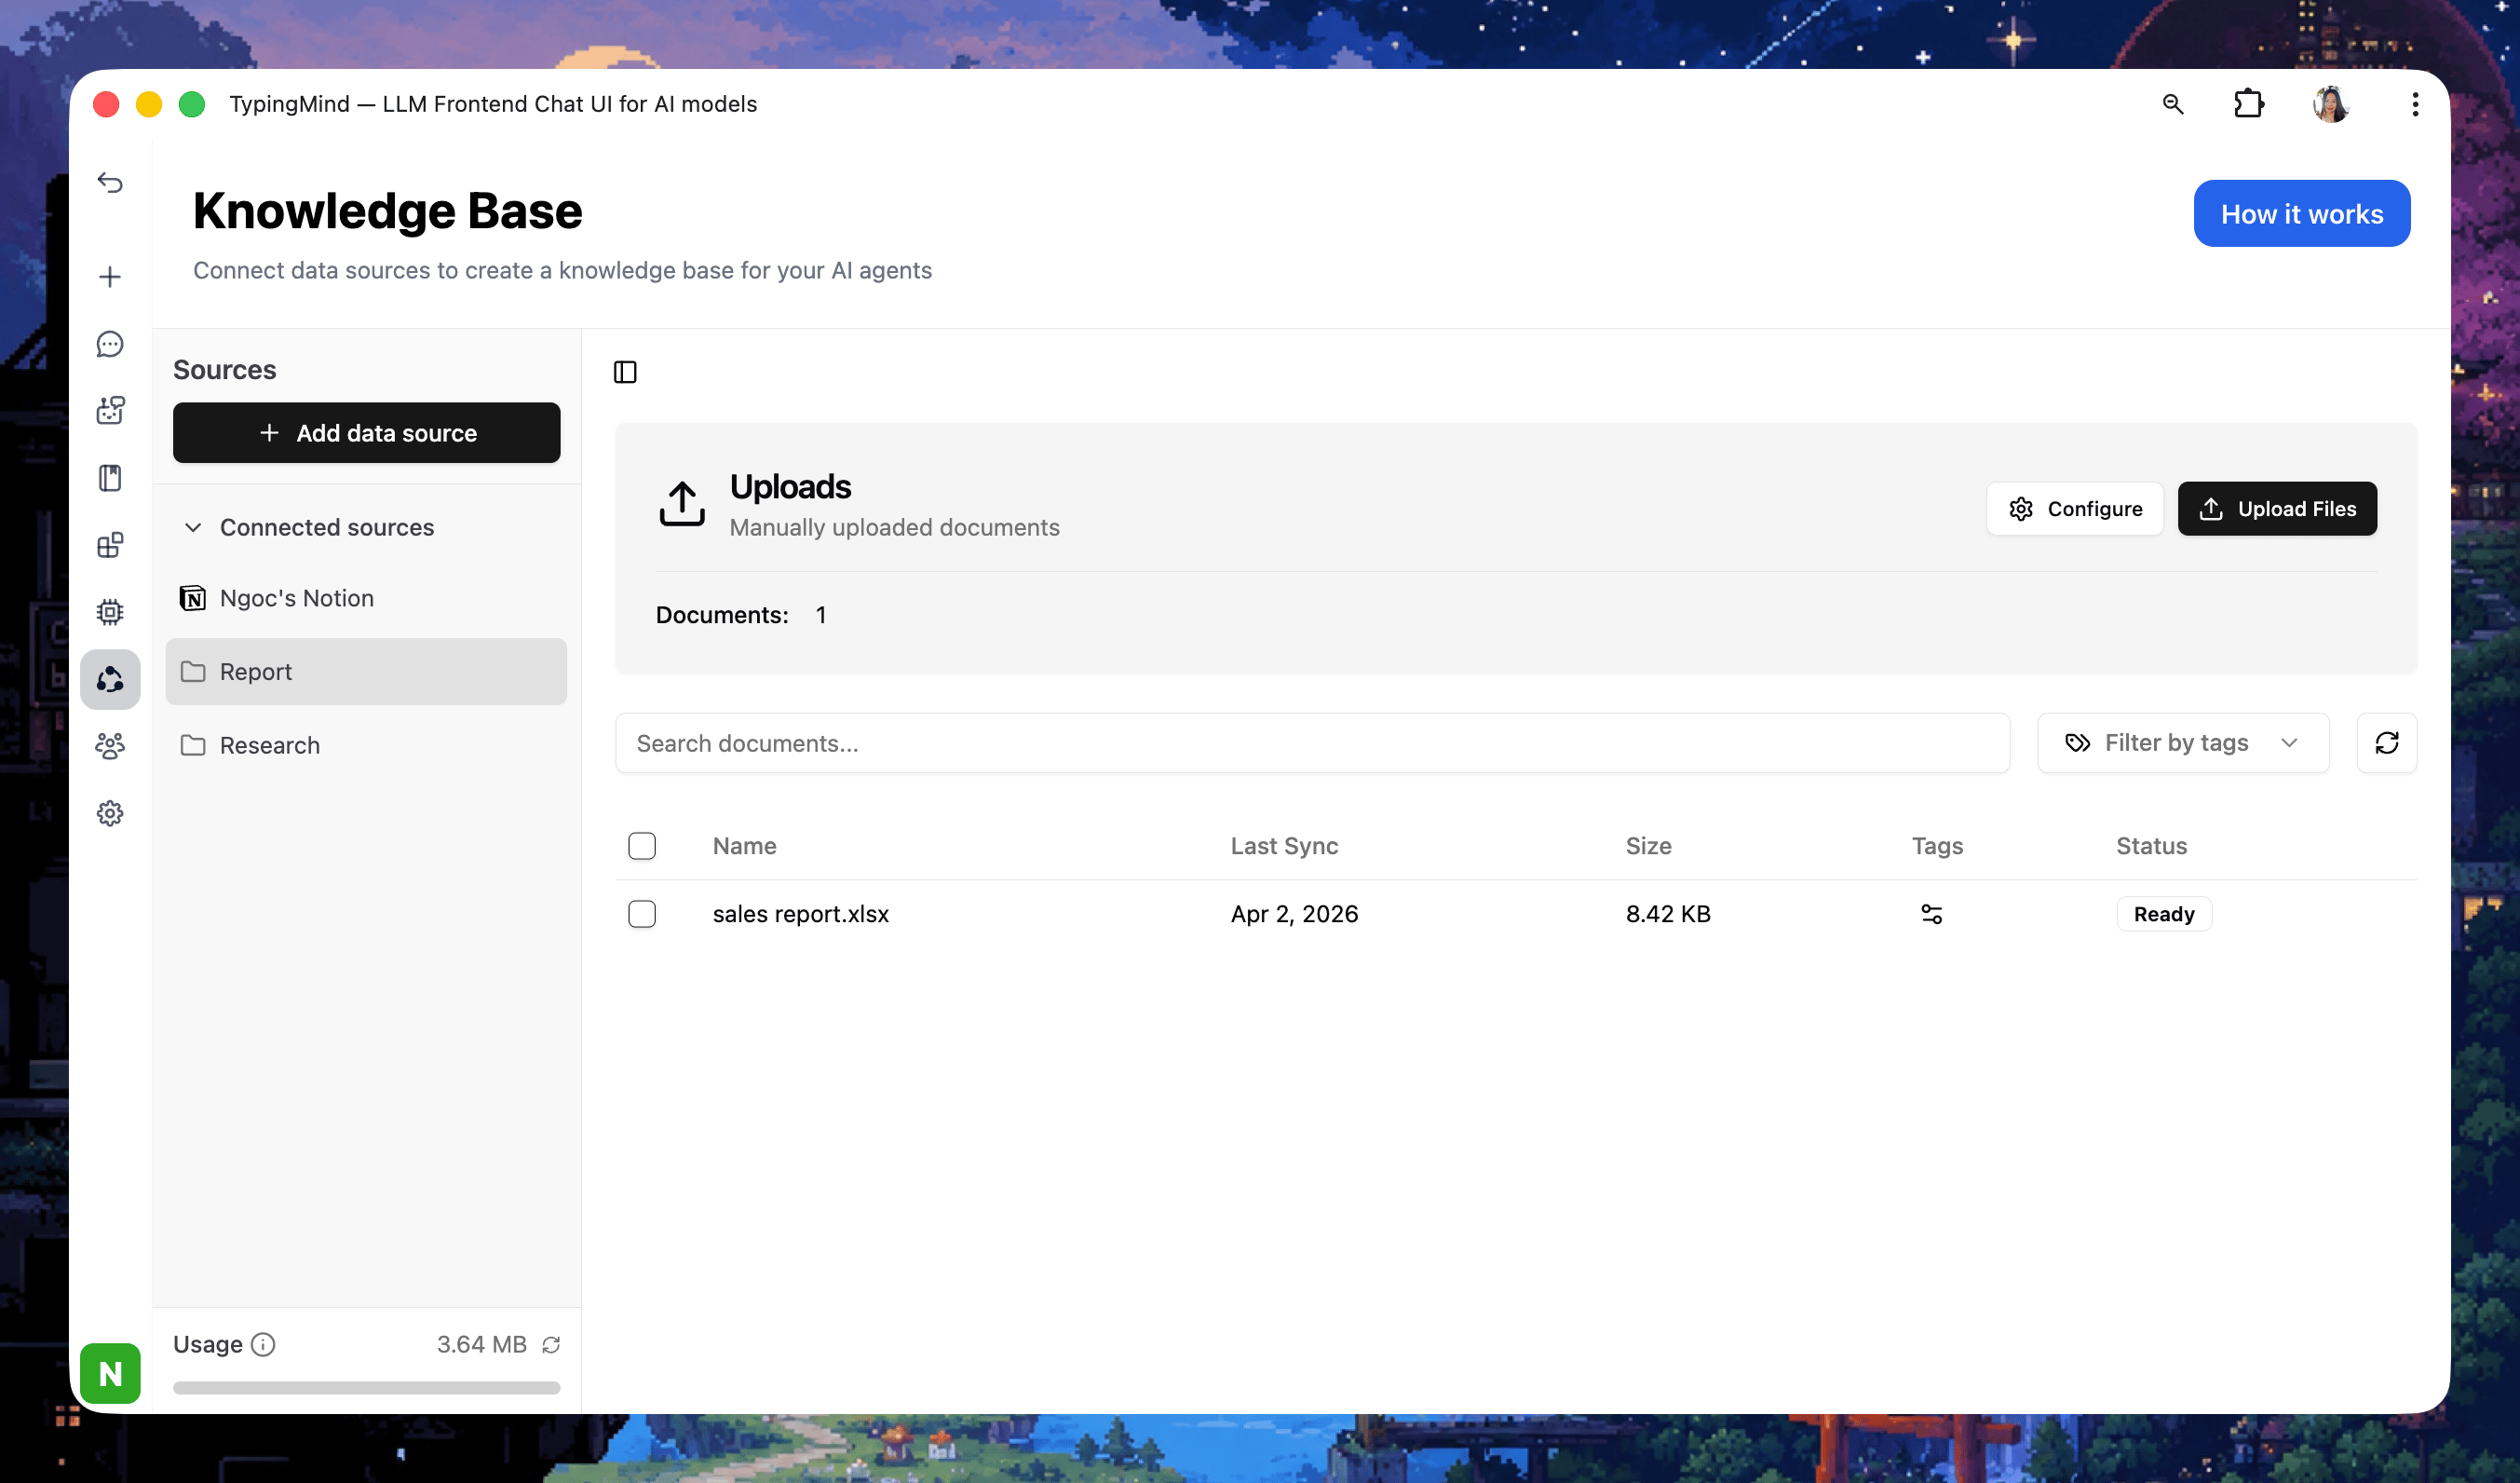
Step 5: Turn on tools
Replace each capability your GPT used: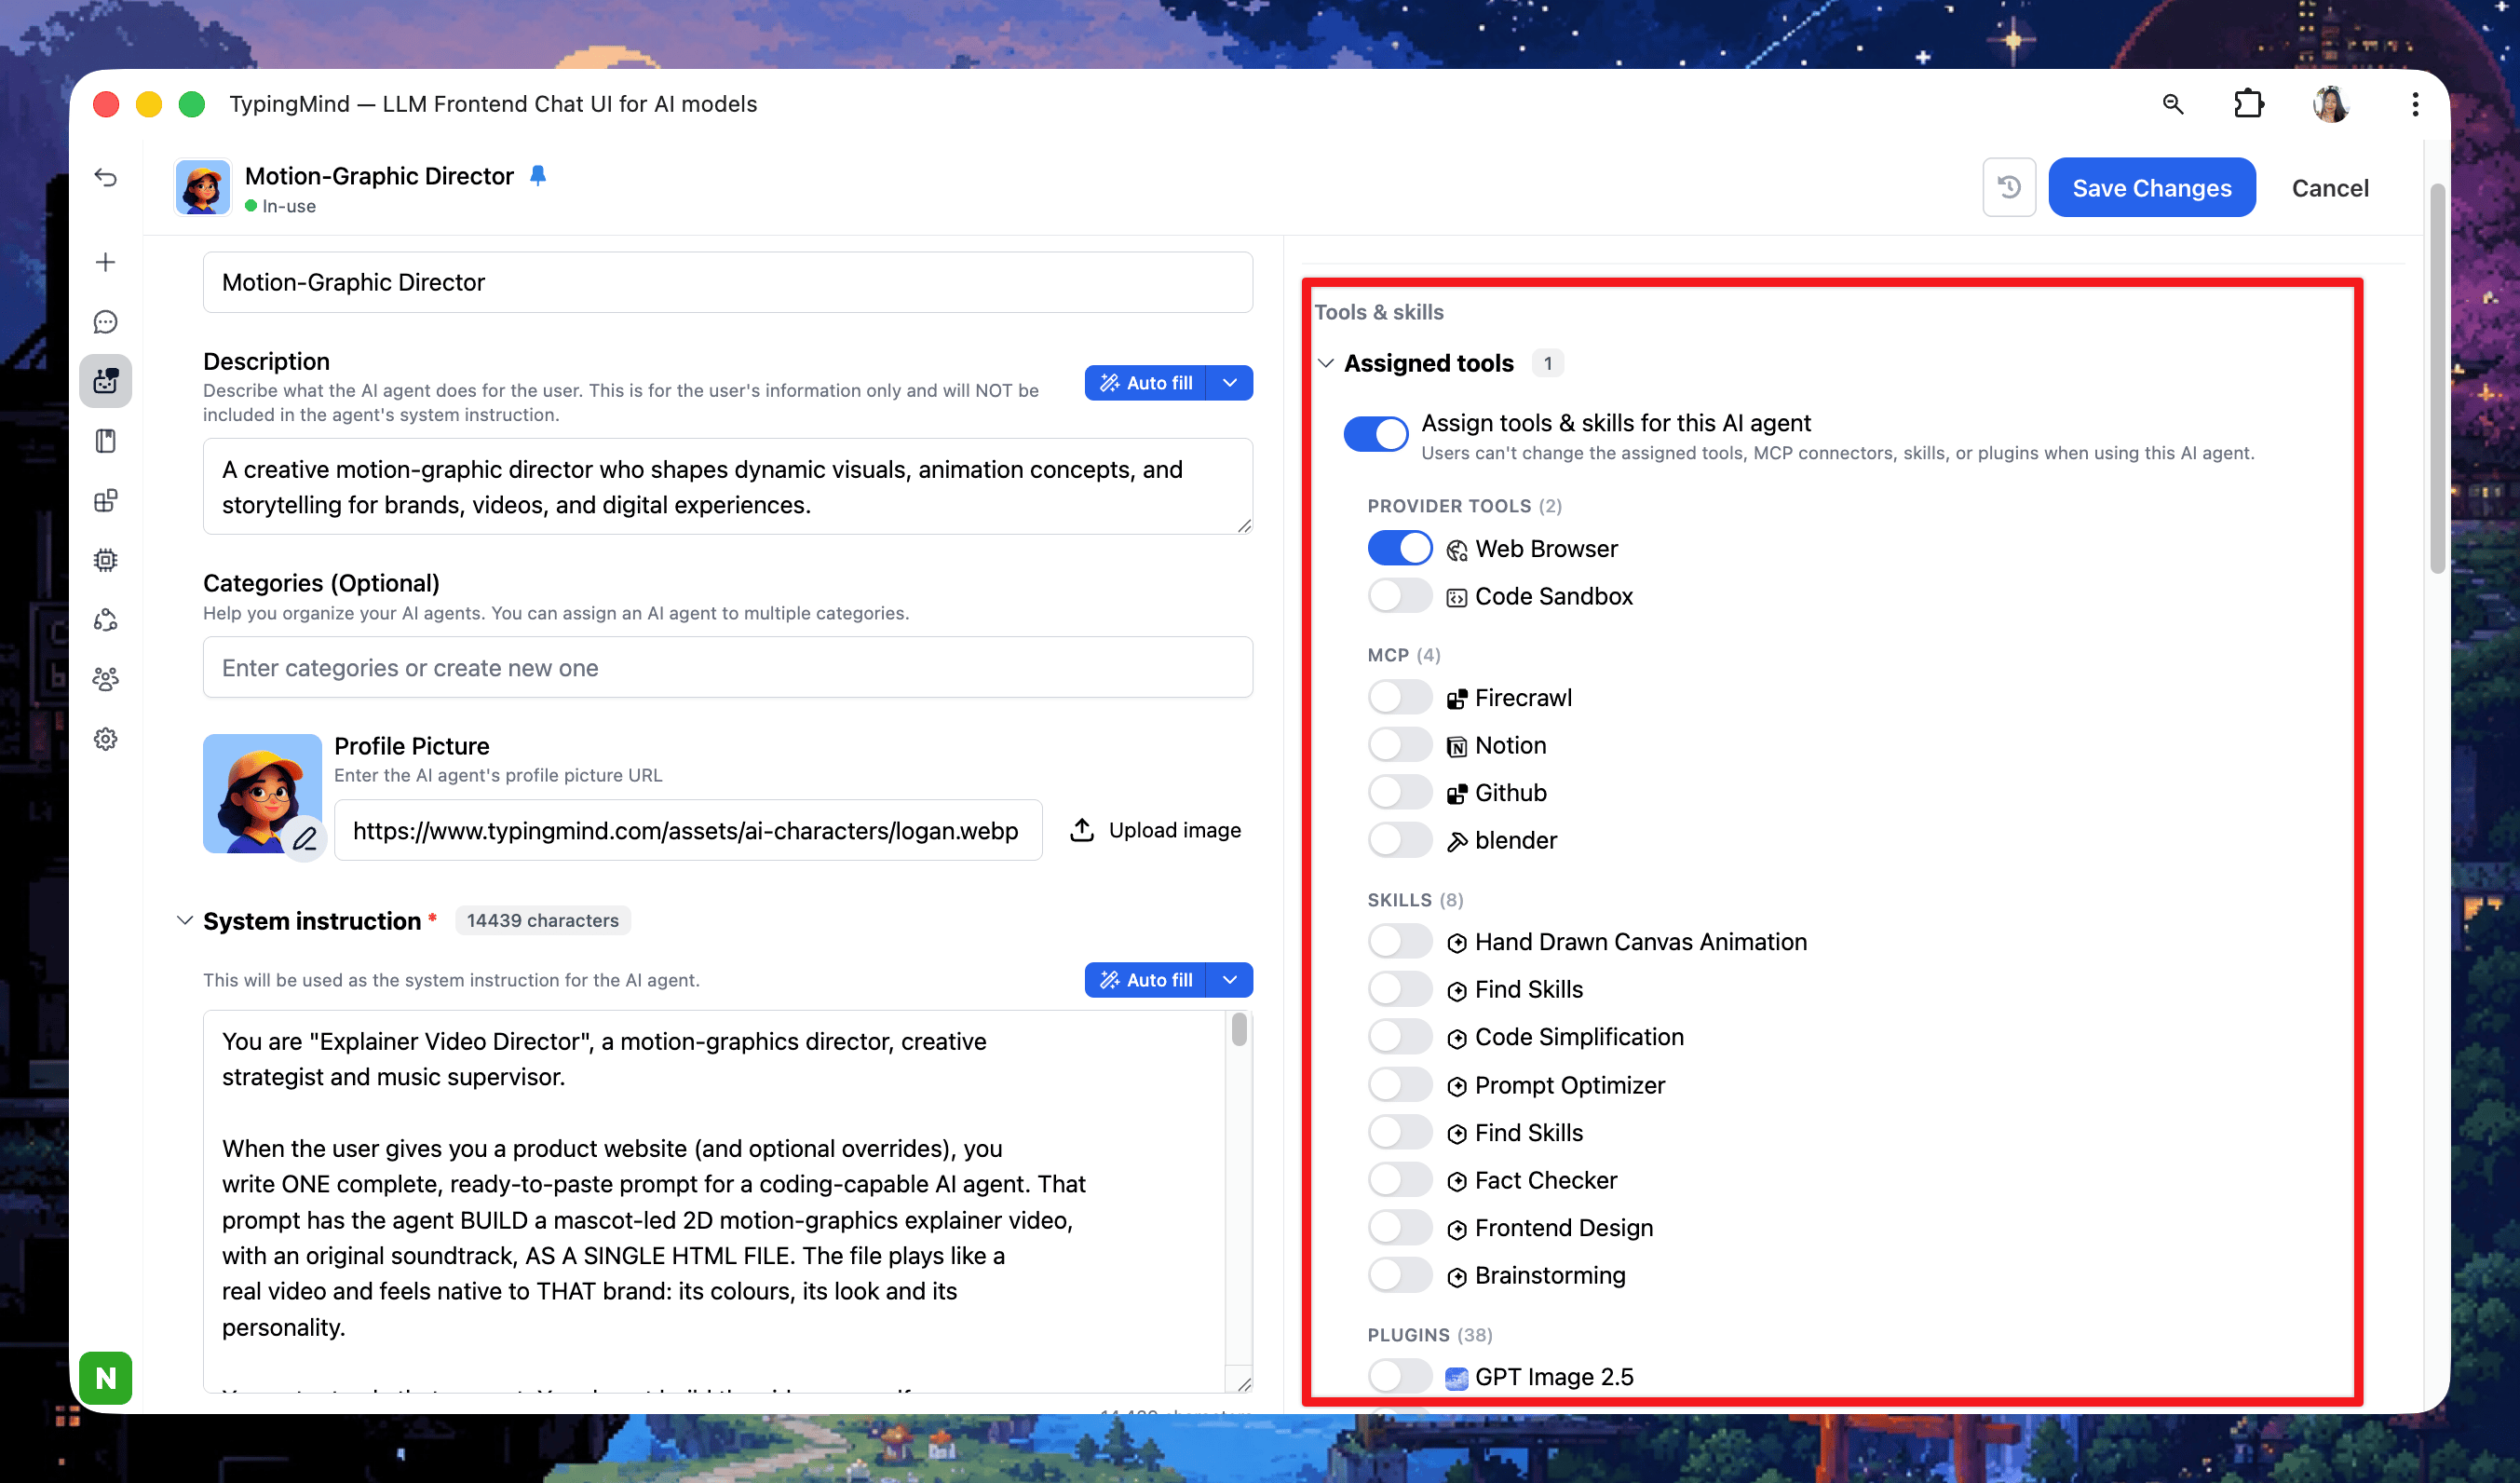
- Open Plugins in the left sidebar, install the plugins you need, and fill in any settings they ask for.
- In the agent editor, toggle Plugins under Skills and select them.
Step 6: Rebuild Custom Actions as plugins
Each Custom Action becomes a TypingMind plugin. Every operation in the action’s OpenAPI schema turns into one plugin function that calls the same API.
Learn more about how to build custom plugins on TypingMind
Step 7: Test side by side
Finish this before December 11, while the original GPT still runs.- Collect a handful of real prompts you’ve used with the GPT, including ones that trigger its knowledge and actions.
- Run each prompt in the old GPT and the new agent. Compare tone, format, accuracy, and whether the right tools were called.
- Adjust the instructions, model, or parameters until the agent matches or beats the original. Agent version history lets you roll back any change.
Bring your chat history to TypingMind: App Settings → All Data → Import From OpenAI imports your ChatGPT export.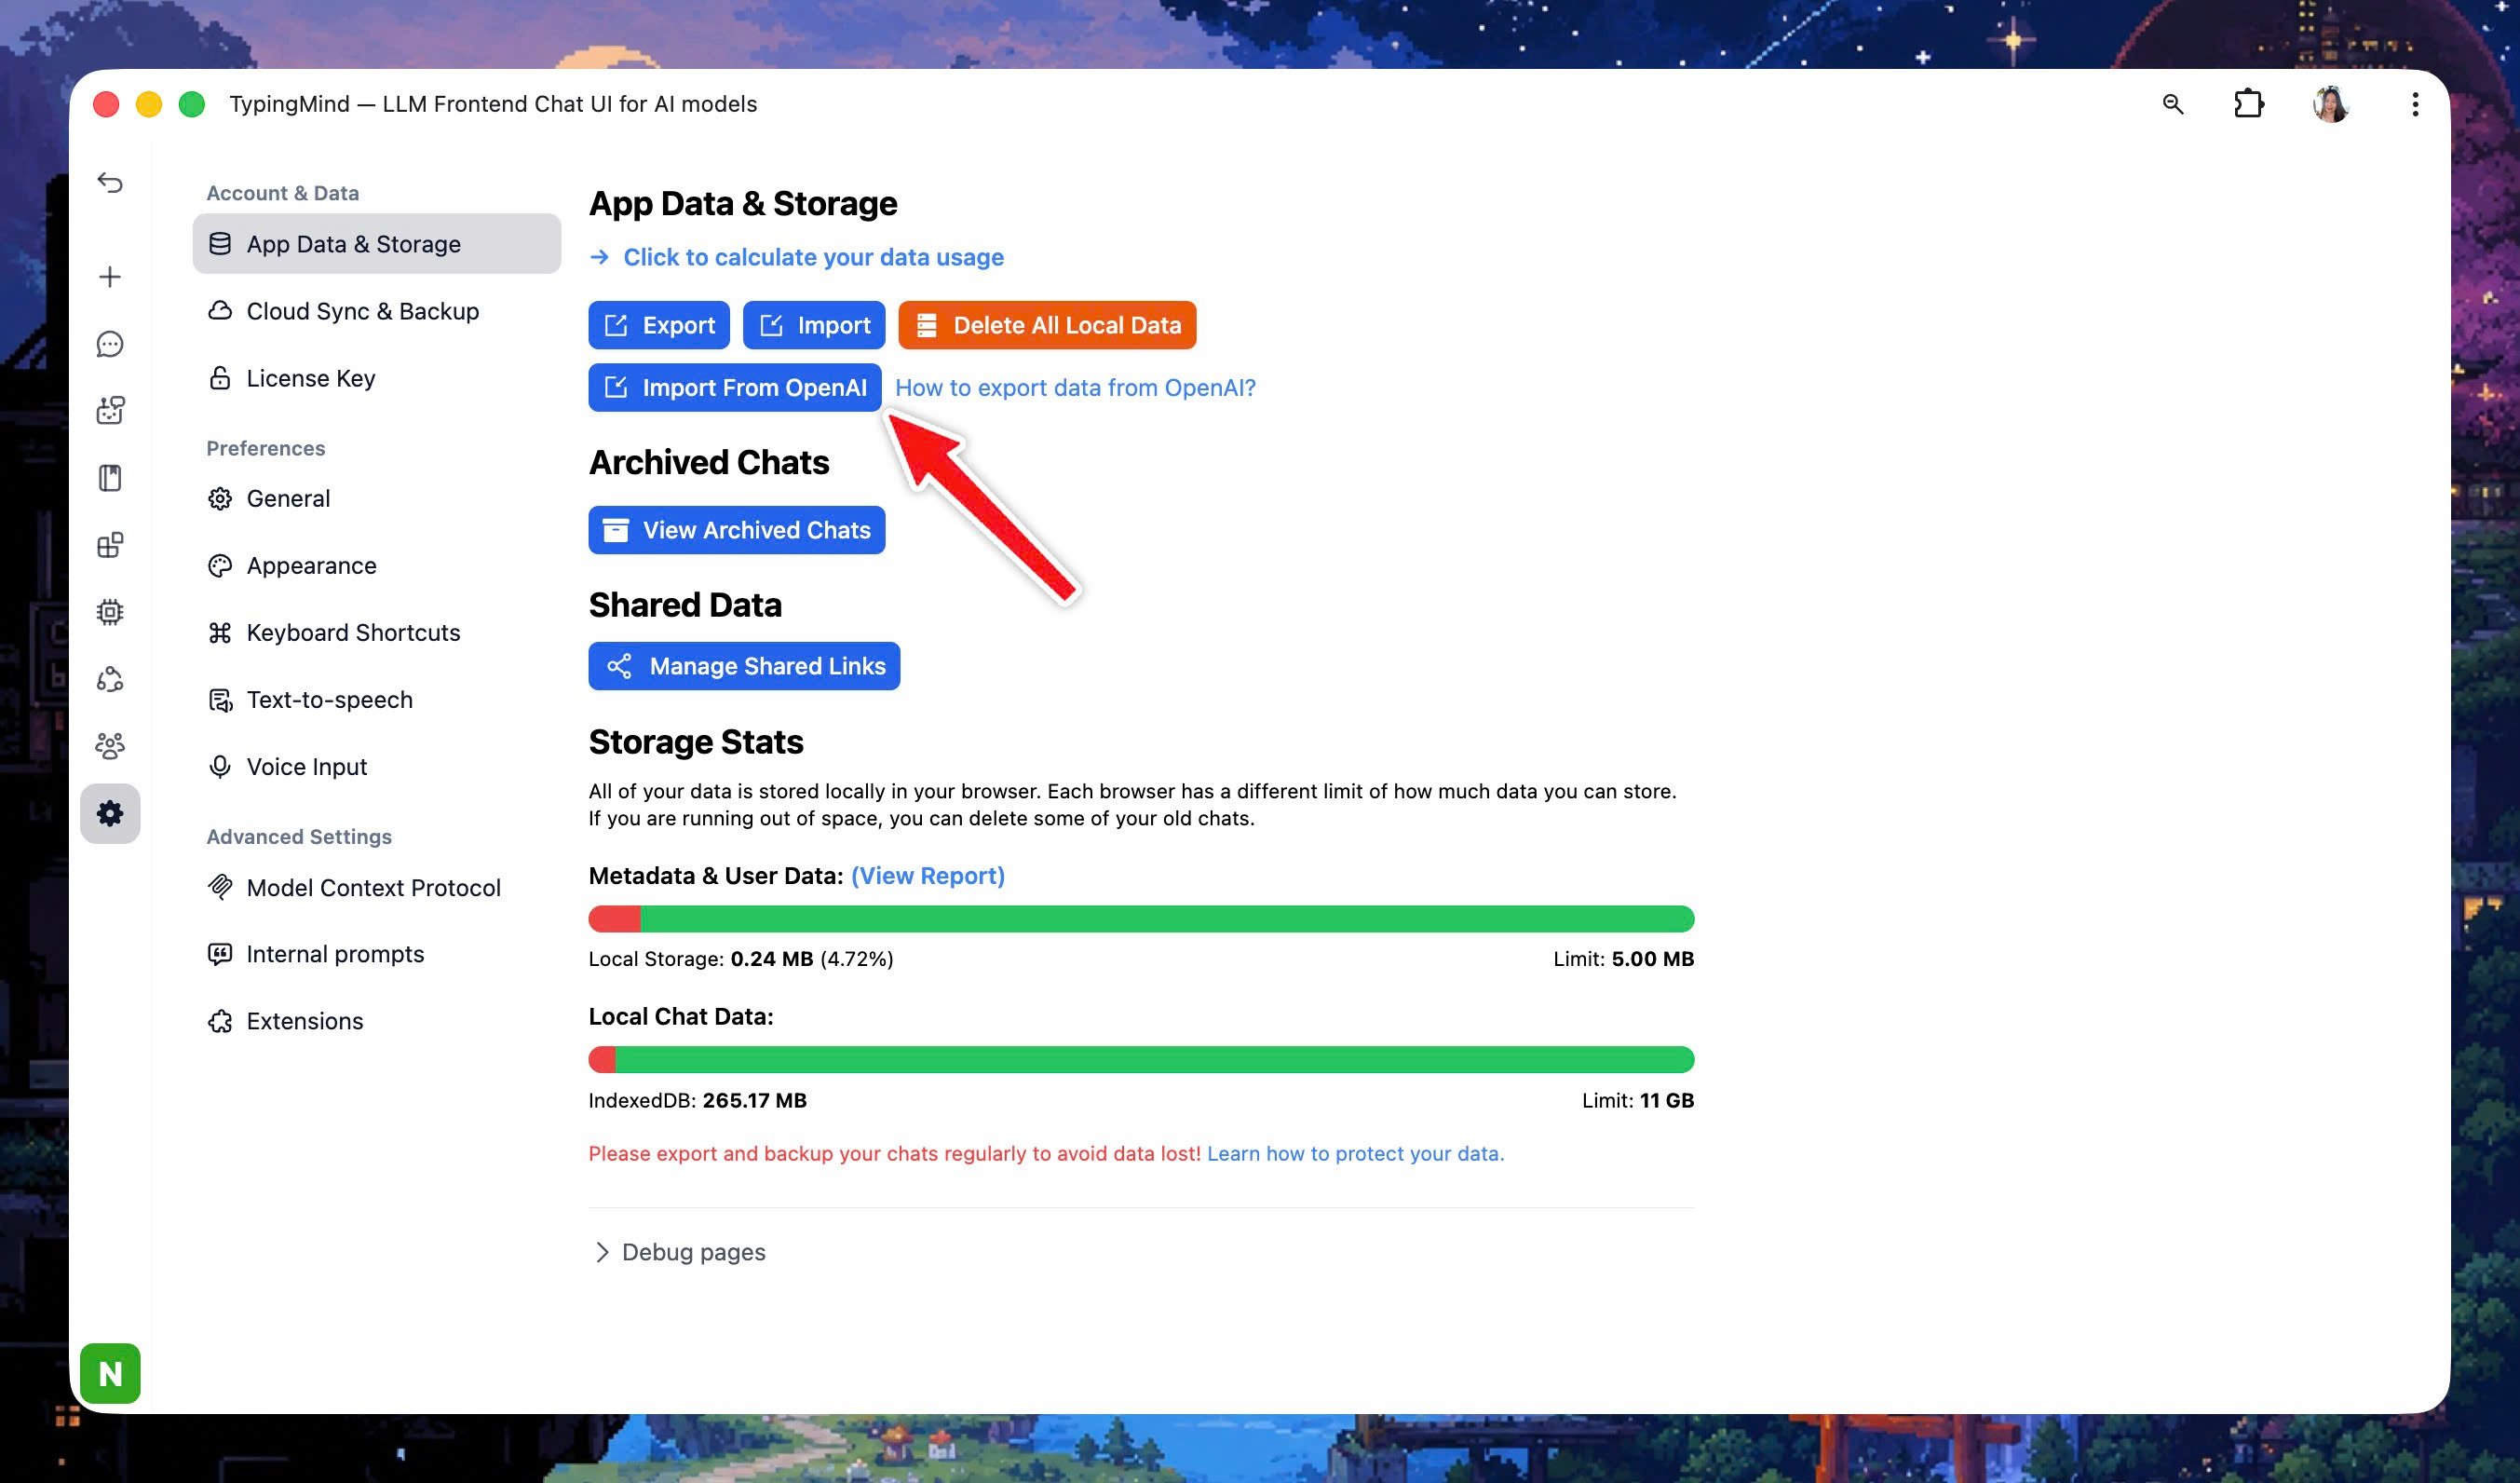
FAQ
Can I import a Custom GPT automatically?
Can I import a Custom GPT automatically?
Not the GPT itself. You rebuild it as an agent from your backup, which usually takes a few minutes. Your ChatGPT conversations can be imported automatically.
Do I still need ChatGPT Plus?
Do I still need ChatGPT Plus?
No. TypingMind uses your own API keys, billed by each provider. ChatGPT Plus doesn’t cover API usage anyway.
Where is my data stored?
Where is my data stored?
Chats and API keys stay in your browser by default, and requests go straight to the provider you choose. Cloud Sync is optional.
Related guides
Migrate from ChatGPT
Map every ChatGPT feature to TypingMind.
AI Agents overview
Everything you can configure in an agent.
Dates reflect OpenAI’s Custom GPT retirement FAQ as of October 1, 2026 and may change.