Model Context Protocol (MCP) is a standard protocol created by Anthropic to allow LLMs to connect with external tools and services.
TypingMind supports connecting to all MCP servers that follow the standard protocol. You can connect TypingMind to remote MCP servers via streaming HTTP or servers that run locally via a terminal command like
npx, uvx, or Docker.Connect to remote MCP serversCustomize active tools listLong running sessions and refresh tokenMultiple connections and OpenID supportUsing a custom OAuth clientUsing private MCP connectorConnect to local MCP serversHelpful resources
Connect to remote MCP servers
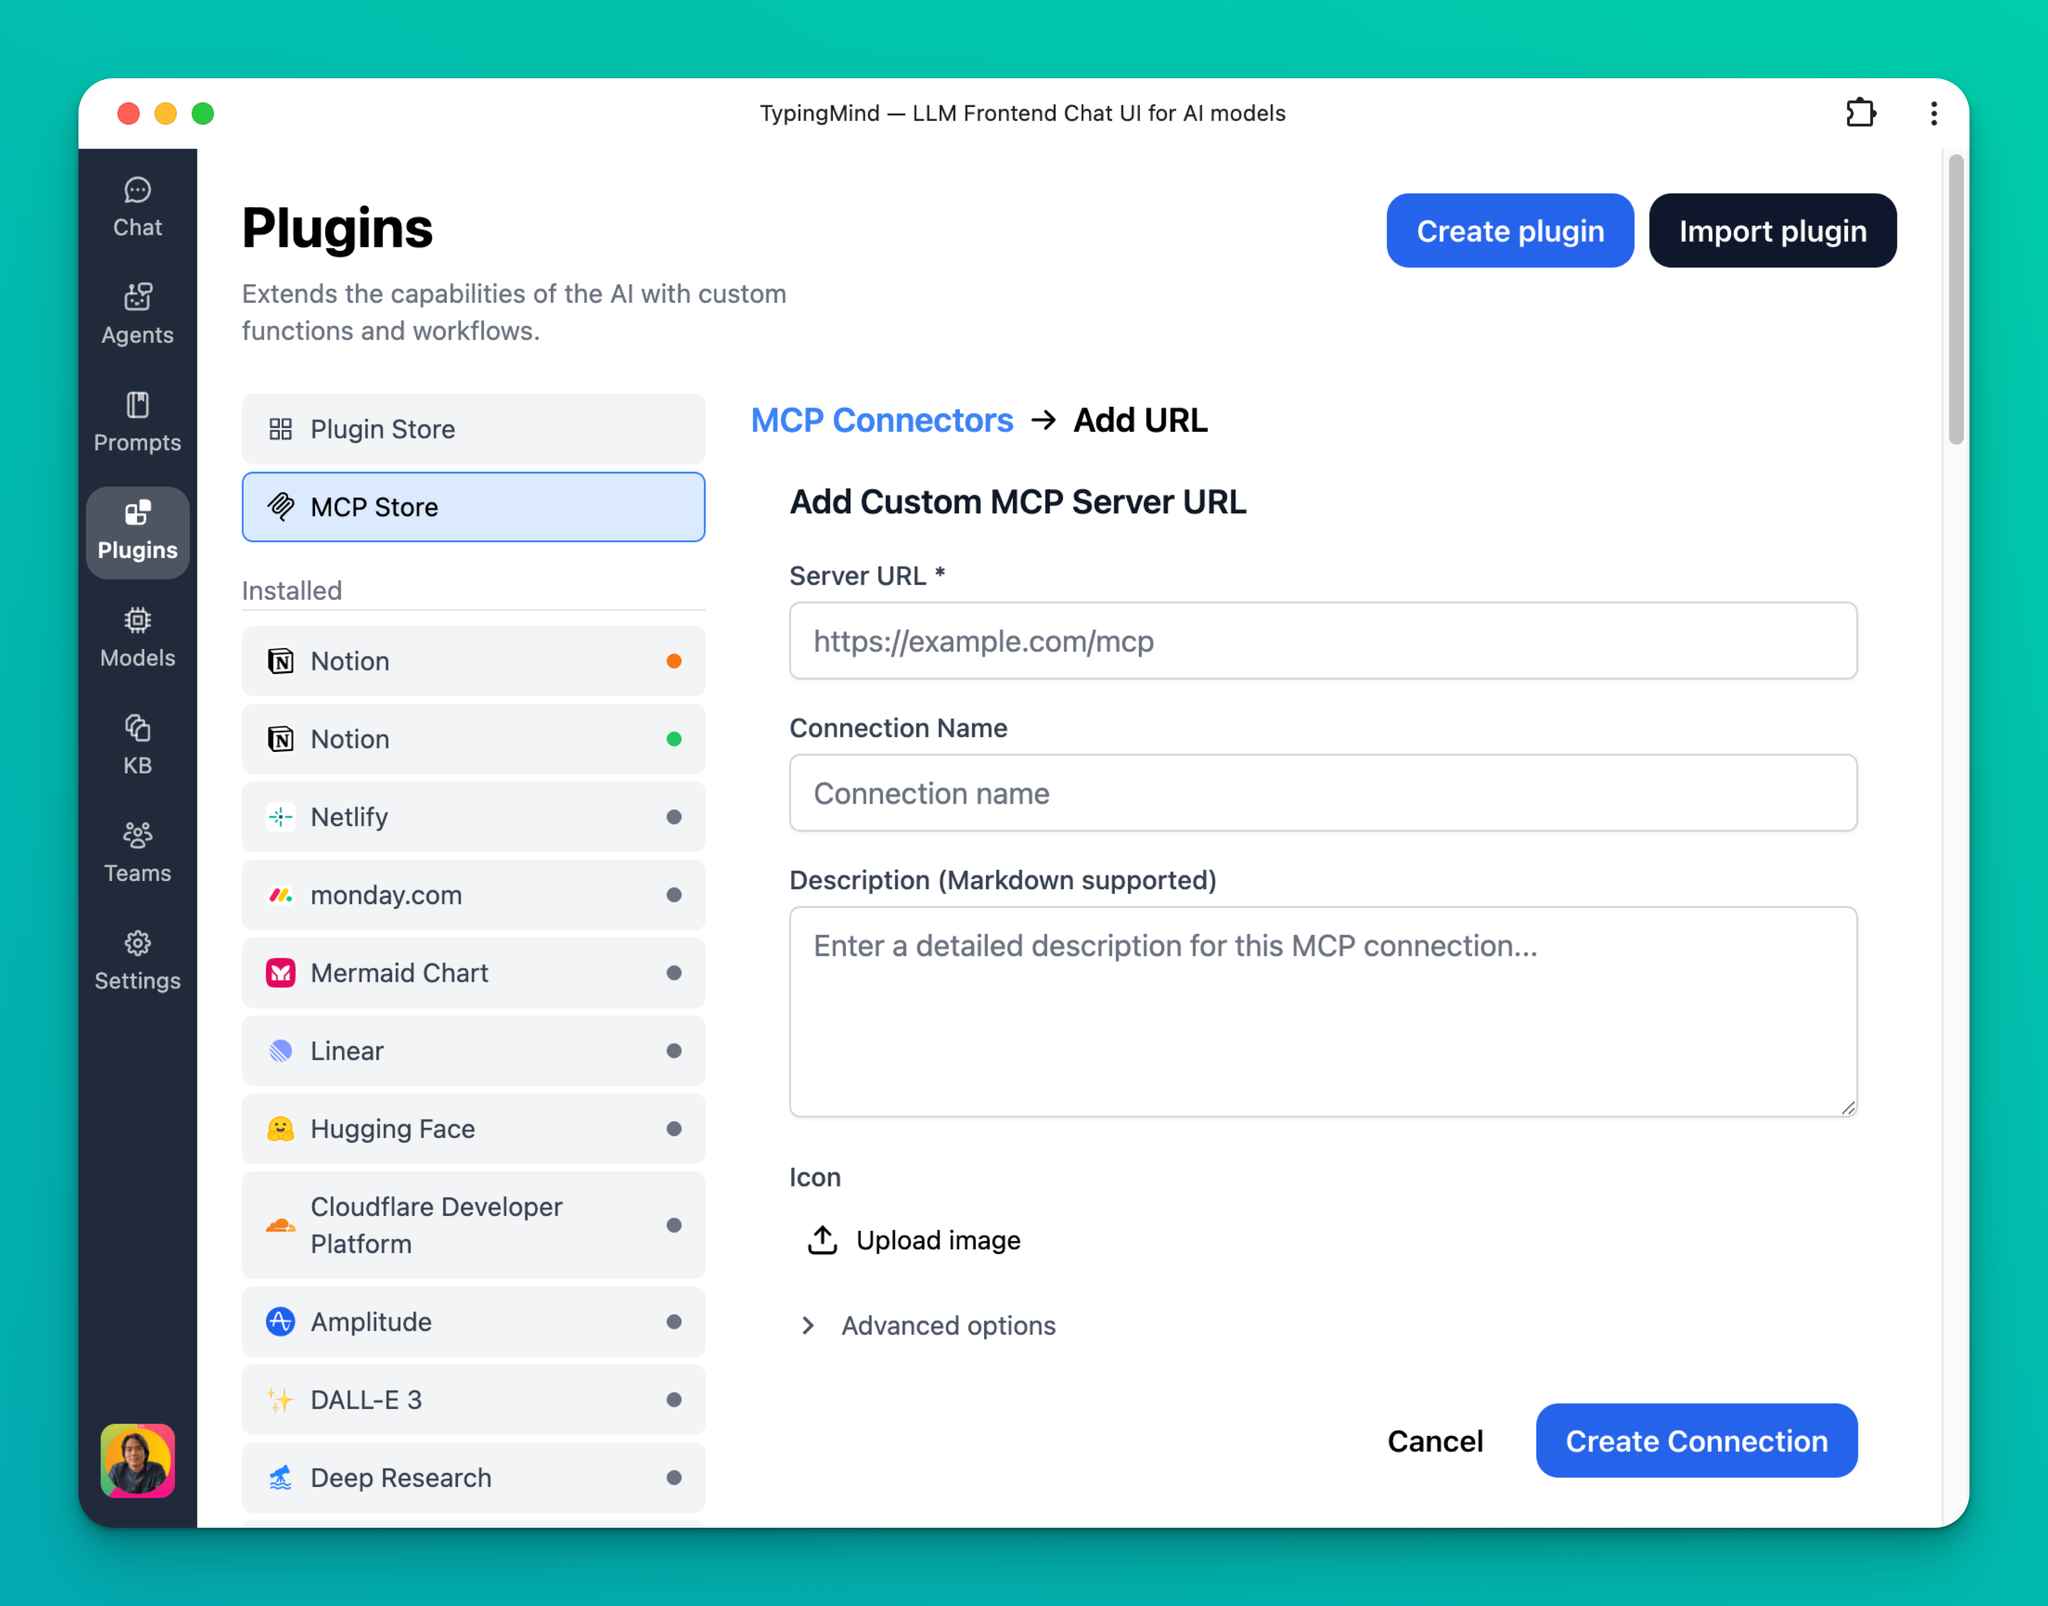
TypingMind MCP Store contains some of the popular remote MCP servers by popular third-party services. To connect to an MCP server, find it in the MCP Store in TypingMind:
- Click “Add connection”
- Click “Connect”
- Follow the authentication steps.
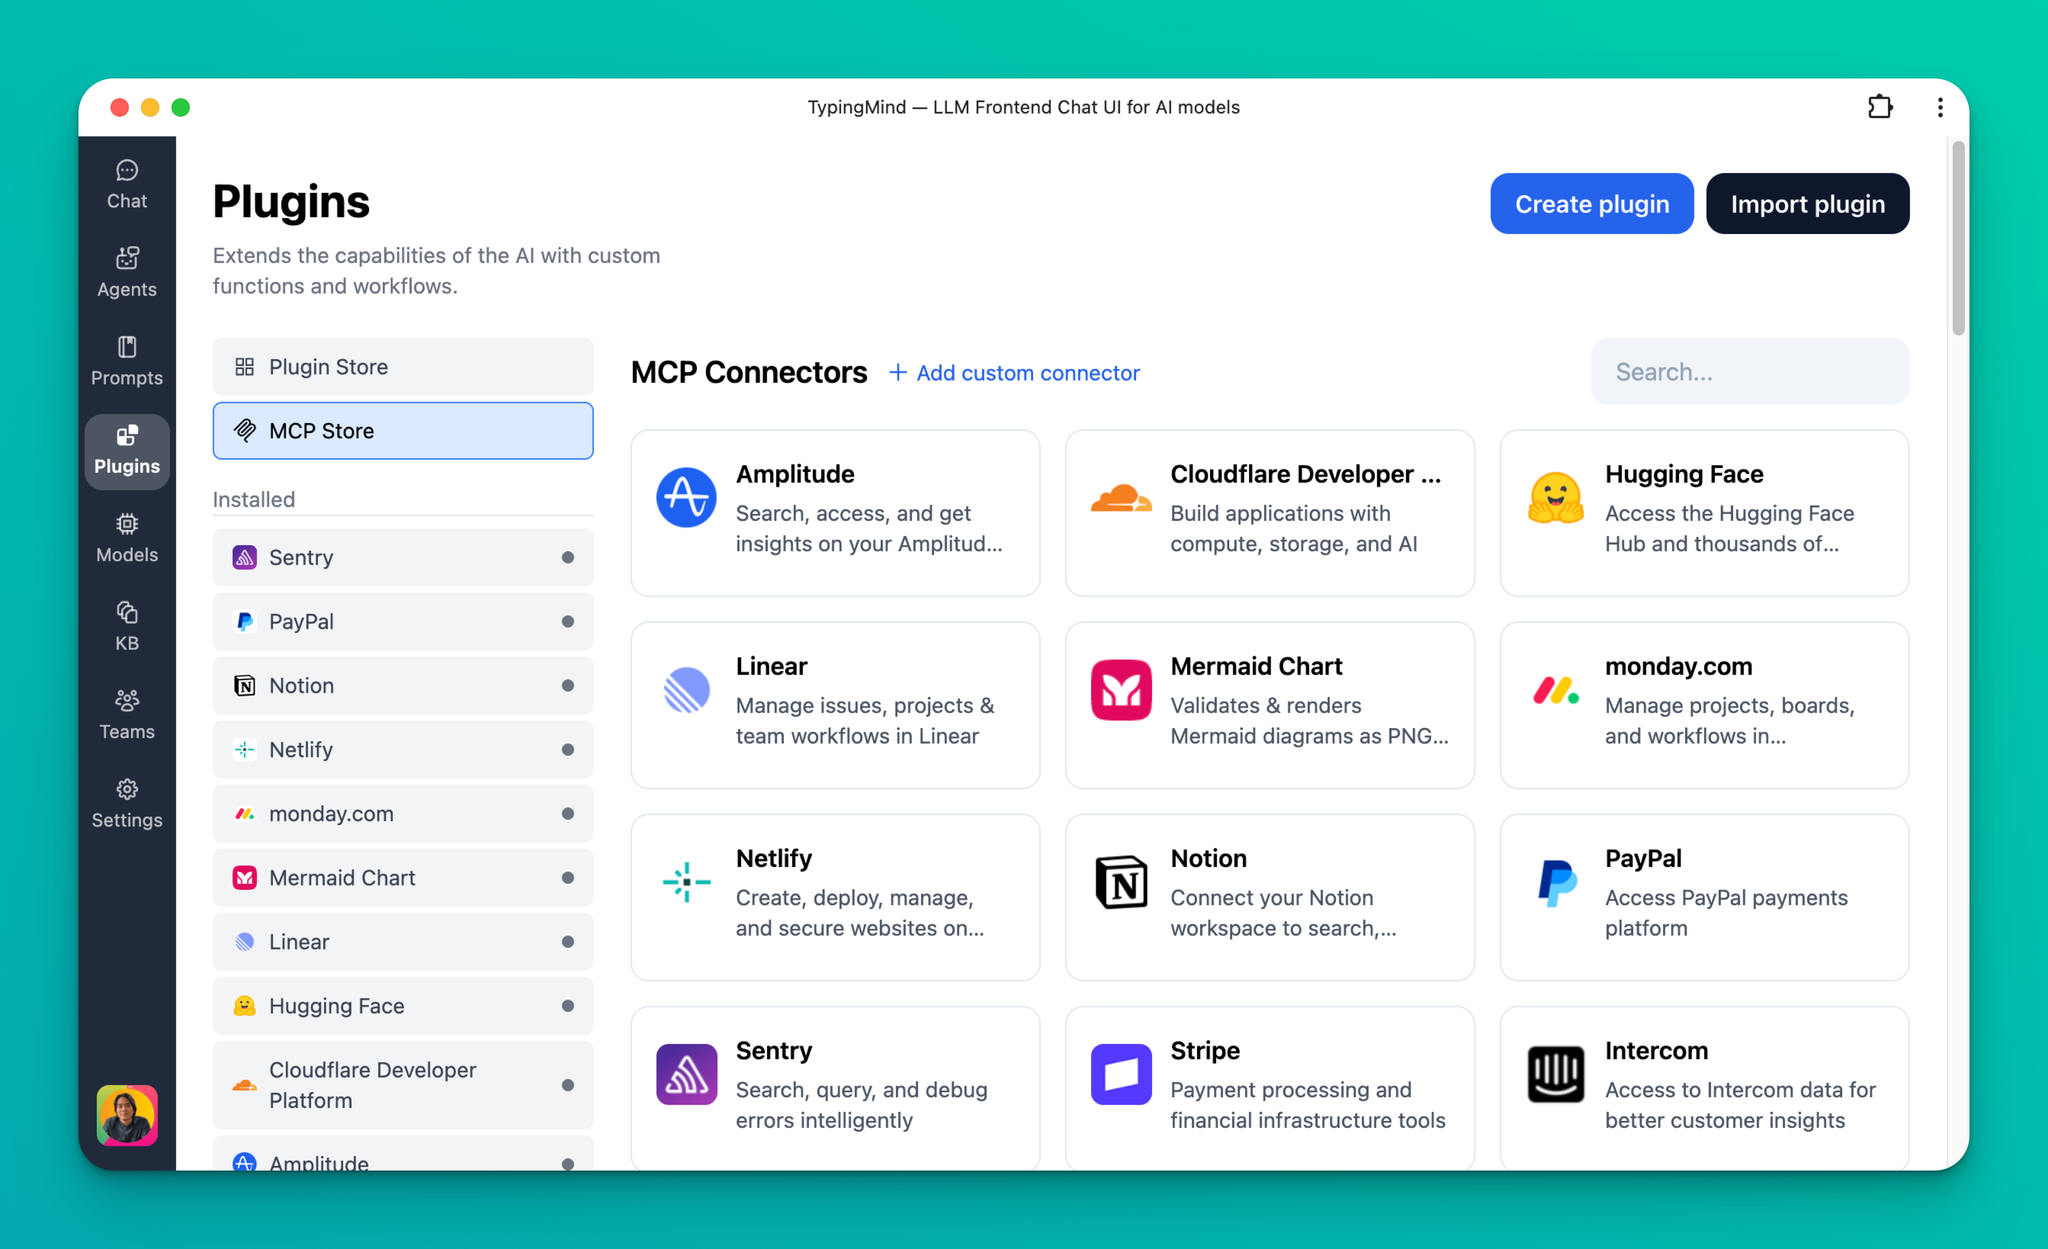
Once added and connected, an MCP connect will show up as a regular plugin and can be used in any chat.

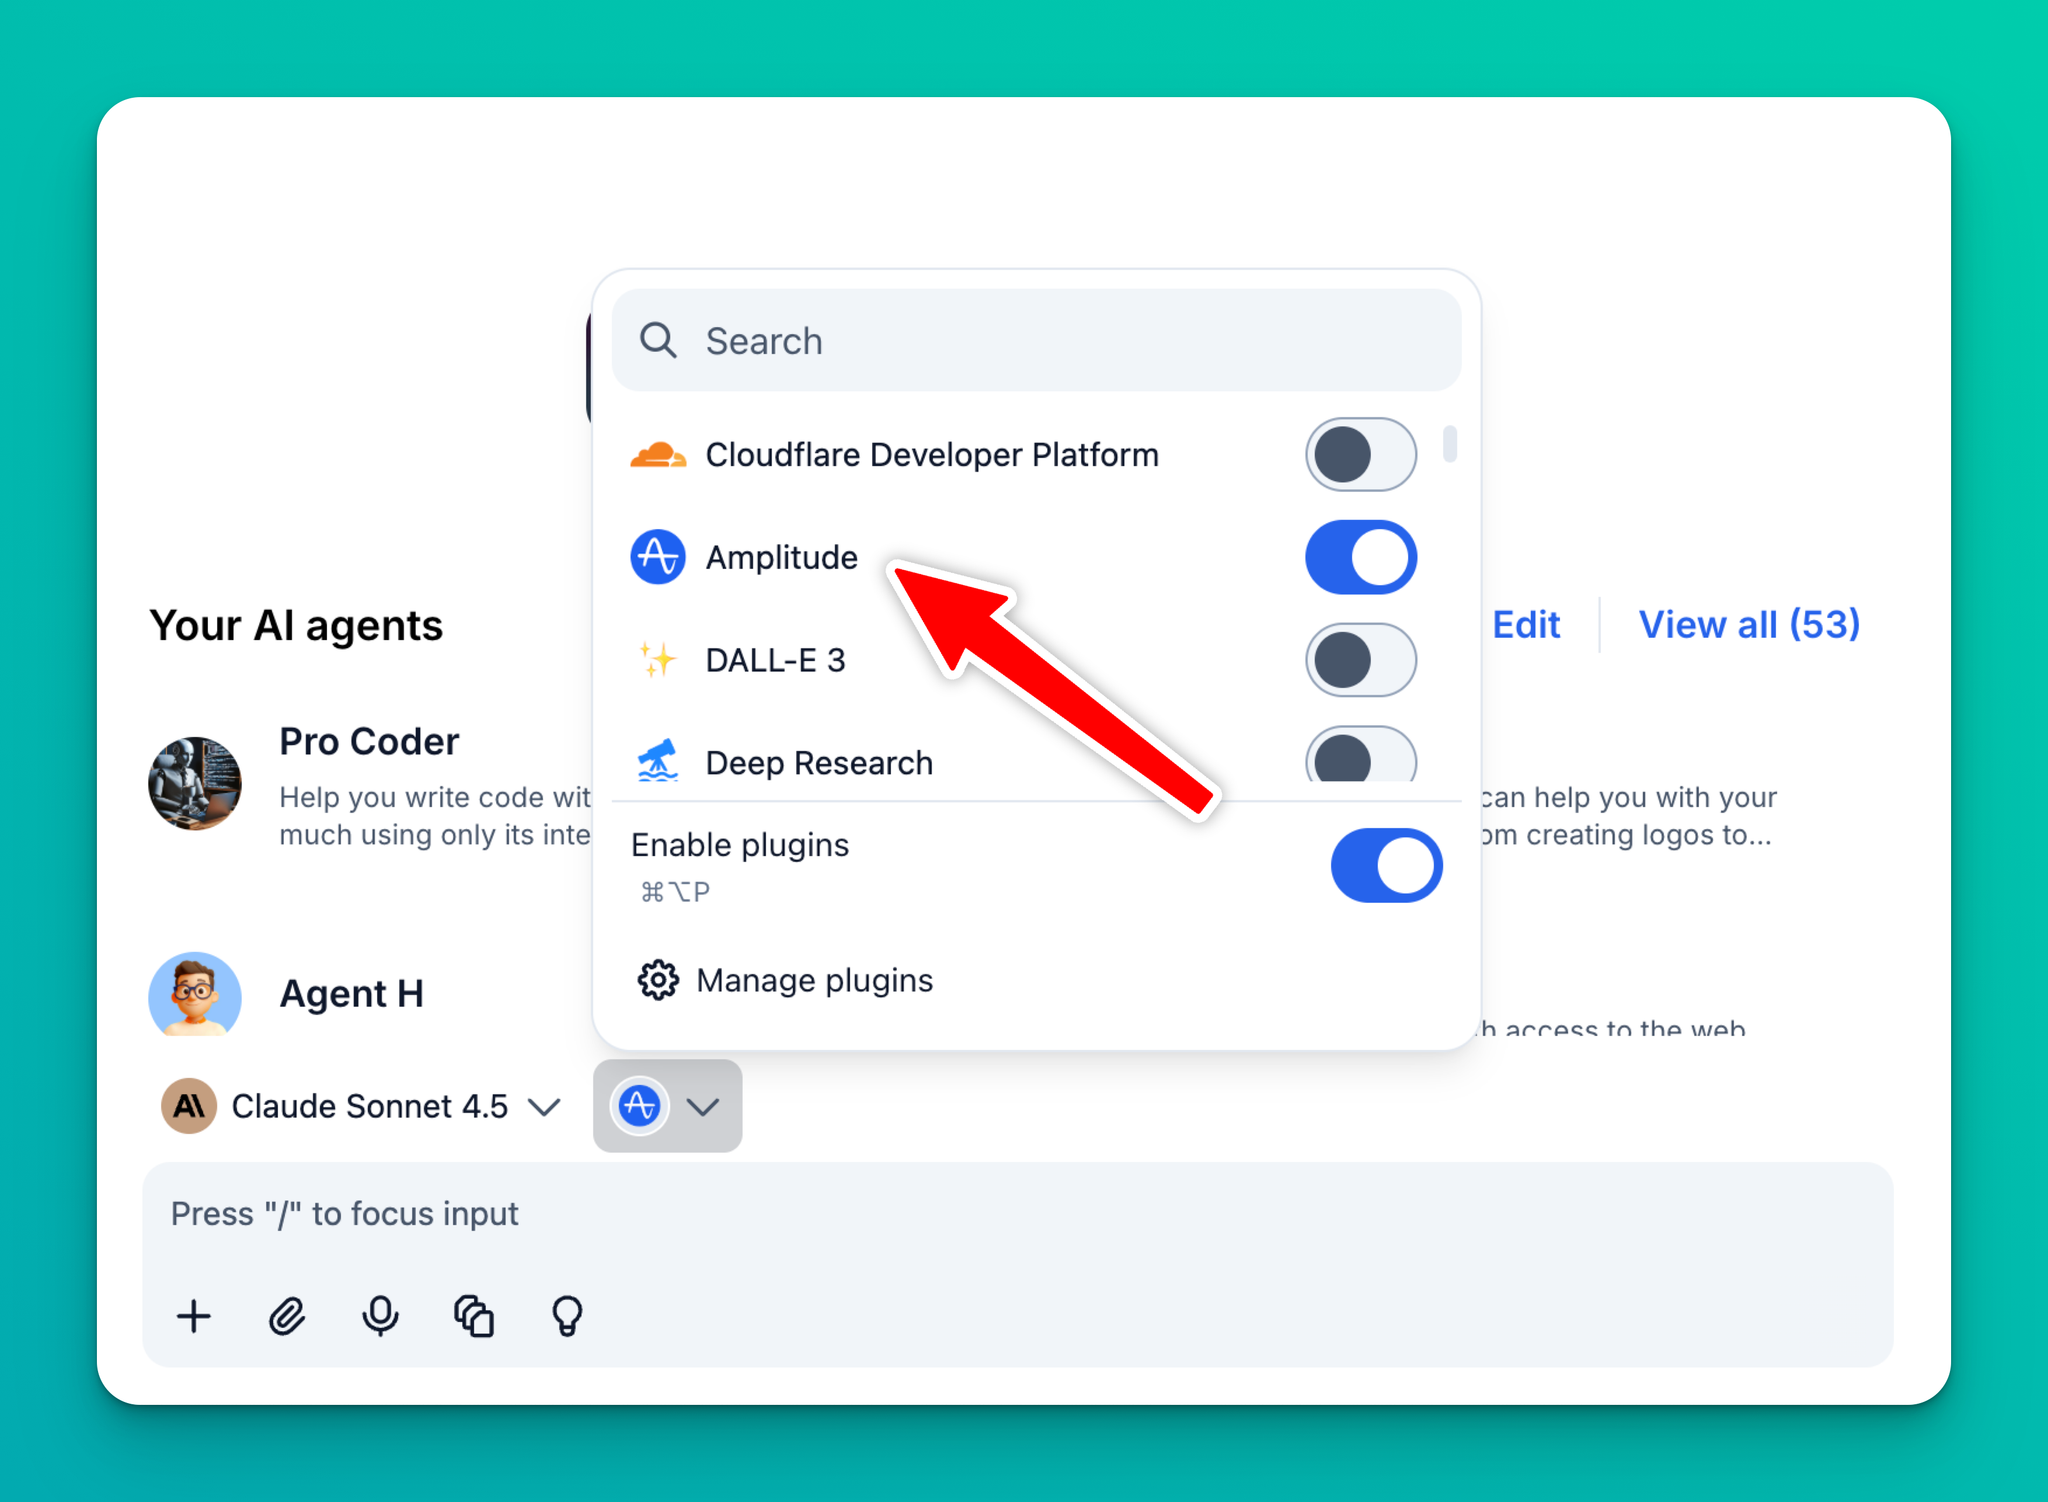
If you don't find the service you need in the MCP store, you can add it manually by clicking Add custom connector and filling out the info. Check the documentation from the service provider to get their MCP server URL and relevant info.
Customize active tools list
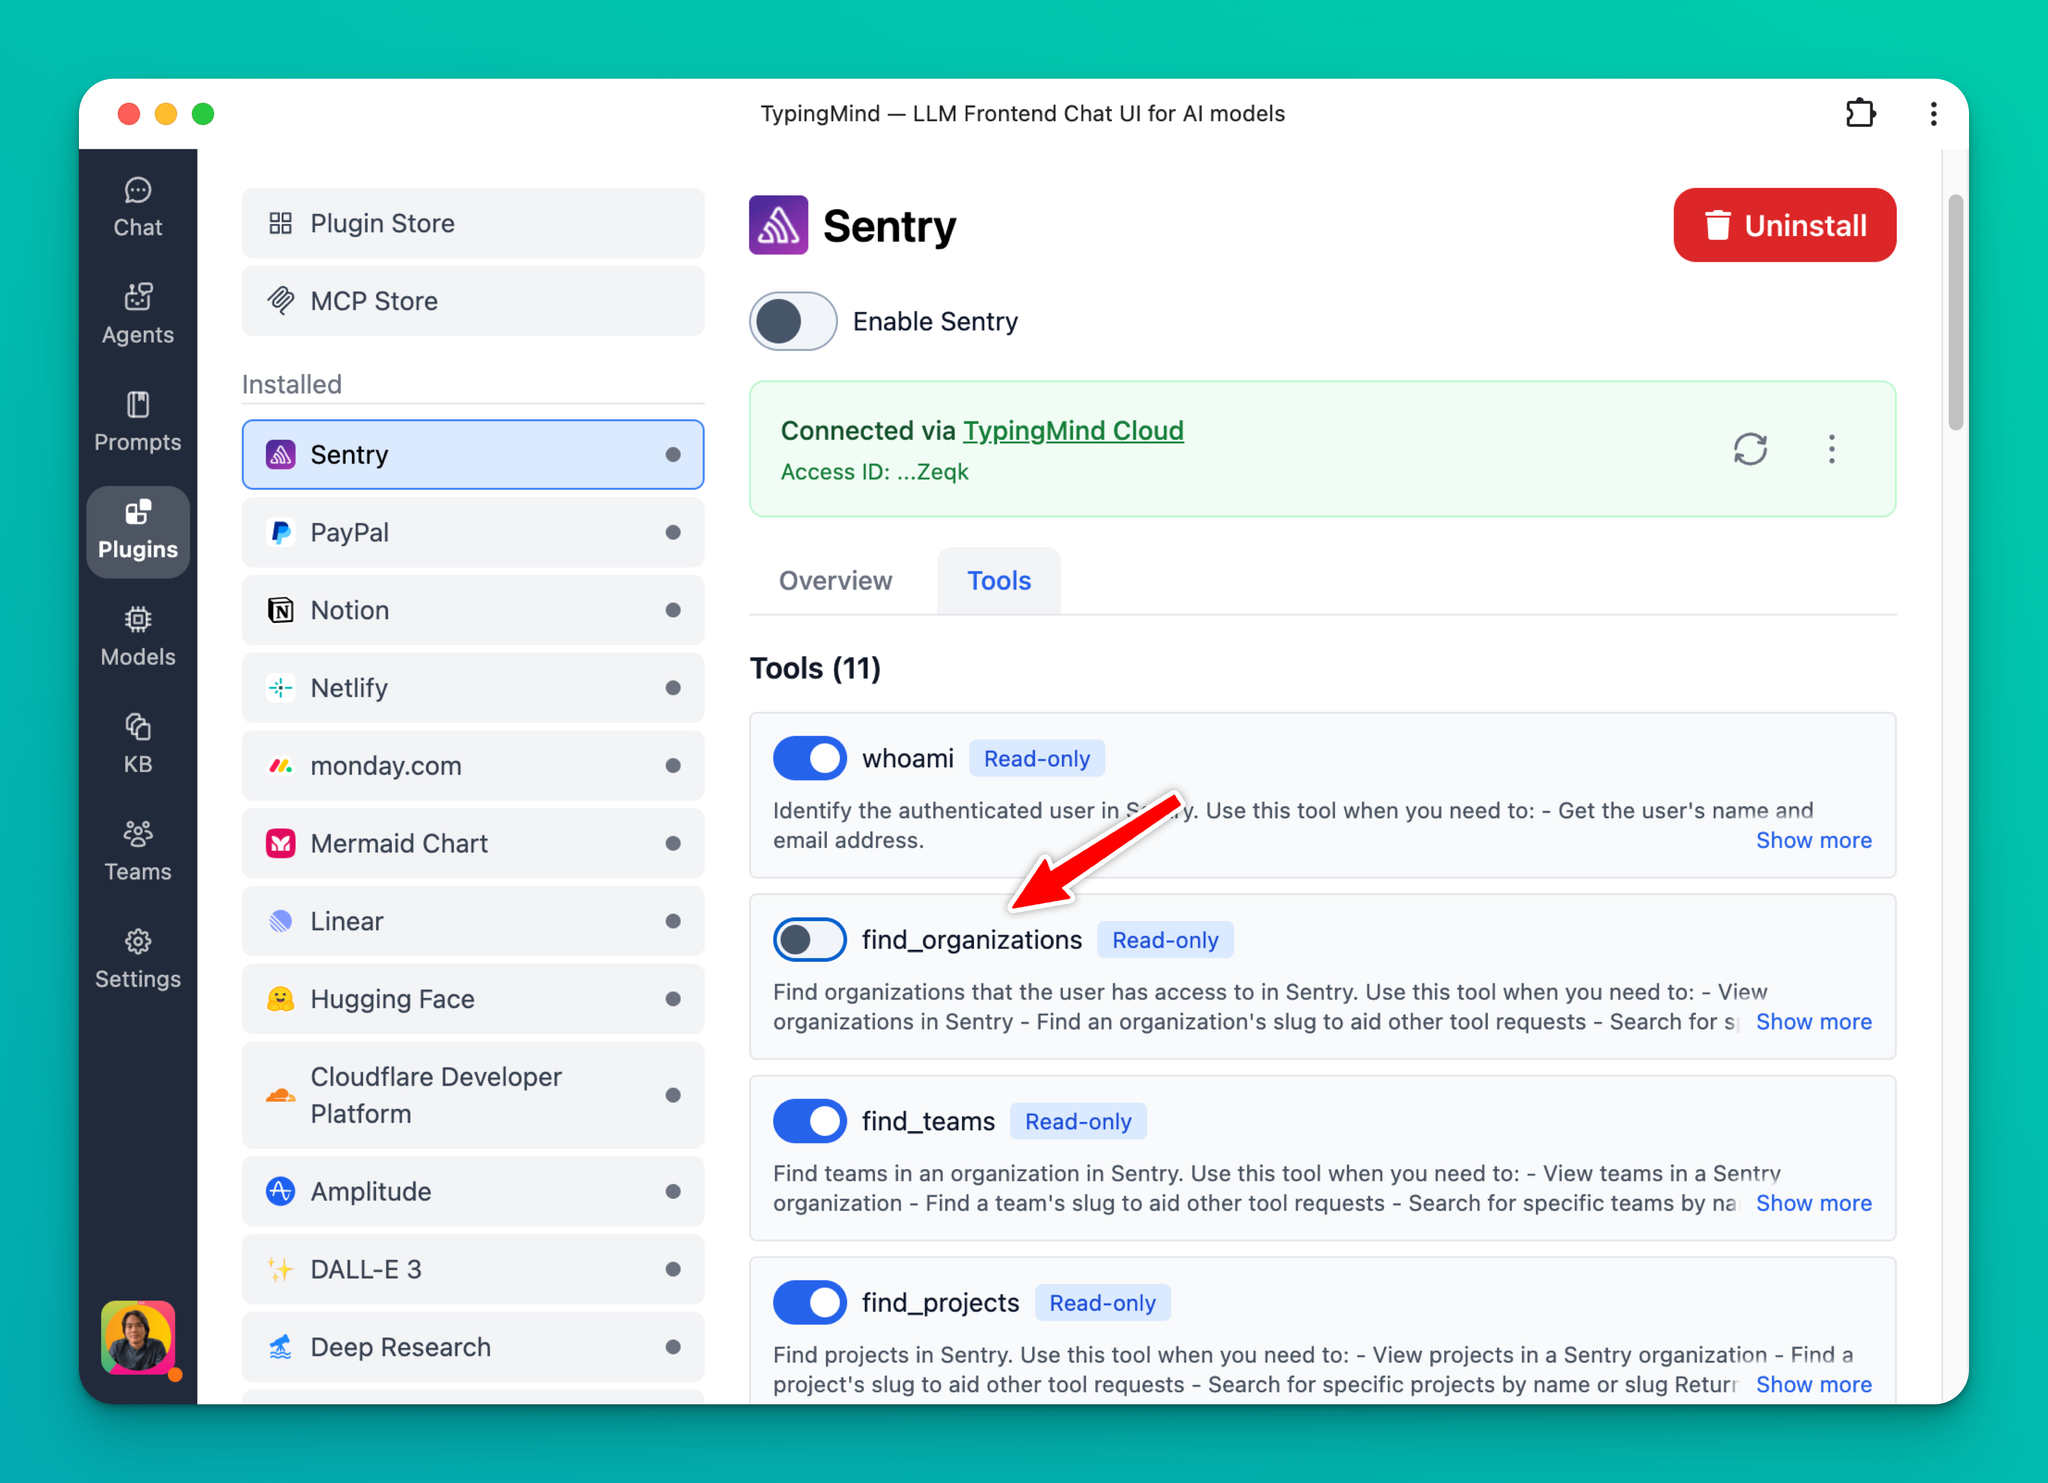
TypingMind allows you to enable/disable the set of tools you want to use from an MCP server. This is helpful in many cases — for example, when you want to disable all the destructive actions from an MCP server that you don't want to use.
To enable/disable tools, toggle them in the tool list table:
Long running sessions and refresh token
TypingMind will automatically refresh the access token when needed. This only works if the MCP server supports refresh token flow; otherwise, you will need to re-connect and reauthenticate after the current access token expires.
TypingMind also manages persistent MCP sessions, which allows working with stateful MCP servers.
Sessions in TypingMind are managed per chat (and per user in the Team version). This means a new MCP session will be created:
- for each user in your workspace (only for Team version)
- and for each chat that the user created.
Sessions will be terminated automatically after 5 minutes of inactivity. All of the session logic will be managed automatically by TypingMind in the background.
Multiple connections and OpenID support
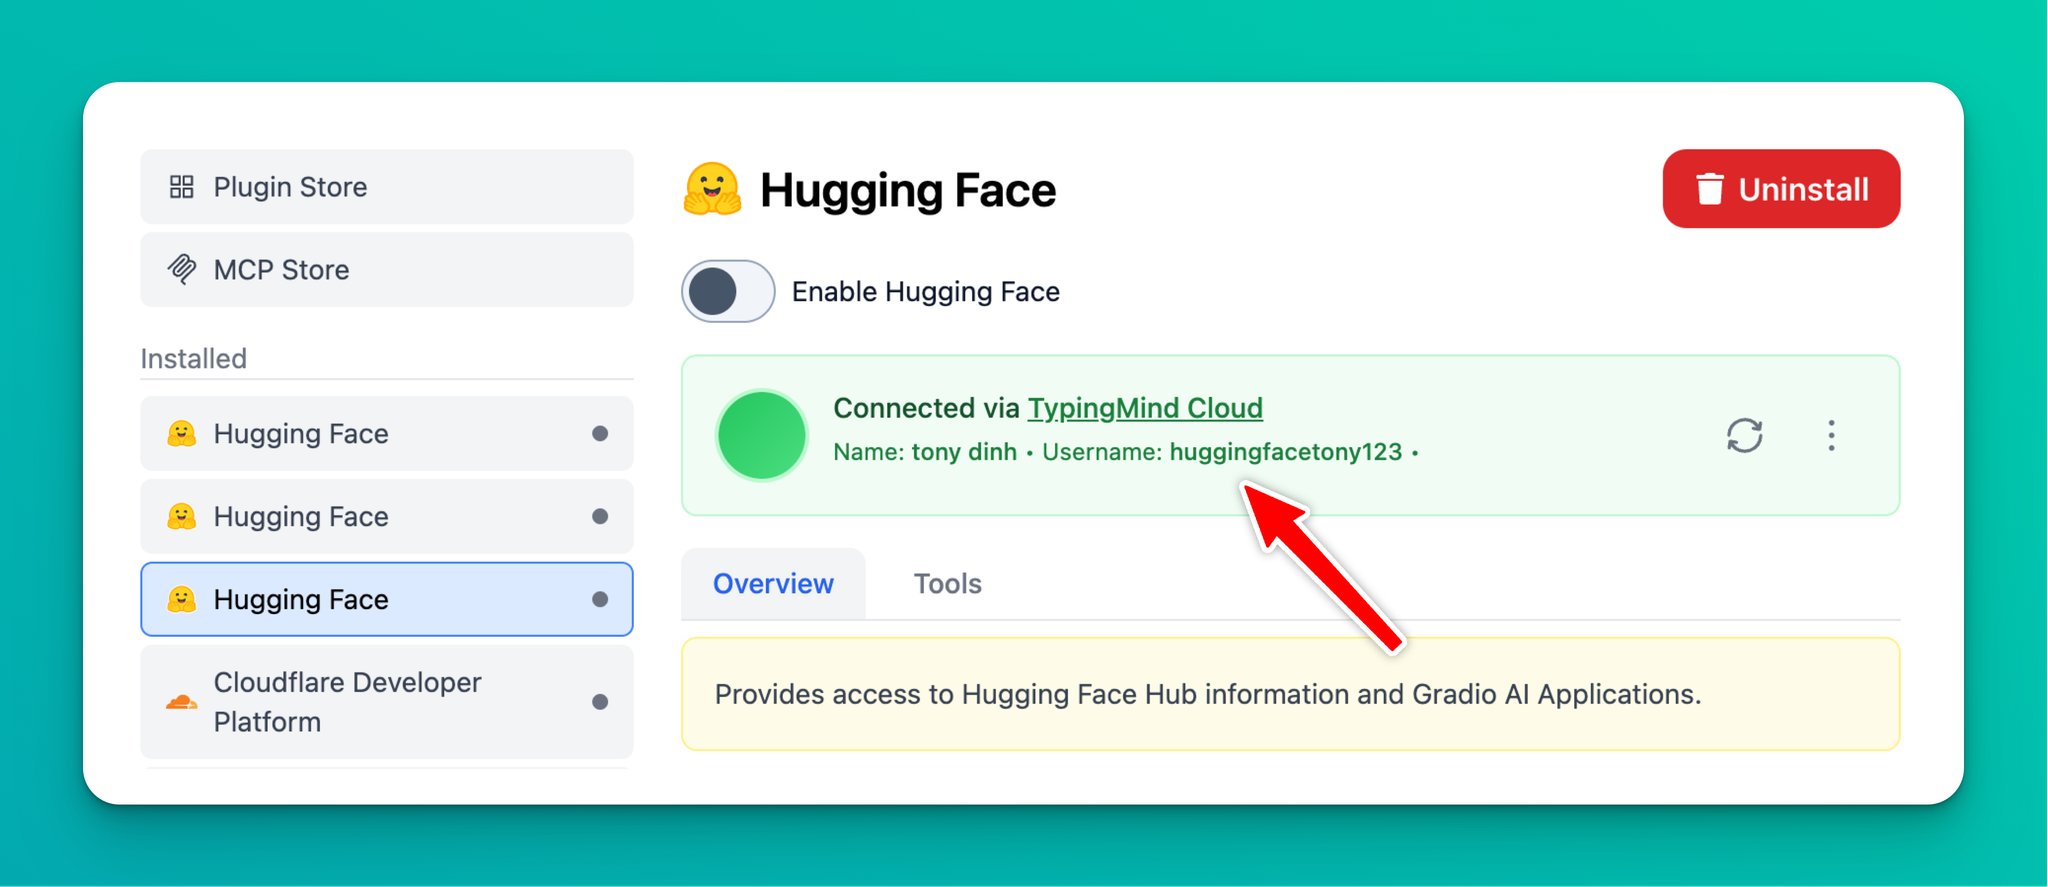
You can have multiple connections to the same MCP servers. This is useful for cases when you want to use multiple accounts of the same service.
For example, if you have multiple Notion accounts and want to use both in TypingMind, simply add the Notion connection twice and connect each one with a separate account.
If the service OAuth server supports OpenID, TypingMind will display the account information that you are currently connected to.
Using a custom OAuth client
By default, TypingMind will register itself with the MCP server using OAuth 2.0 Dynamic Client Registration Protocol RFC7591.
If the service provider doesn't support it, you can connect using your own OAuth client. Go to Plugins → MCP Store → Add custom connector → Advanced options → OAuth Client.
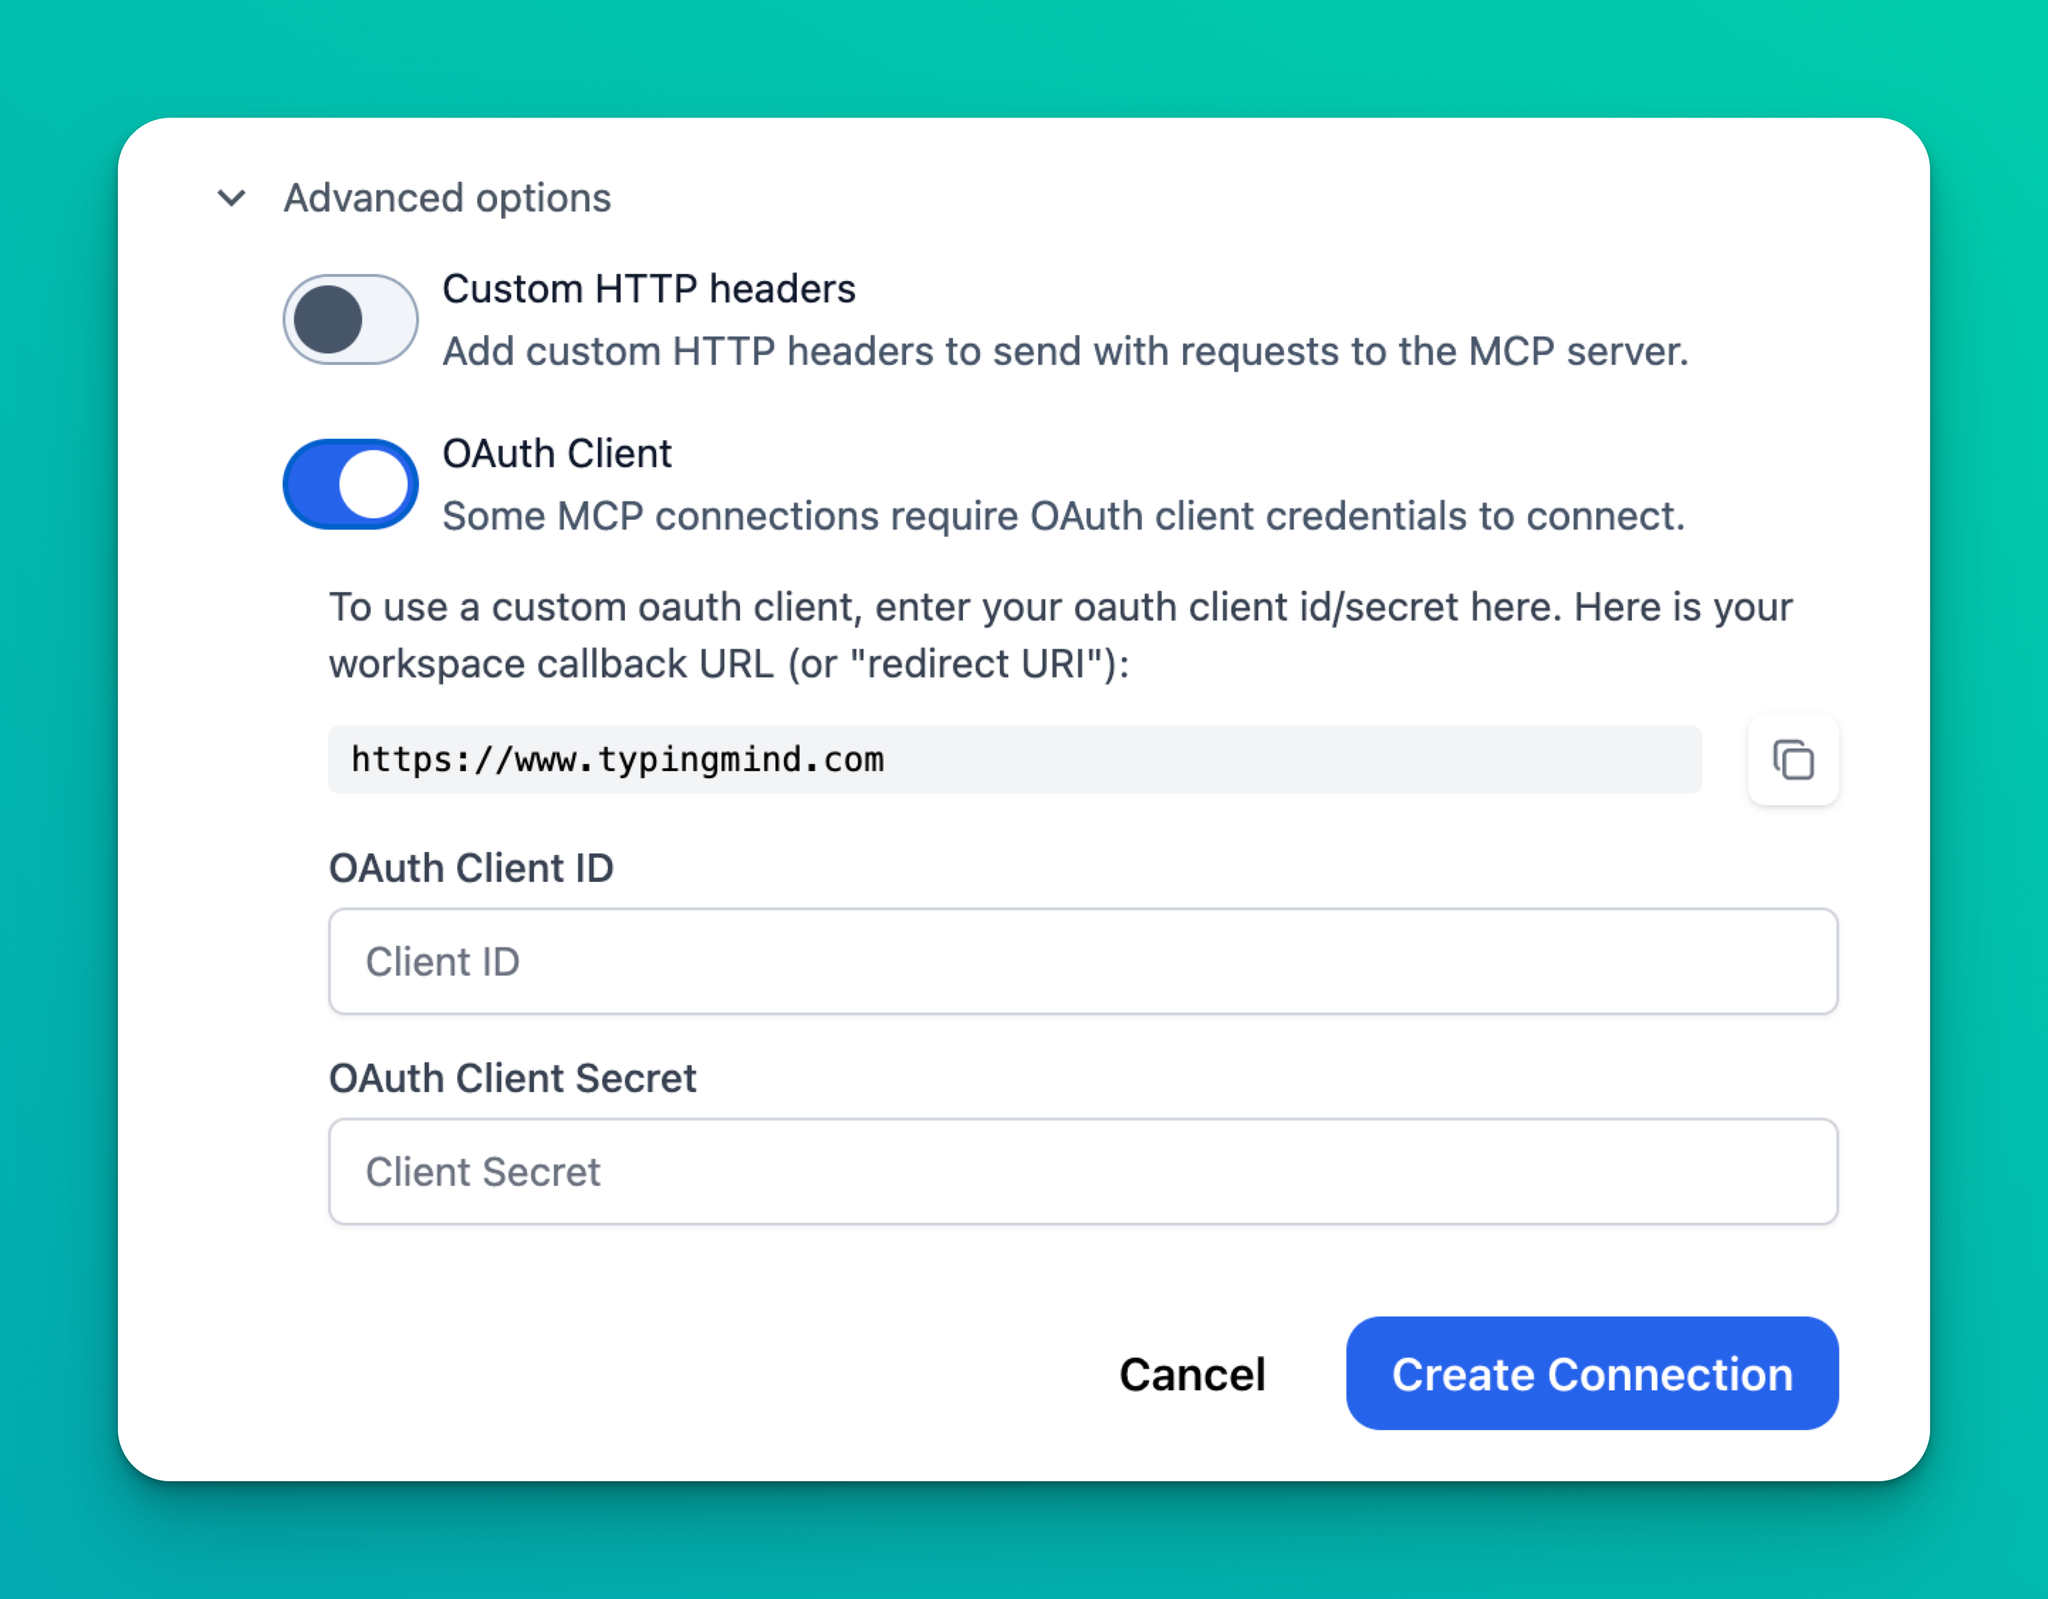
For the Personal version, the official redirect URLs for the OAuth client are:
- Main redirect URL:
https://www.typingmind.com/oauth/callback
- Backup redirect URL:
https://www.typingmind.com
You should add both of these URLs to your OAuth config screen.
For the Team version, you will see your own unique redirect URL displayed in the section.
- Example redirect URL:
https://{your-workspace-url}/oauth/callback
Using private MCP connector
MCP Connector is only needed in the Personal version of TypingMind.
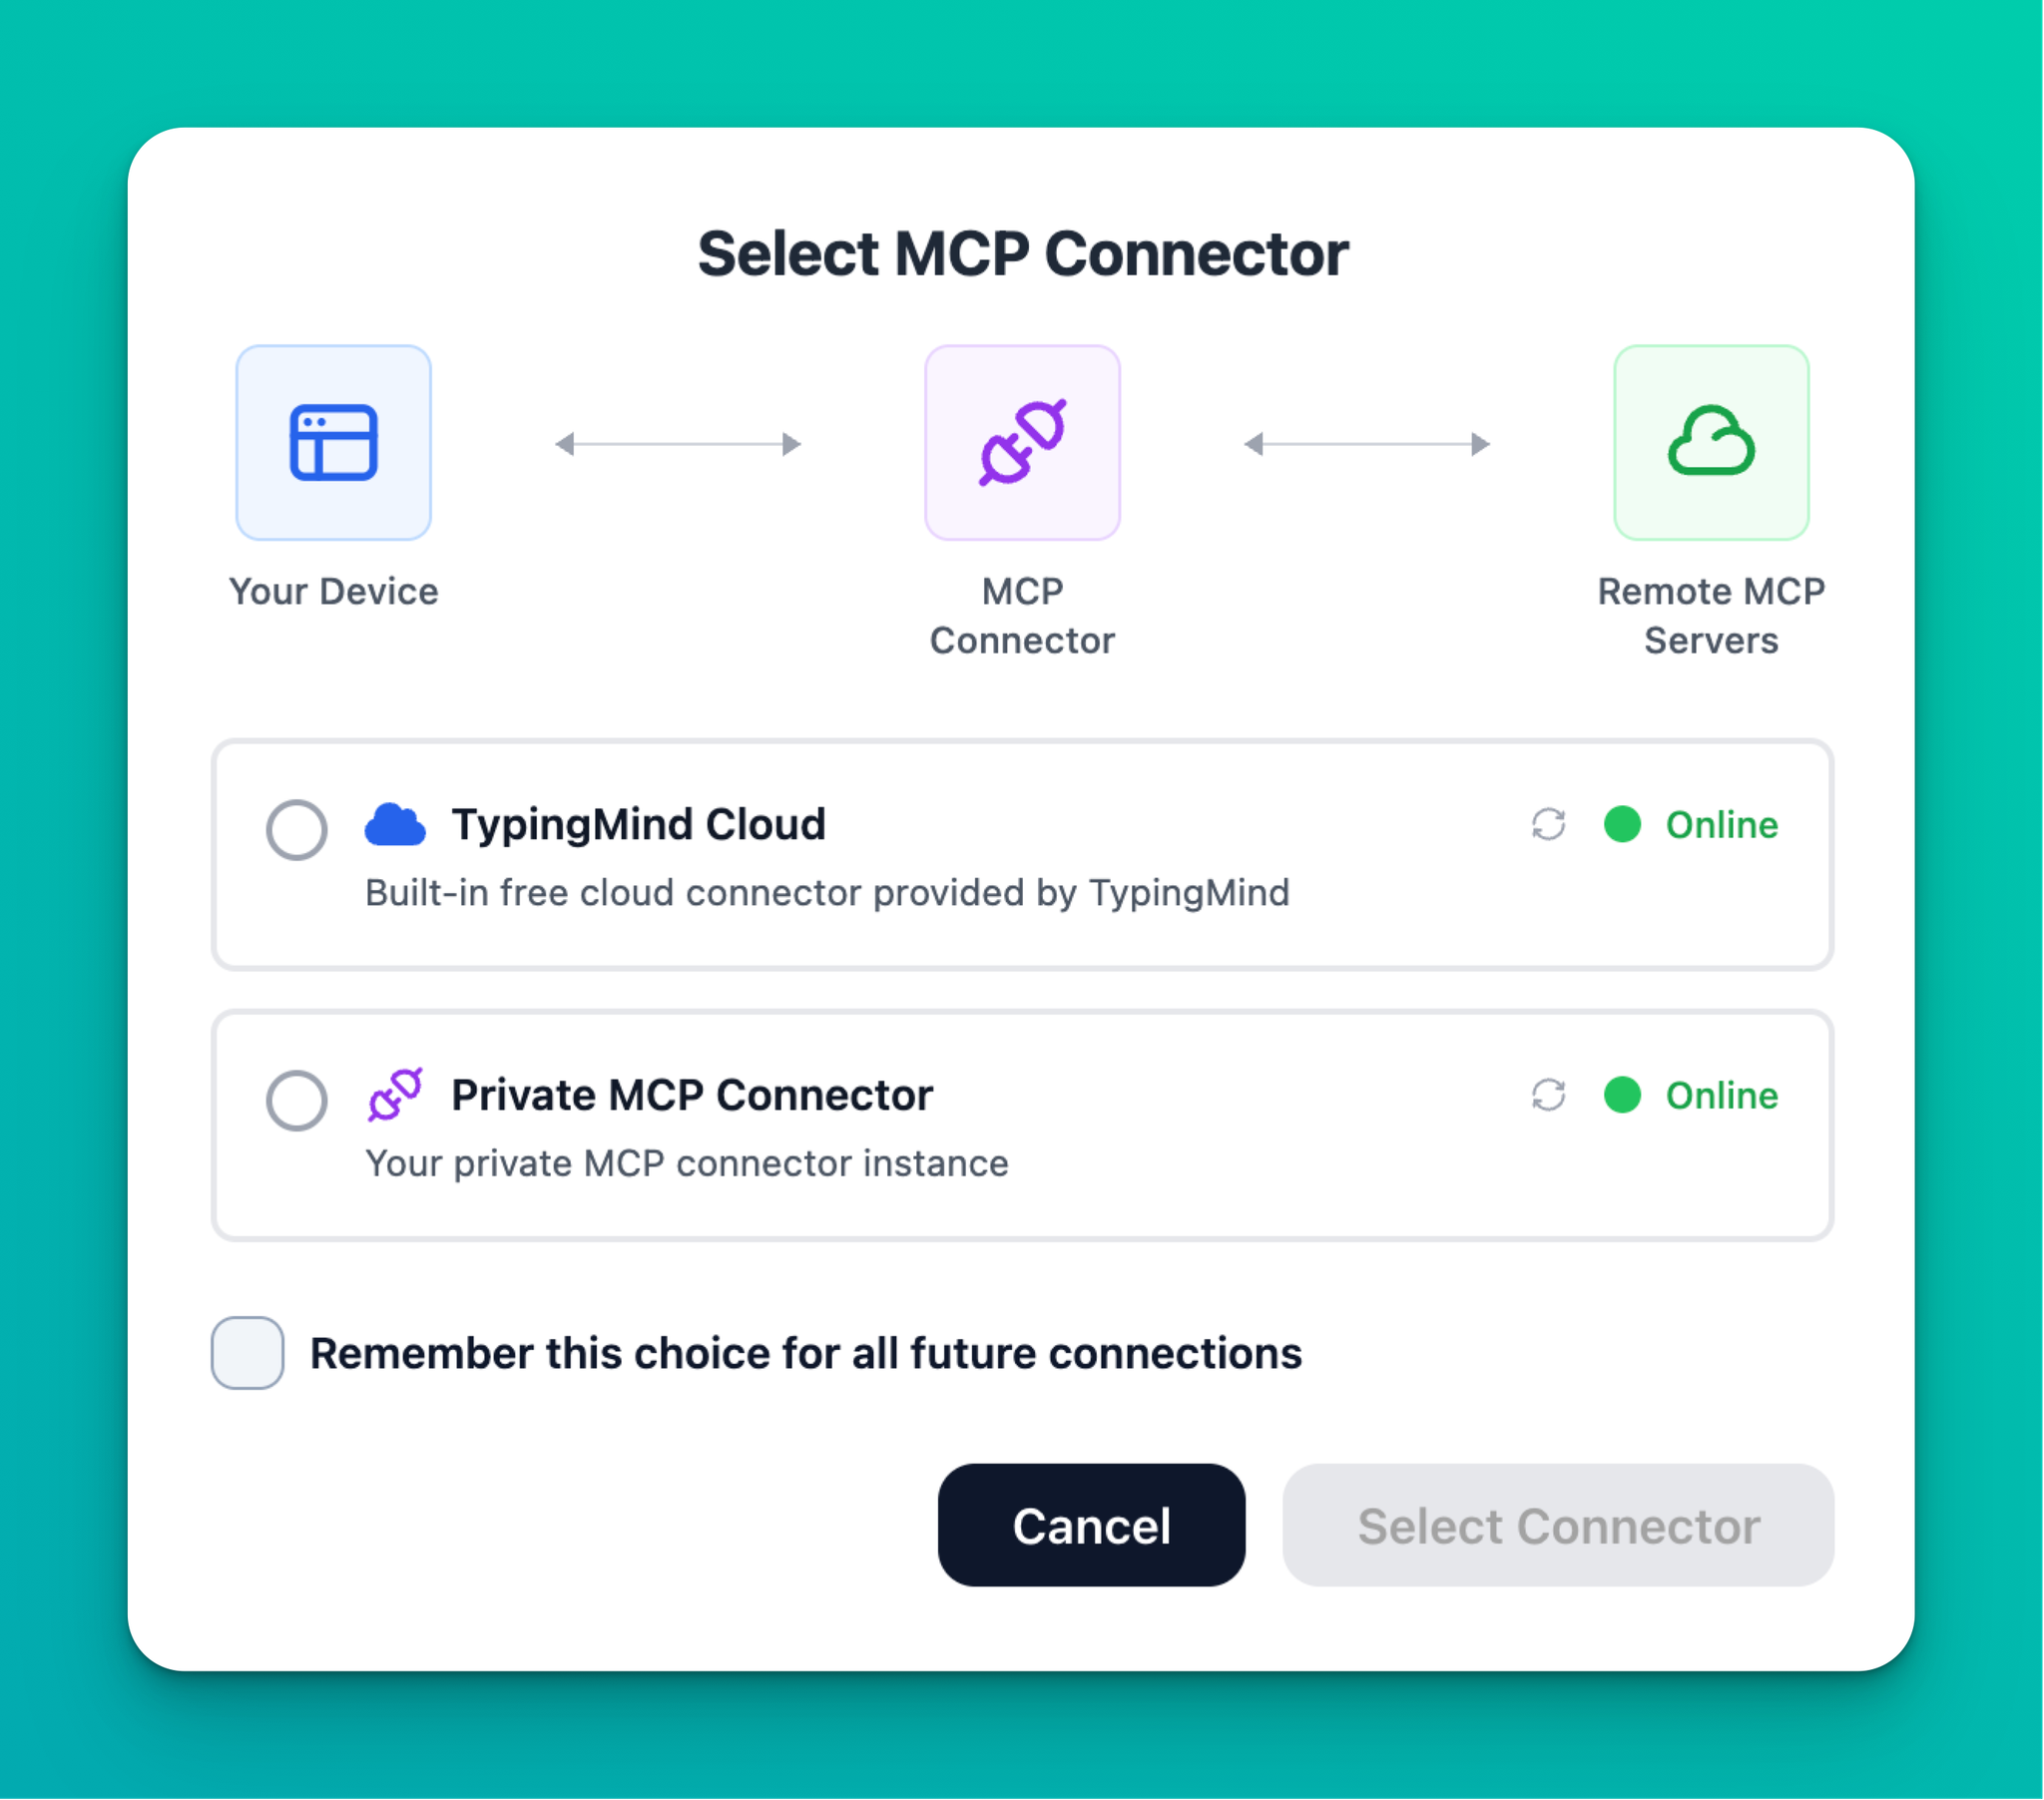
MCP Connector is an intermediate server to facilitate your connection between the TypingMind app and the remote MCP servers. It is needed because most MCP servers don’t allow direct connection between TypingMind app running in the browsers to their server.
When you connect to a remote MCP server the first time, TypingMind will ask you to select a connector.
- TypingMind Cloud: is the easiest and requires no setup. You will need to signup for an account with TypingMind Cloud first, it’s free and required to avoid spam to our cloud server.
- Private MCP Connector: this is a private self-hosted MCP connector that you can setup on your local device or on a private server.
Connect to local MCP servers
You can connect to local MCP servers using a Private MCP Connector. Check the following page to see more details:
