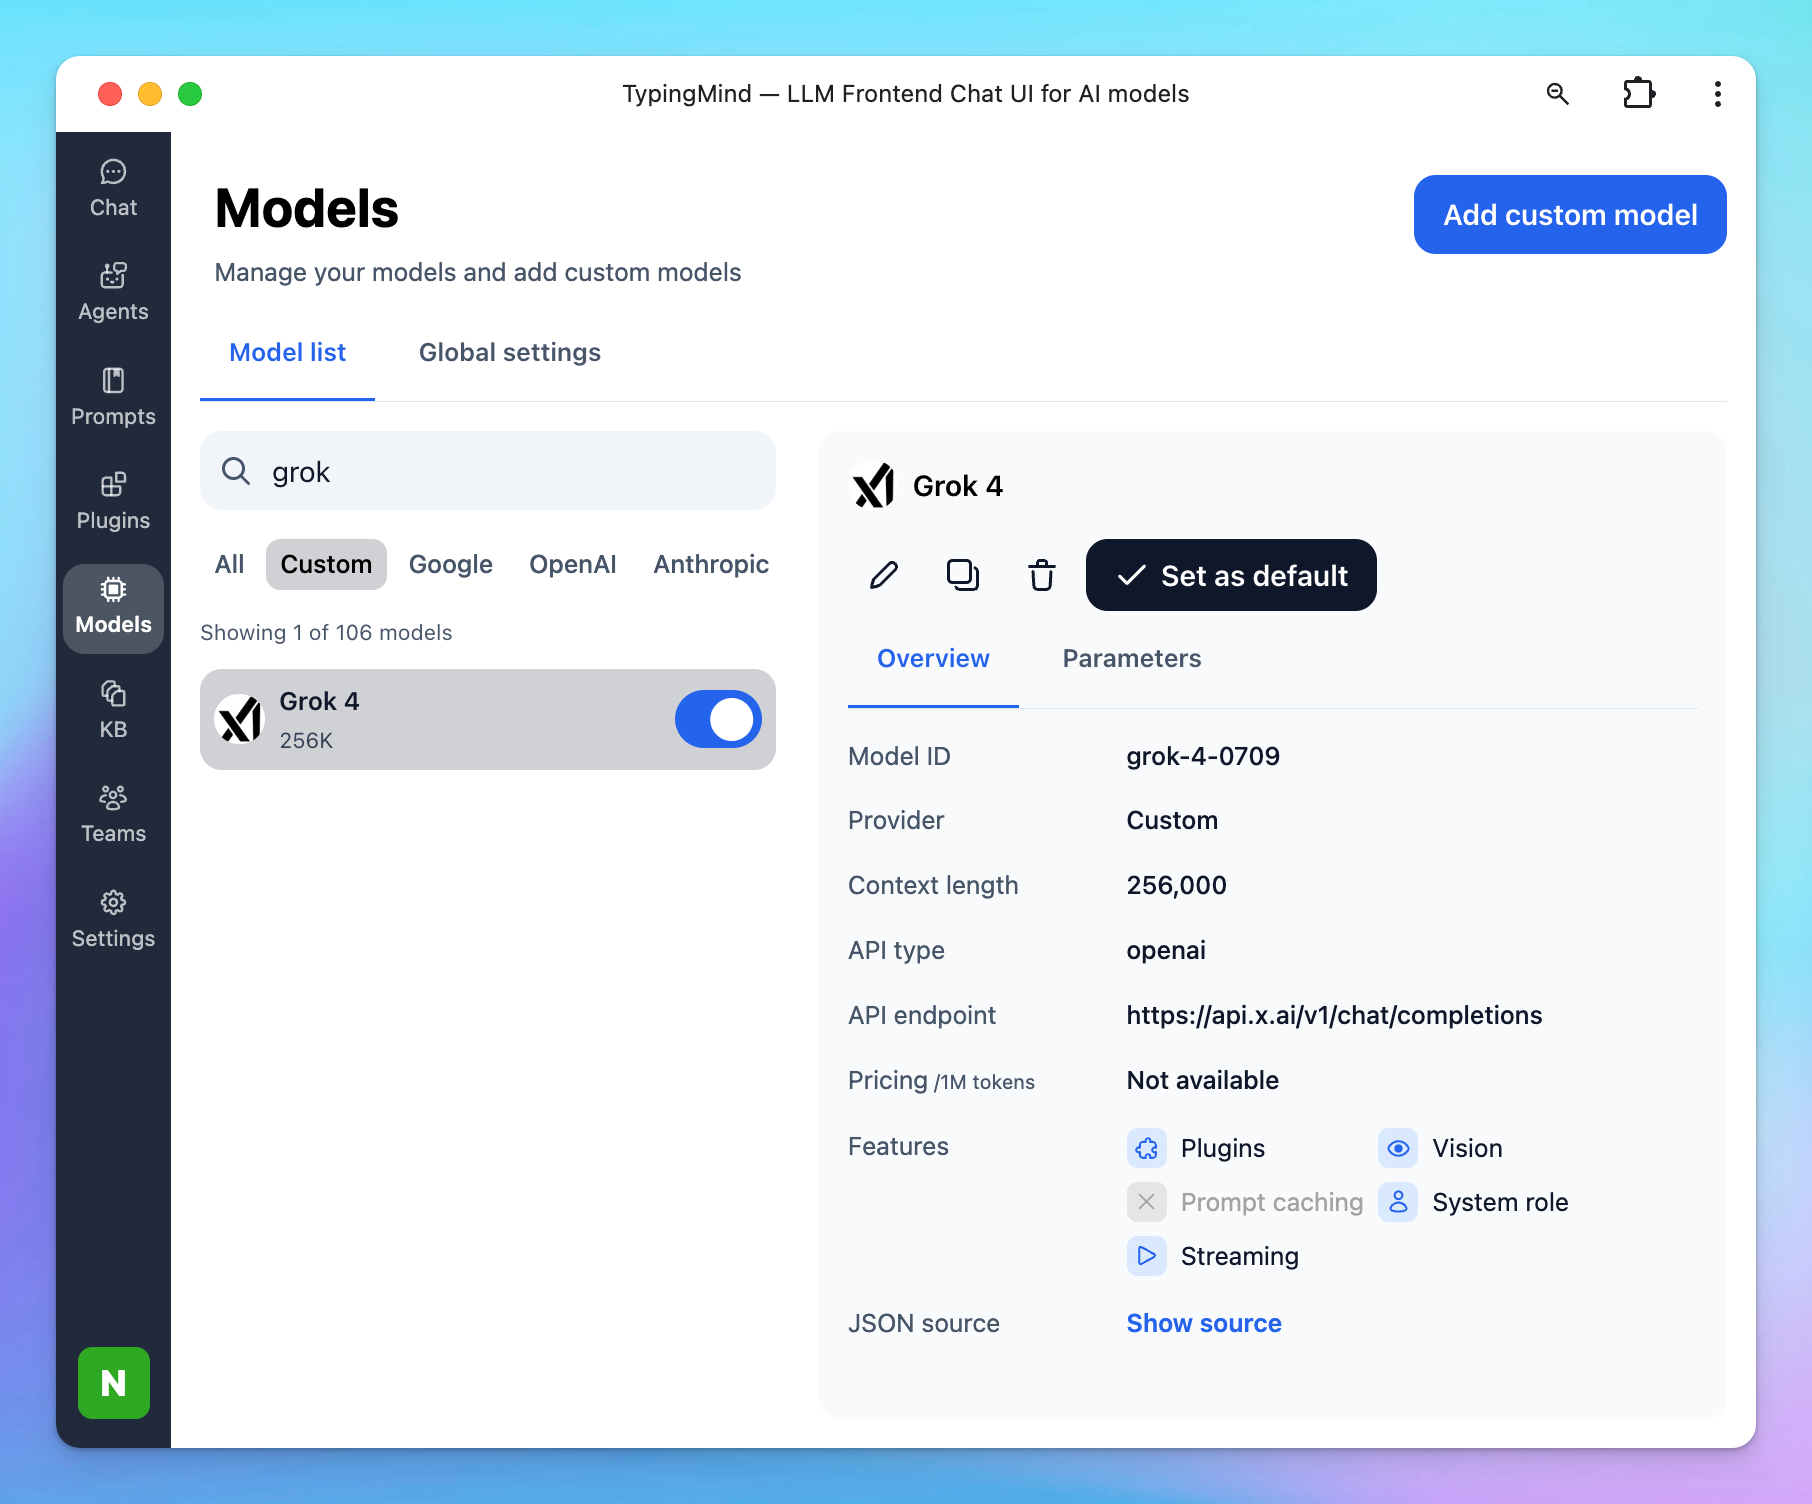
You can now set up xAI models as custom models on TypingMind!
Here’s how!
Step 1: Create an xAI accountStep 2: Create an xAI teamStep 3: Purchase API creditsStep 4: Create API keyStep 5: Set up xAI on TypingMindStep 6: Start chatting!
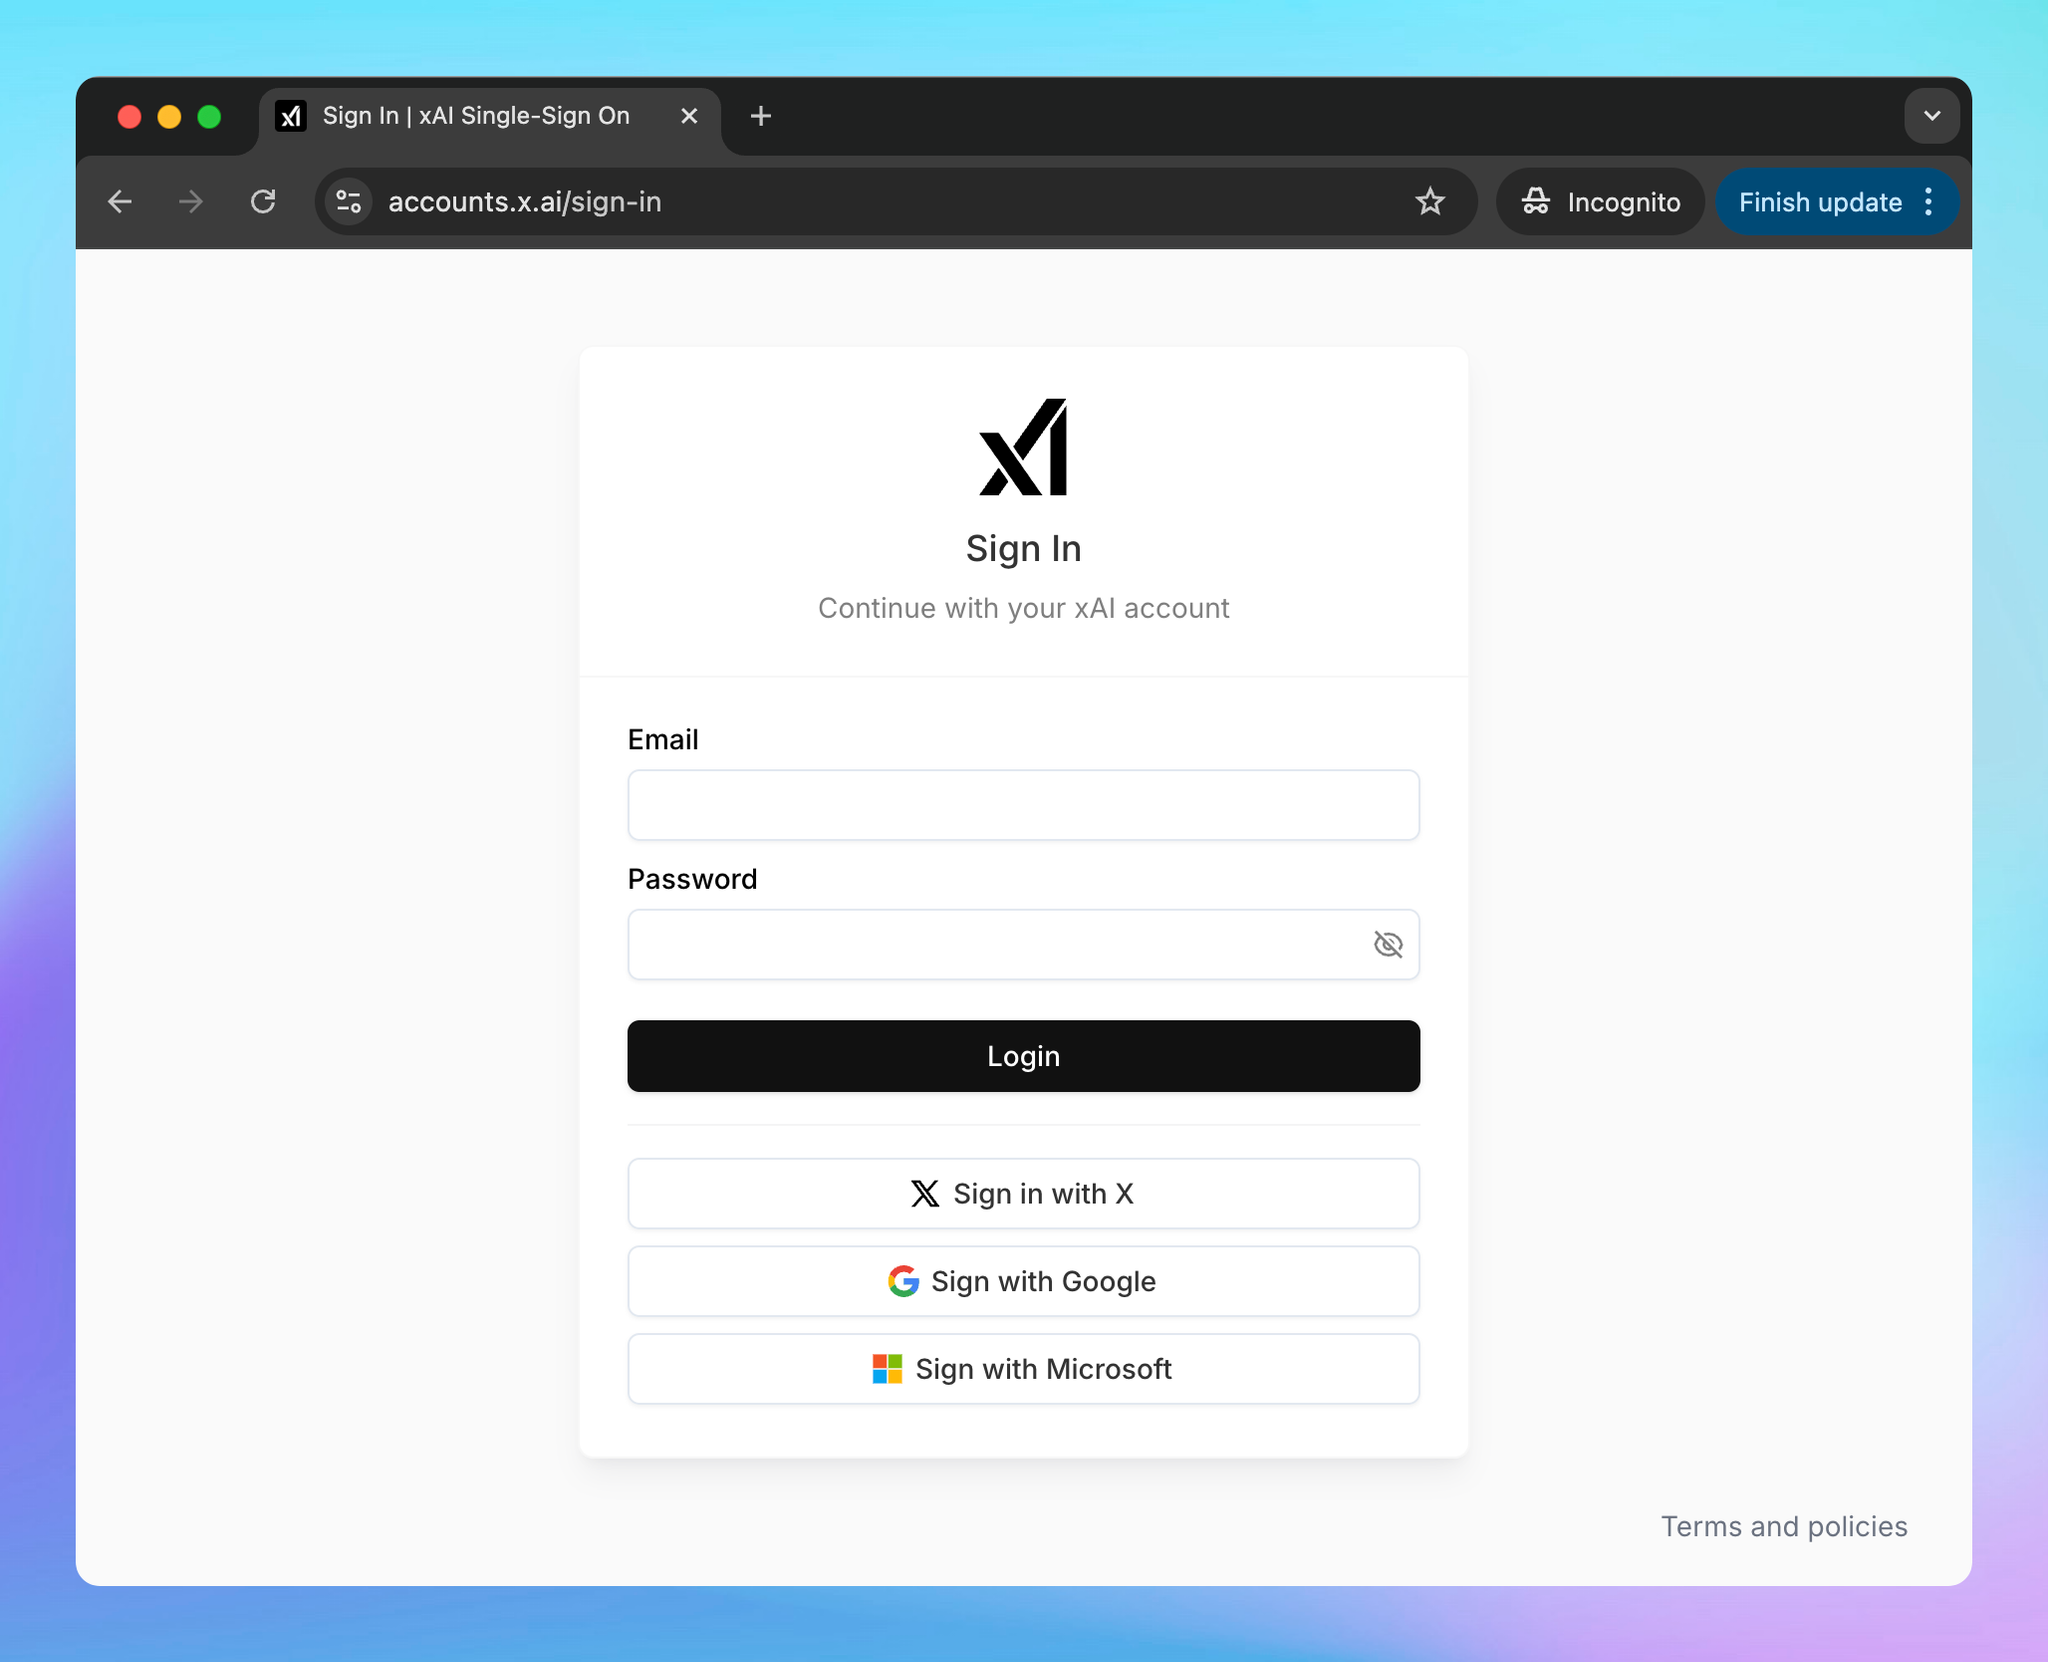
Step 1: Create an xAI account
Go to https://console.x.ai/ to sign up for an xAI account if you don’t have one yet.
Step 2: Create an xAI team
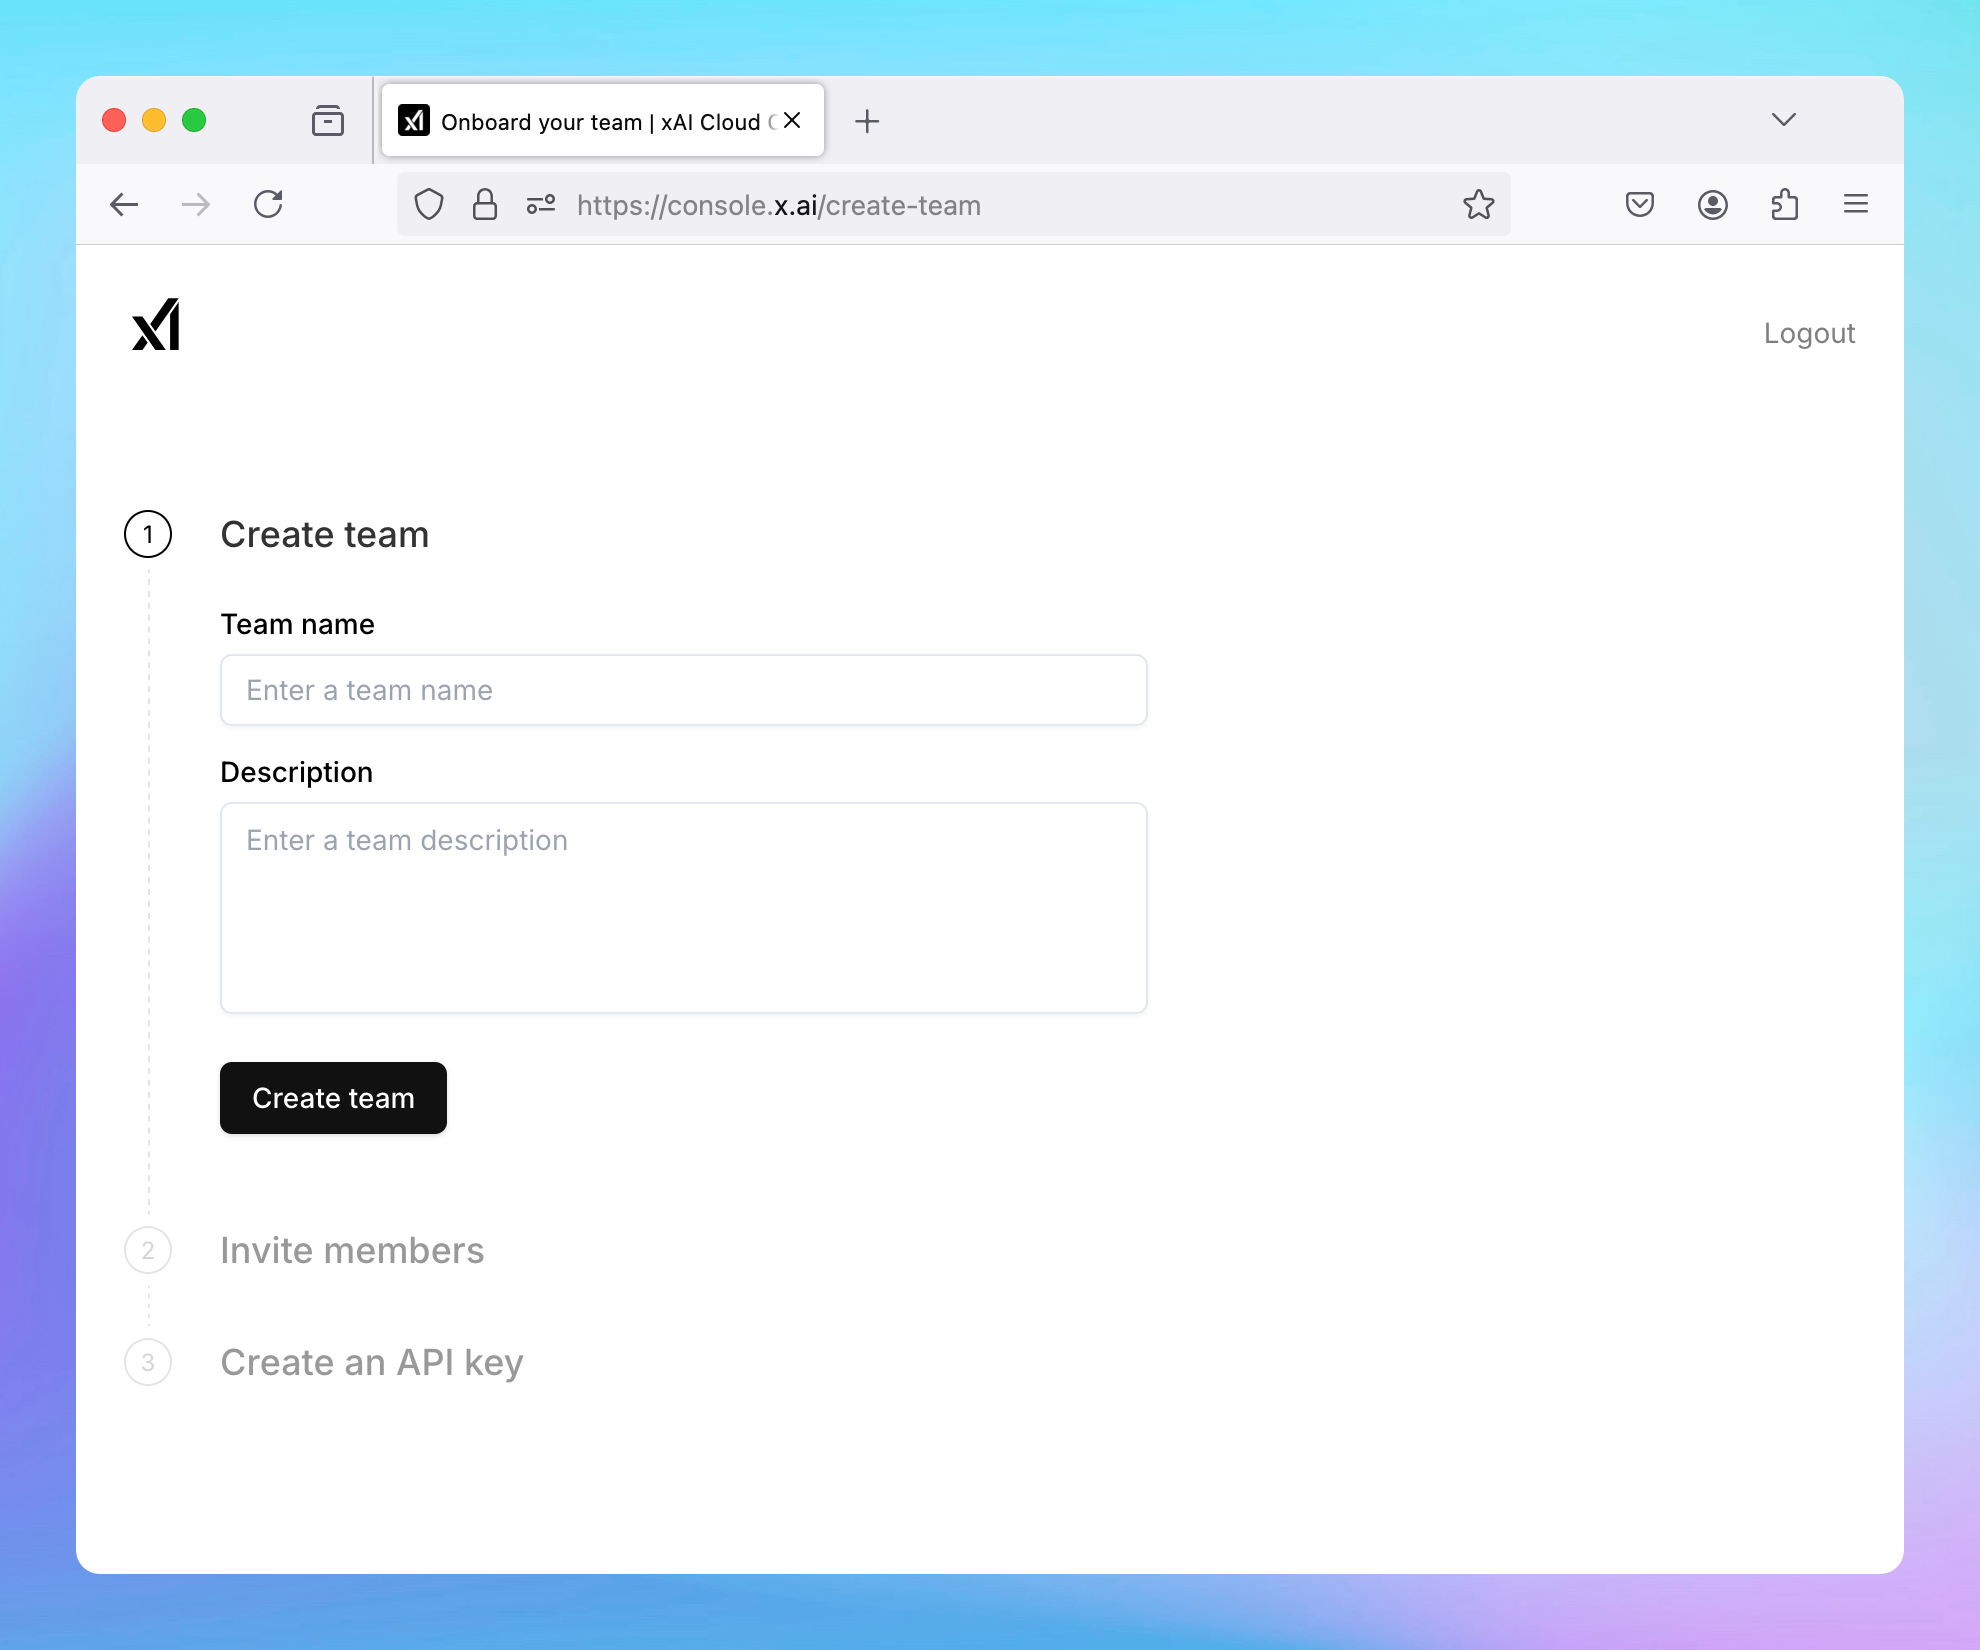
Next, you will need to create an xAI team to get into the console:
- Create a new team by entering a Team name and description.
- Click Create Team.
- You can skip inviting members if not necessary.
- Skip the API key creation for now - we’ll handle that later.
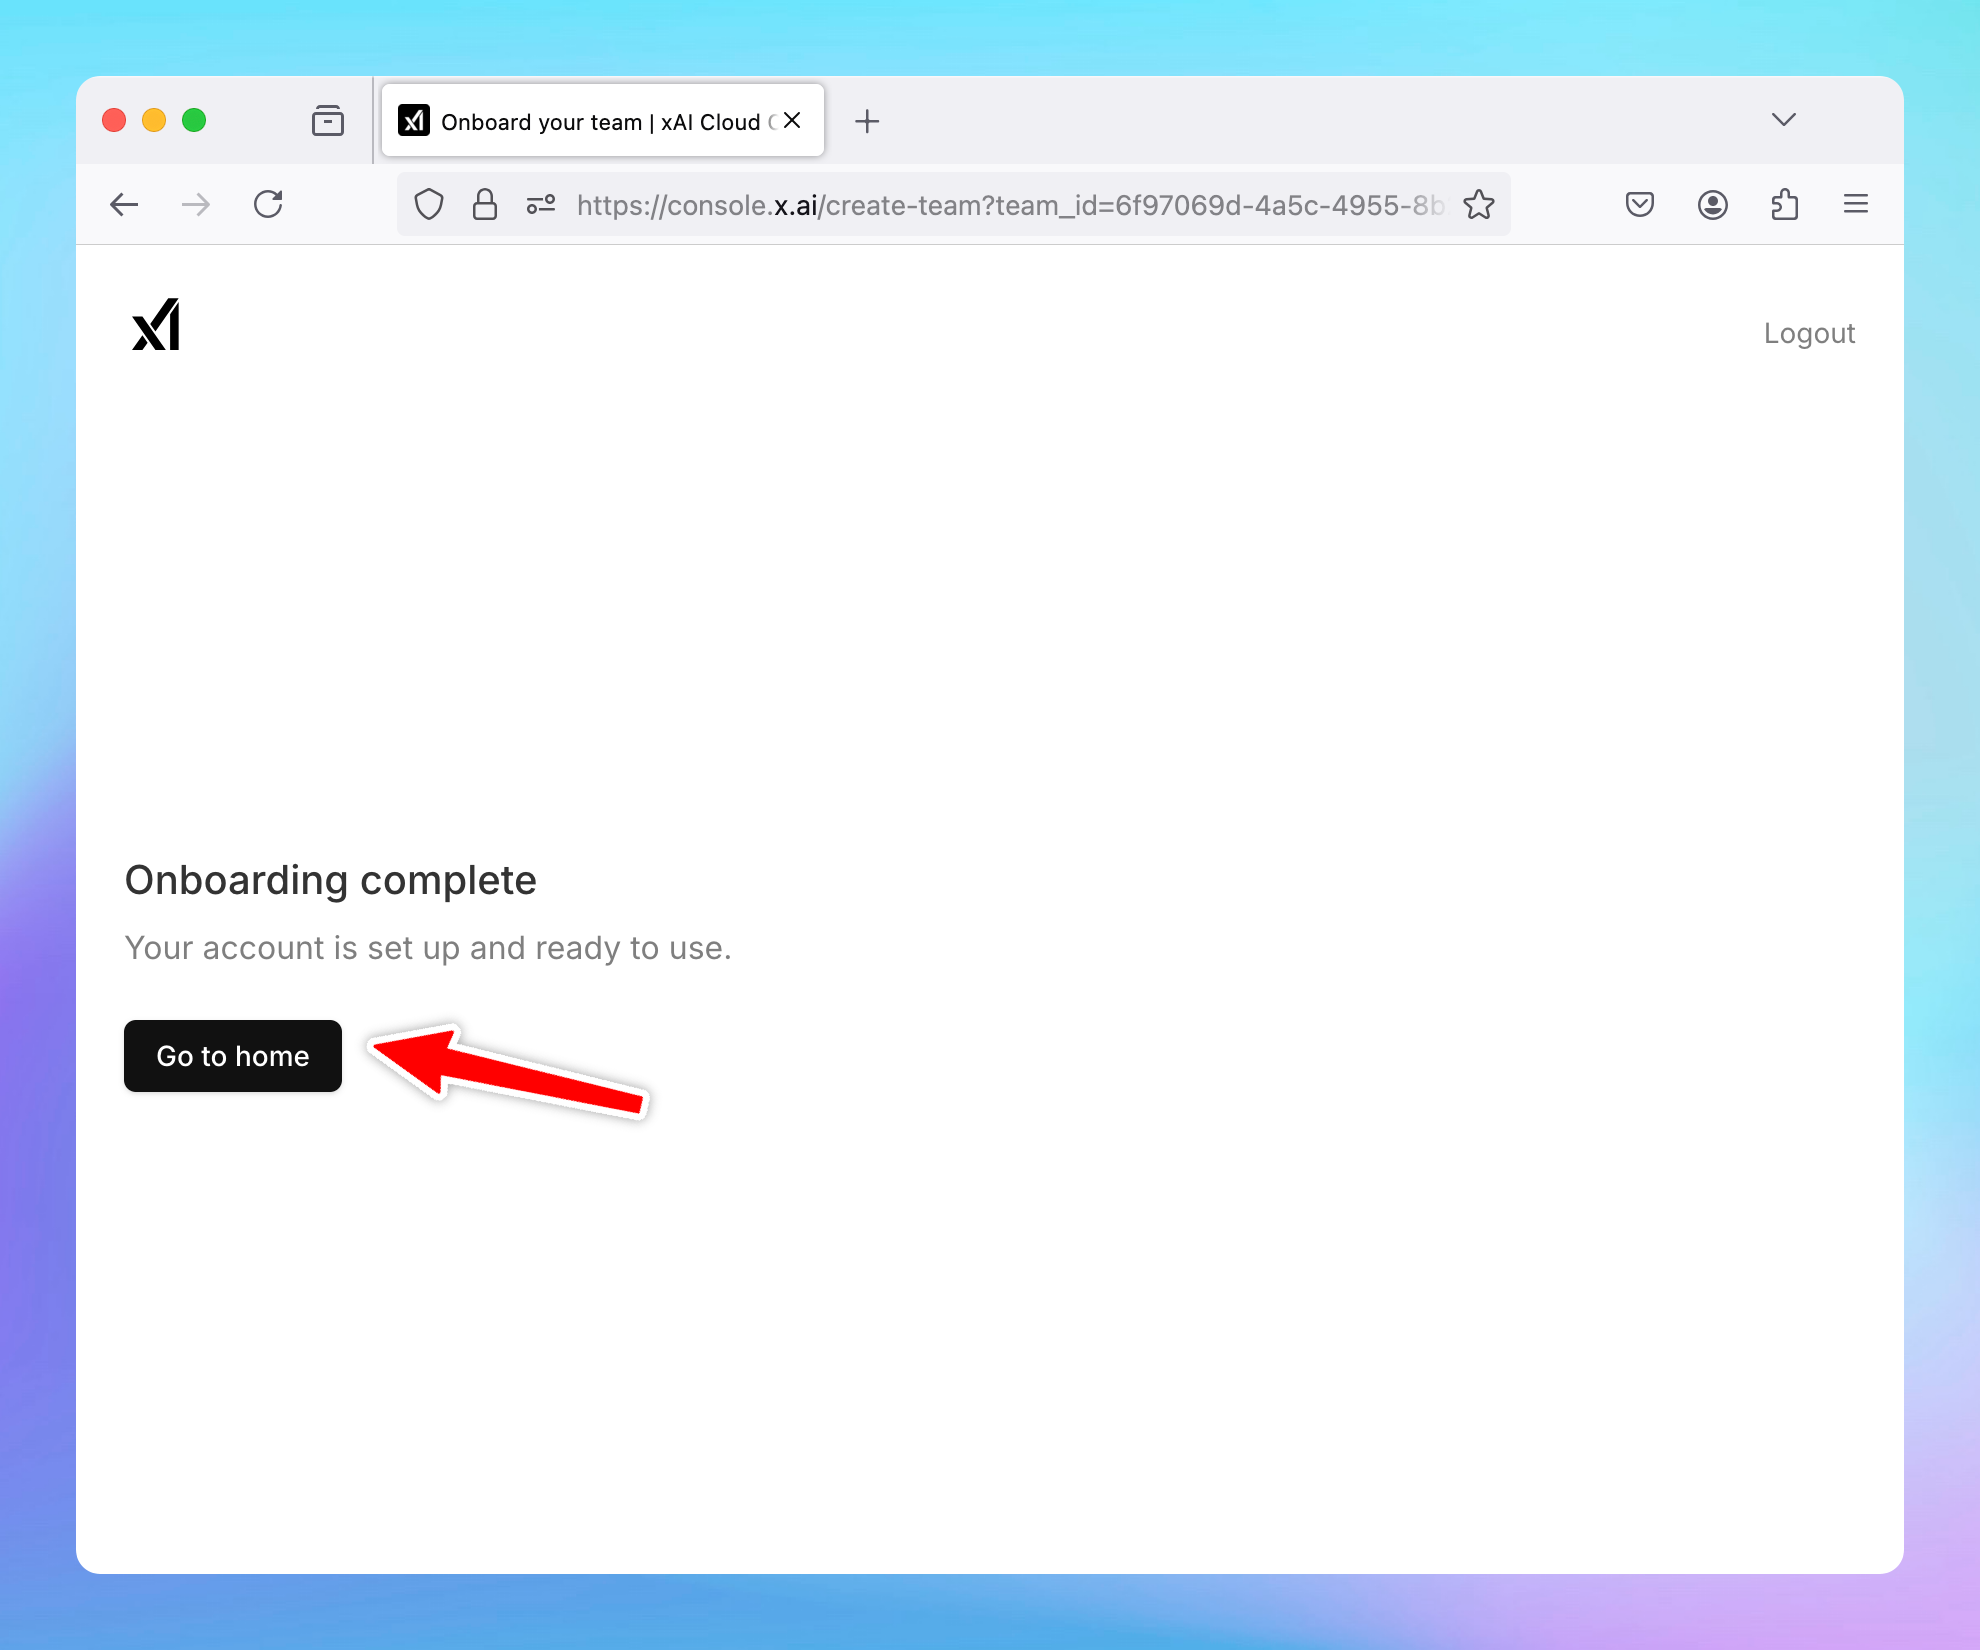
- Click Go to Home to return to the console dashboard.
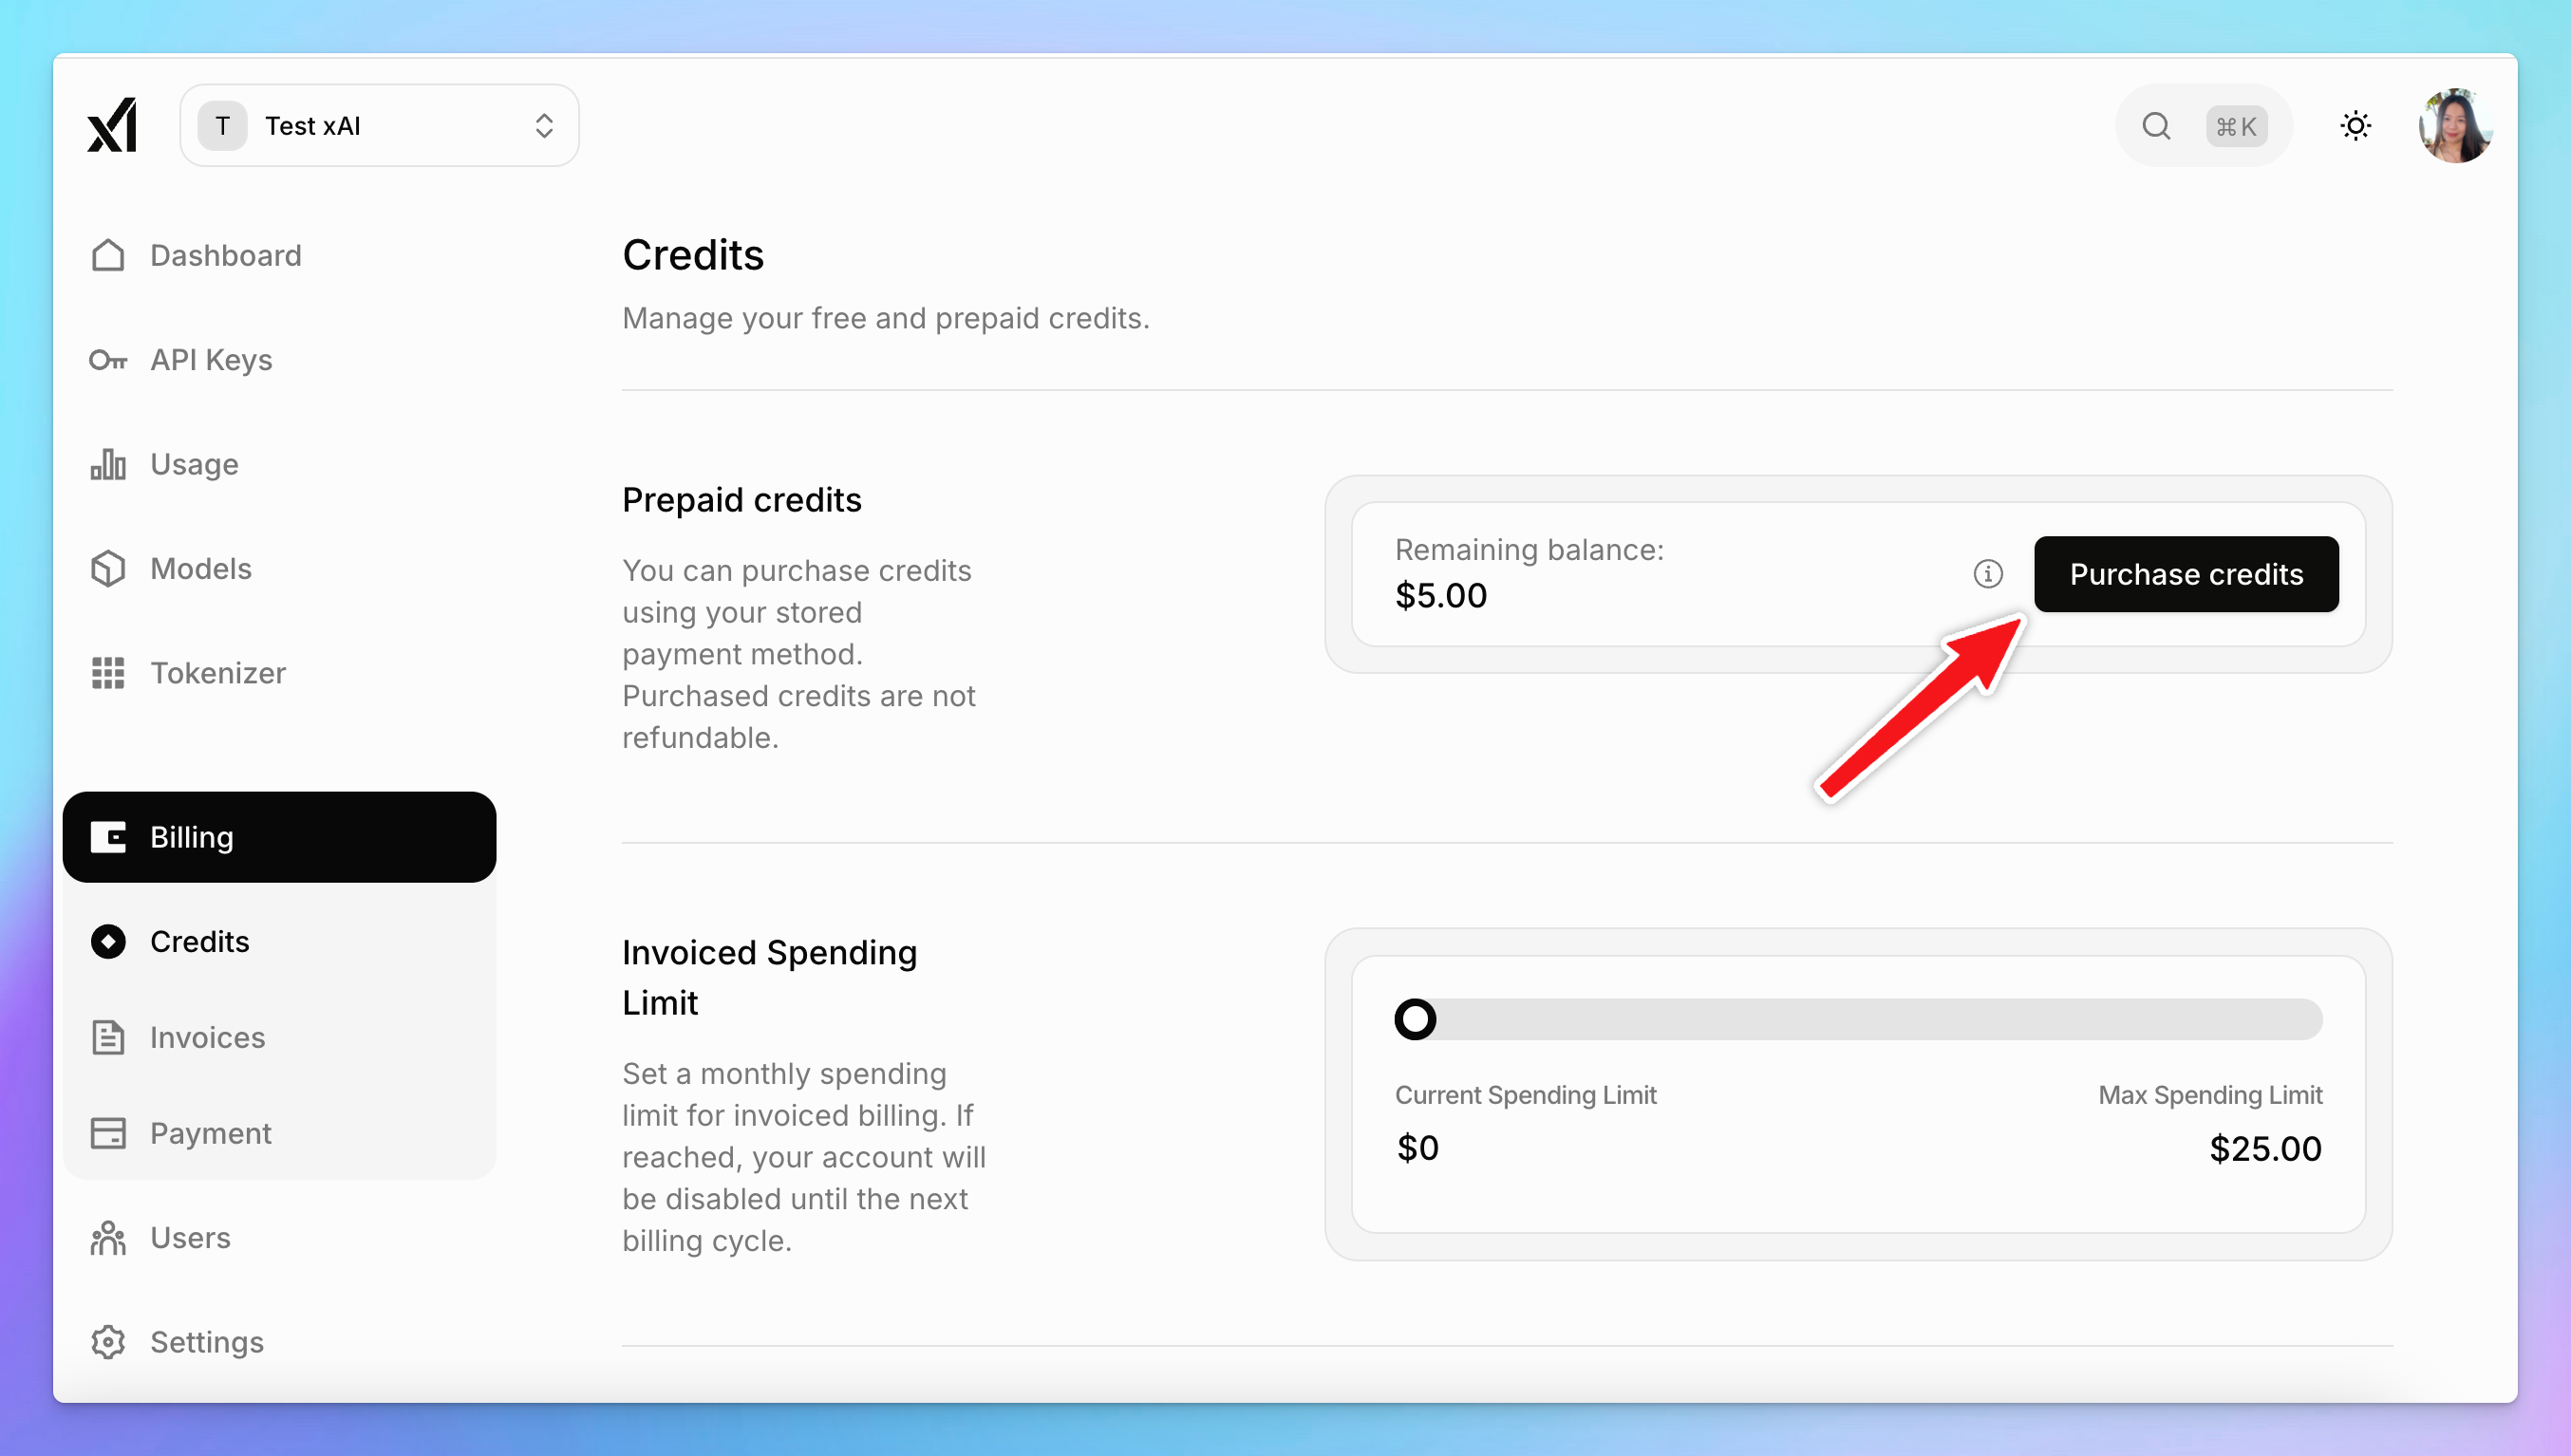
Step 3: Purchase API credits
To use the API, you'll need to purchase credits:
- Go to Billing.
- Click on Credits.
- Select Purchase Credits.
Note: Make sure to set up your billing profile and payment method before topping up credits.
Step 4: Create API key
- Go to API Keys in the console.
- Click Create API Key.
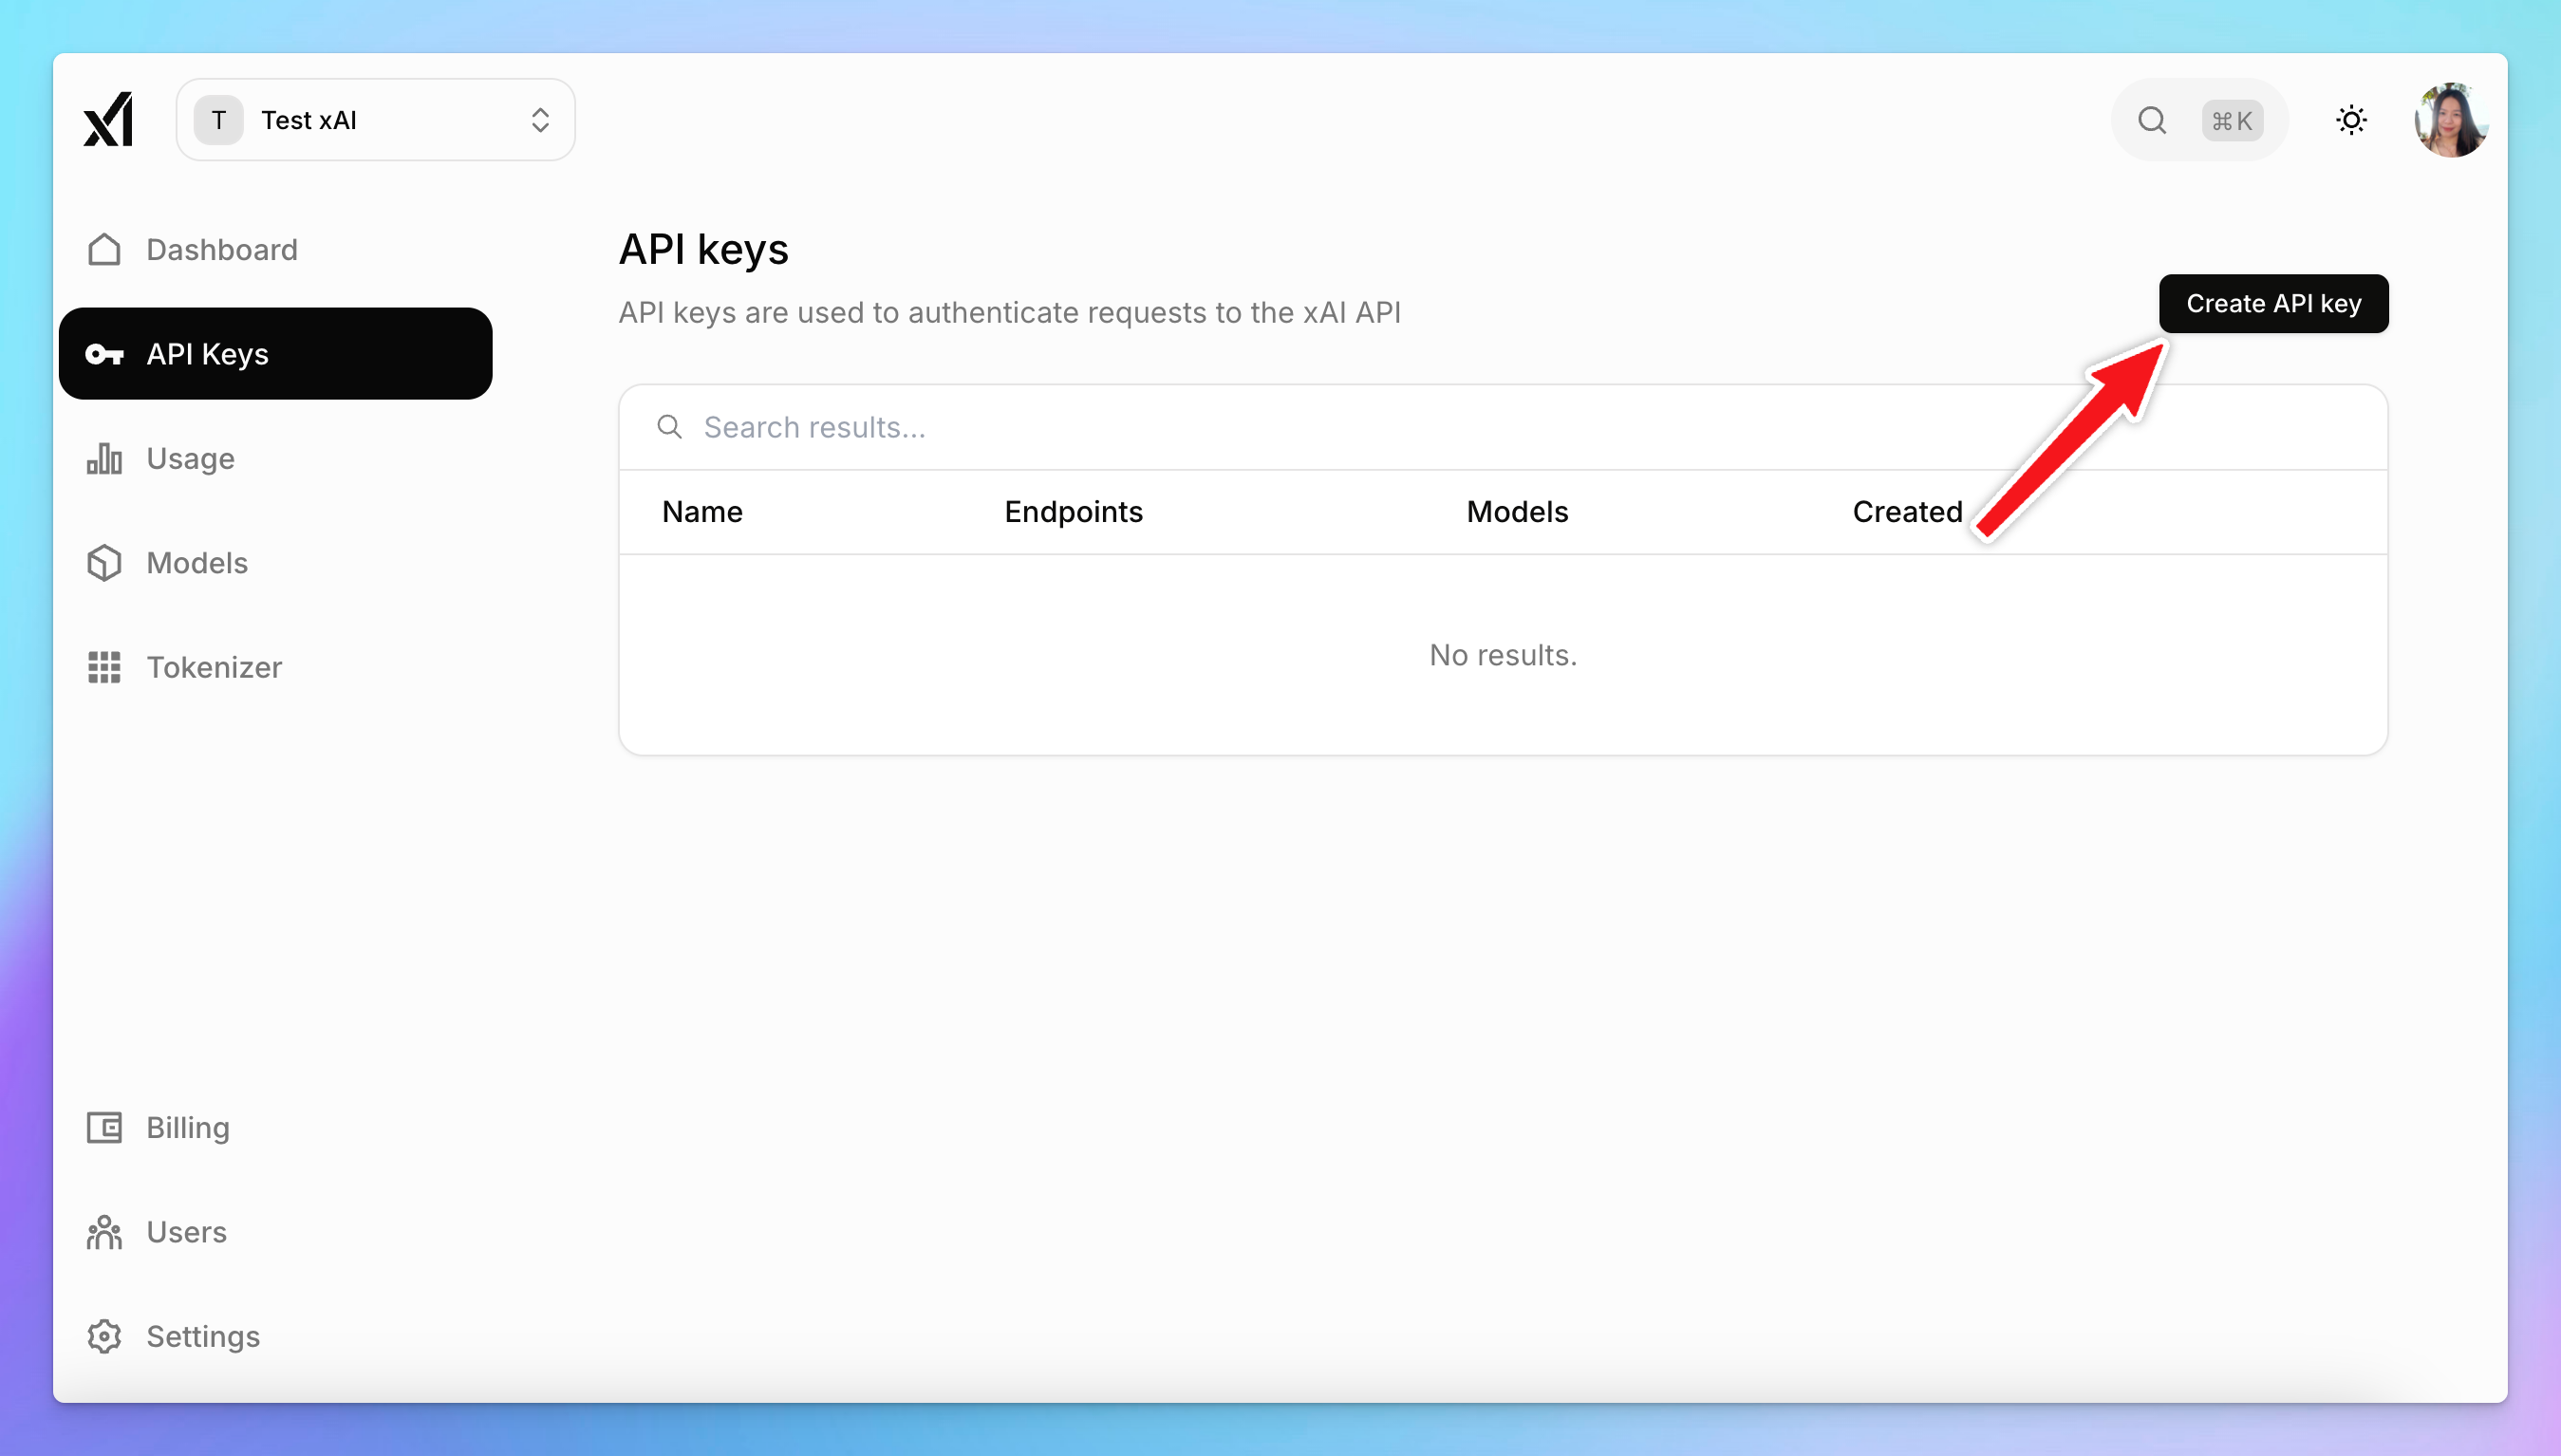
- Click to copy to API key to a safe place to set up on TypingMind.
Step 5: Set up xAI on TypingMind
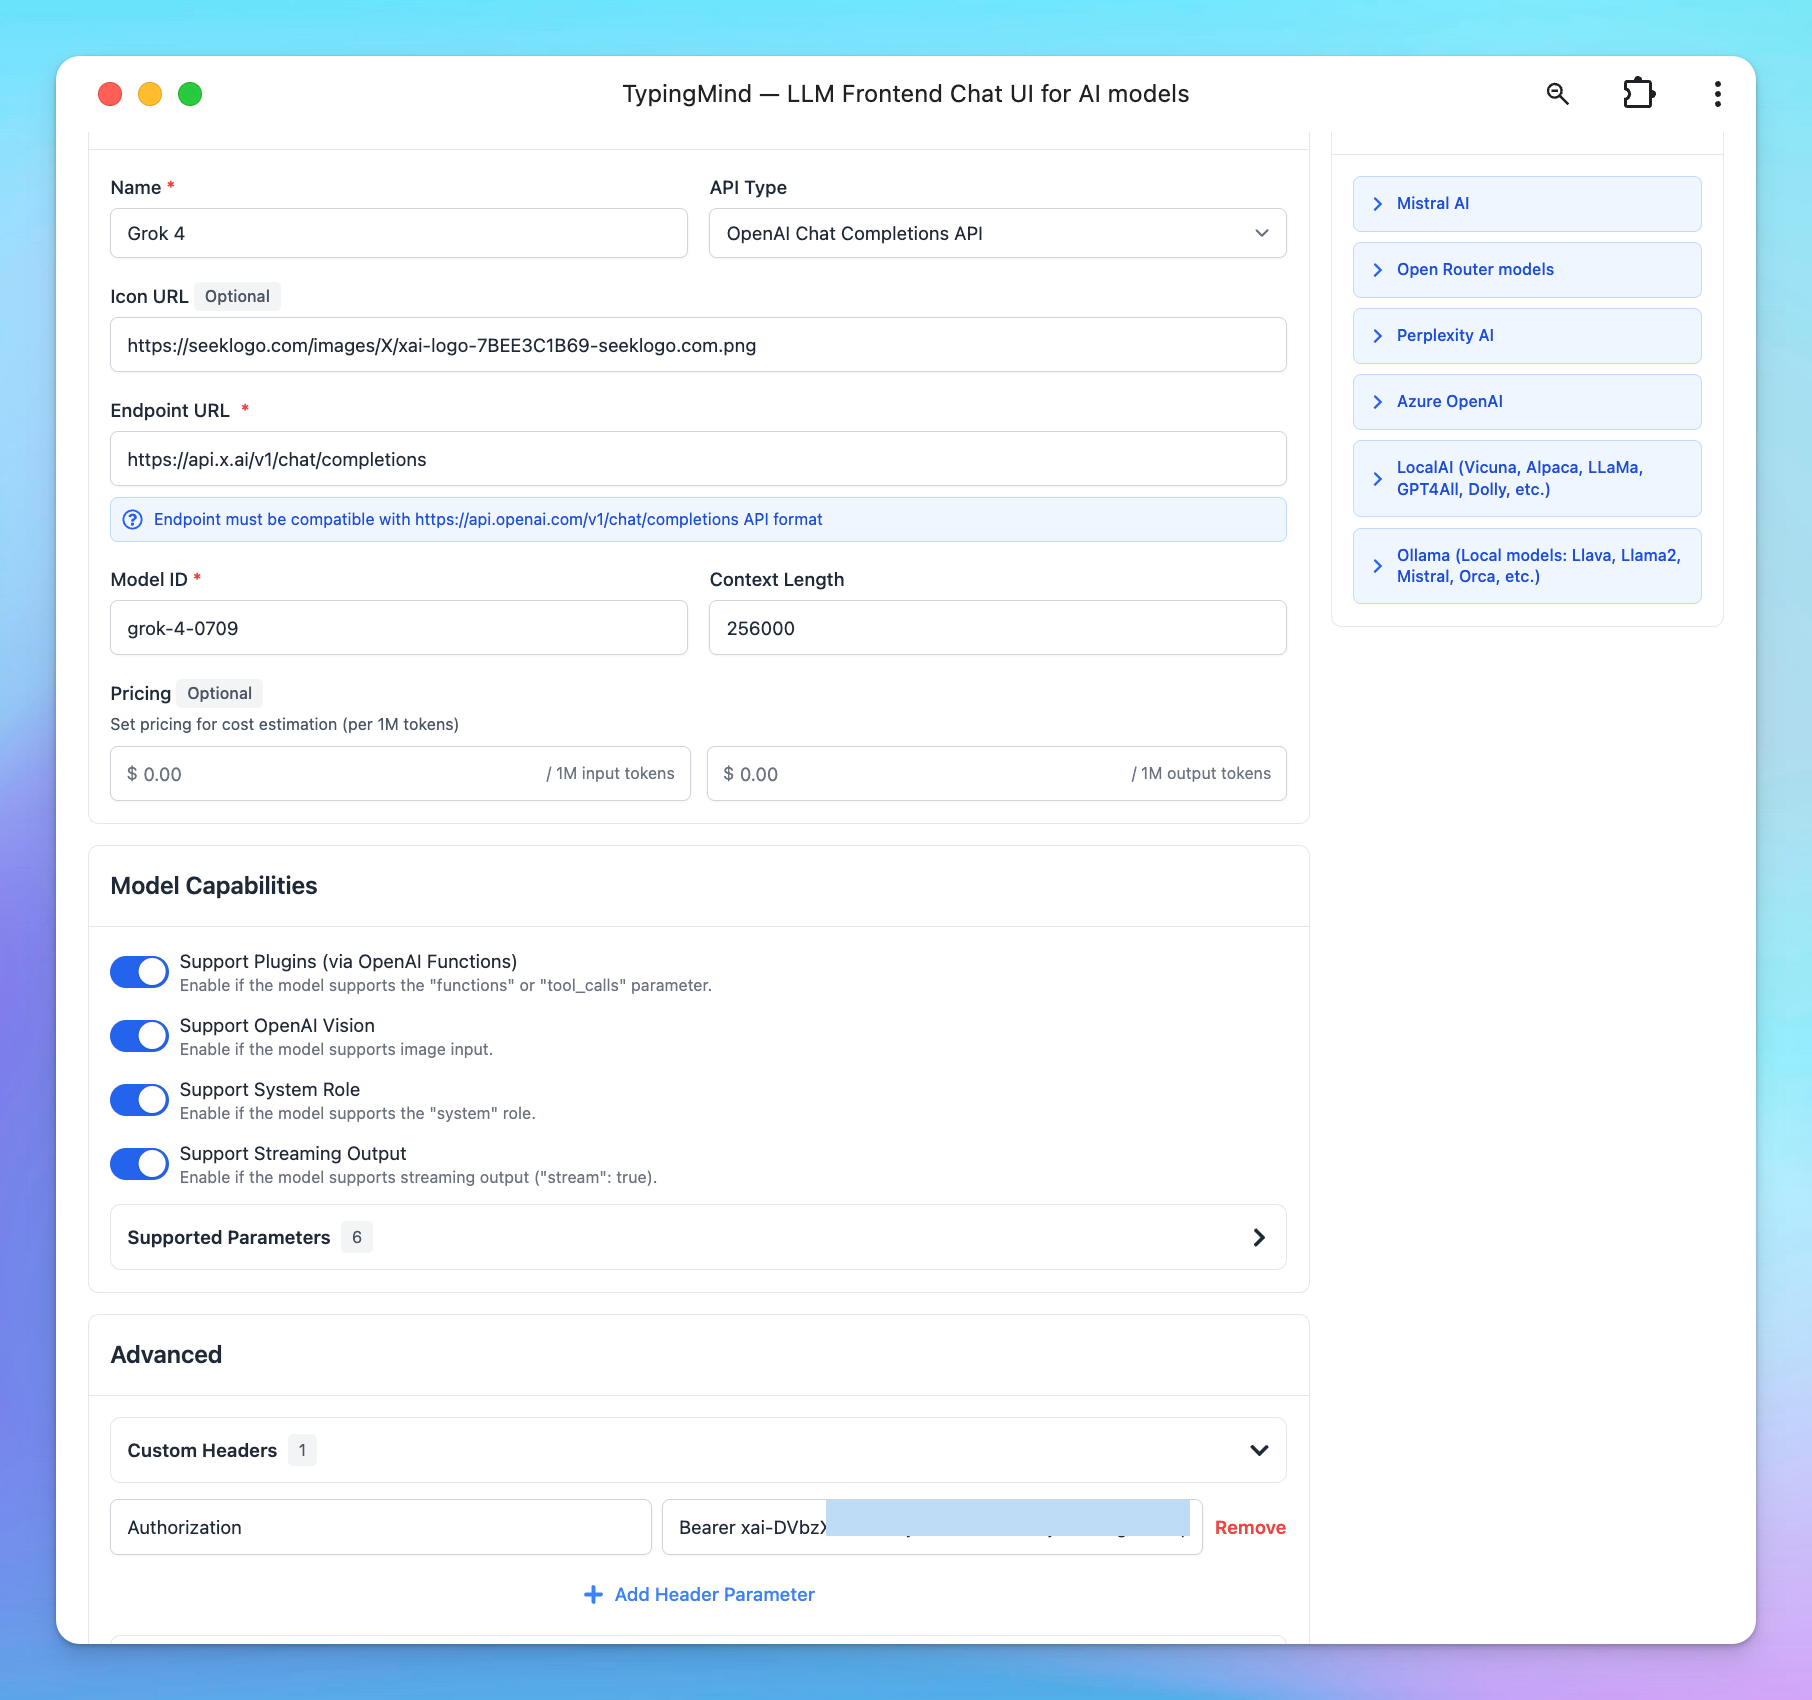
To configure xAI in TypingMind, go to Models —> Add Custom Models:
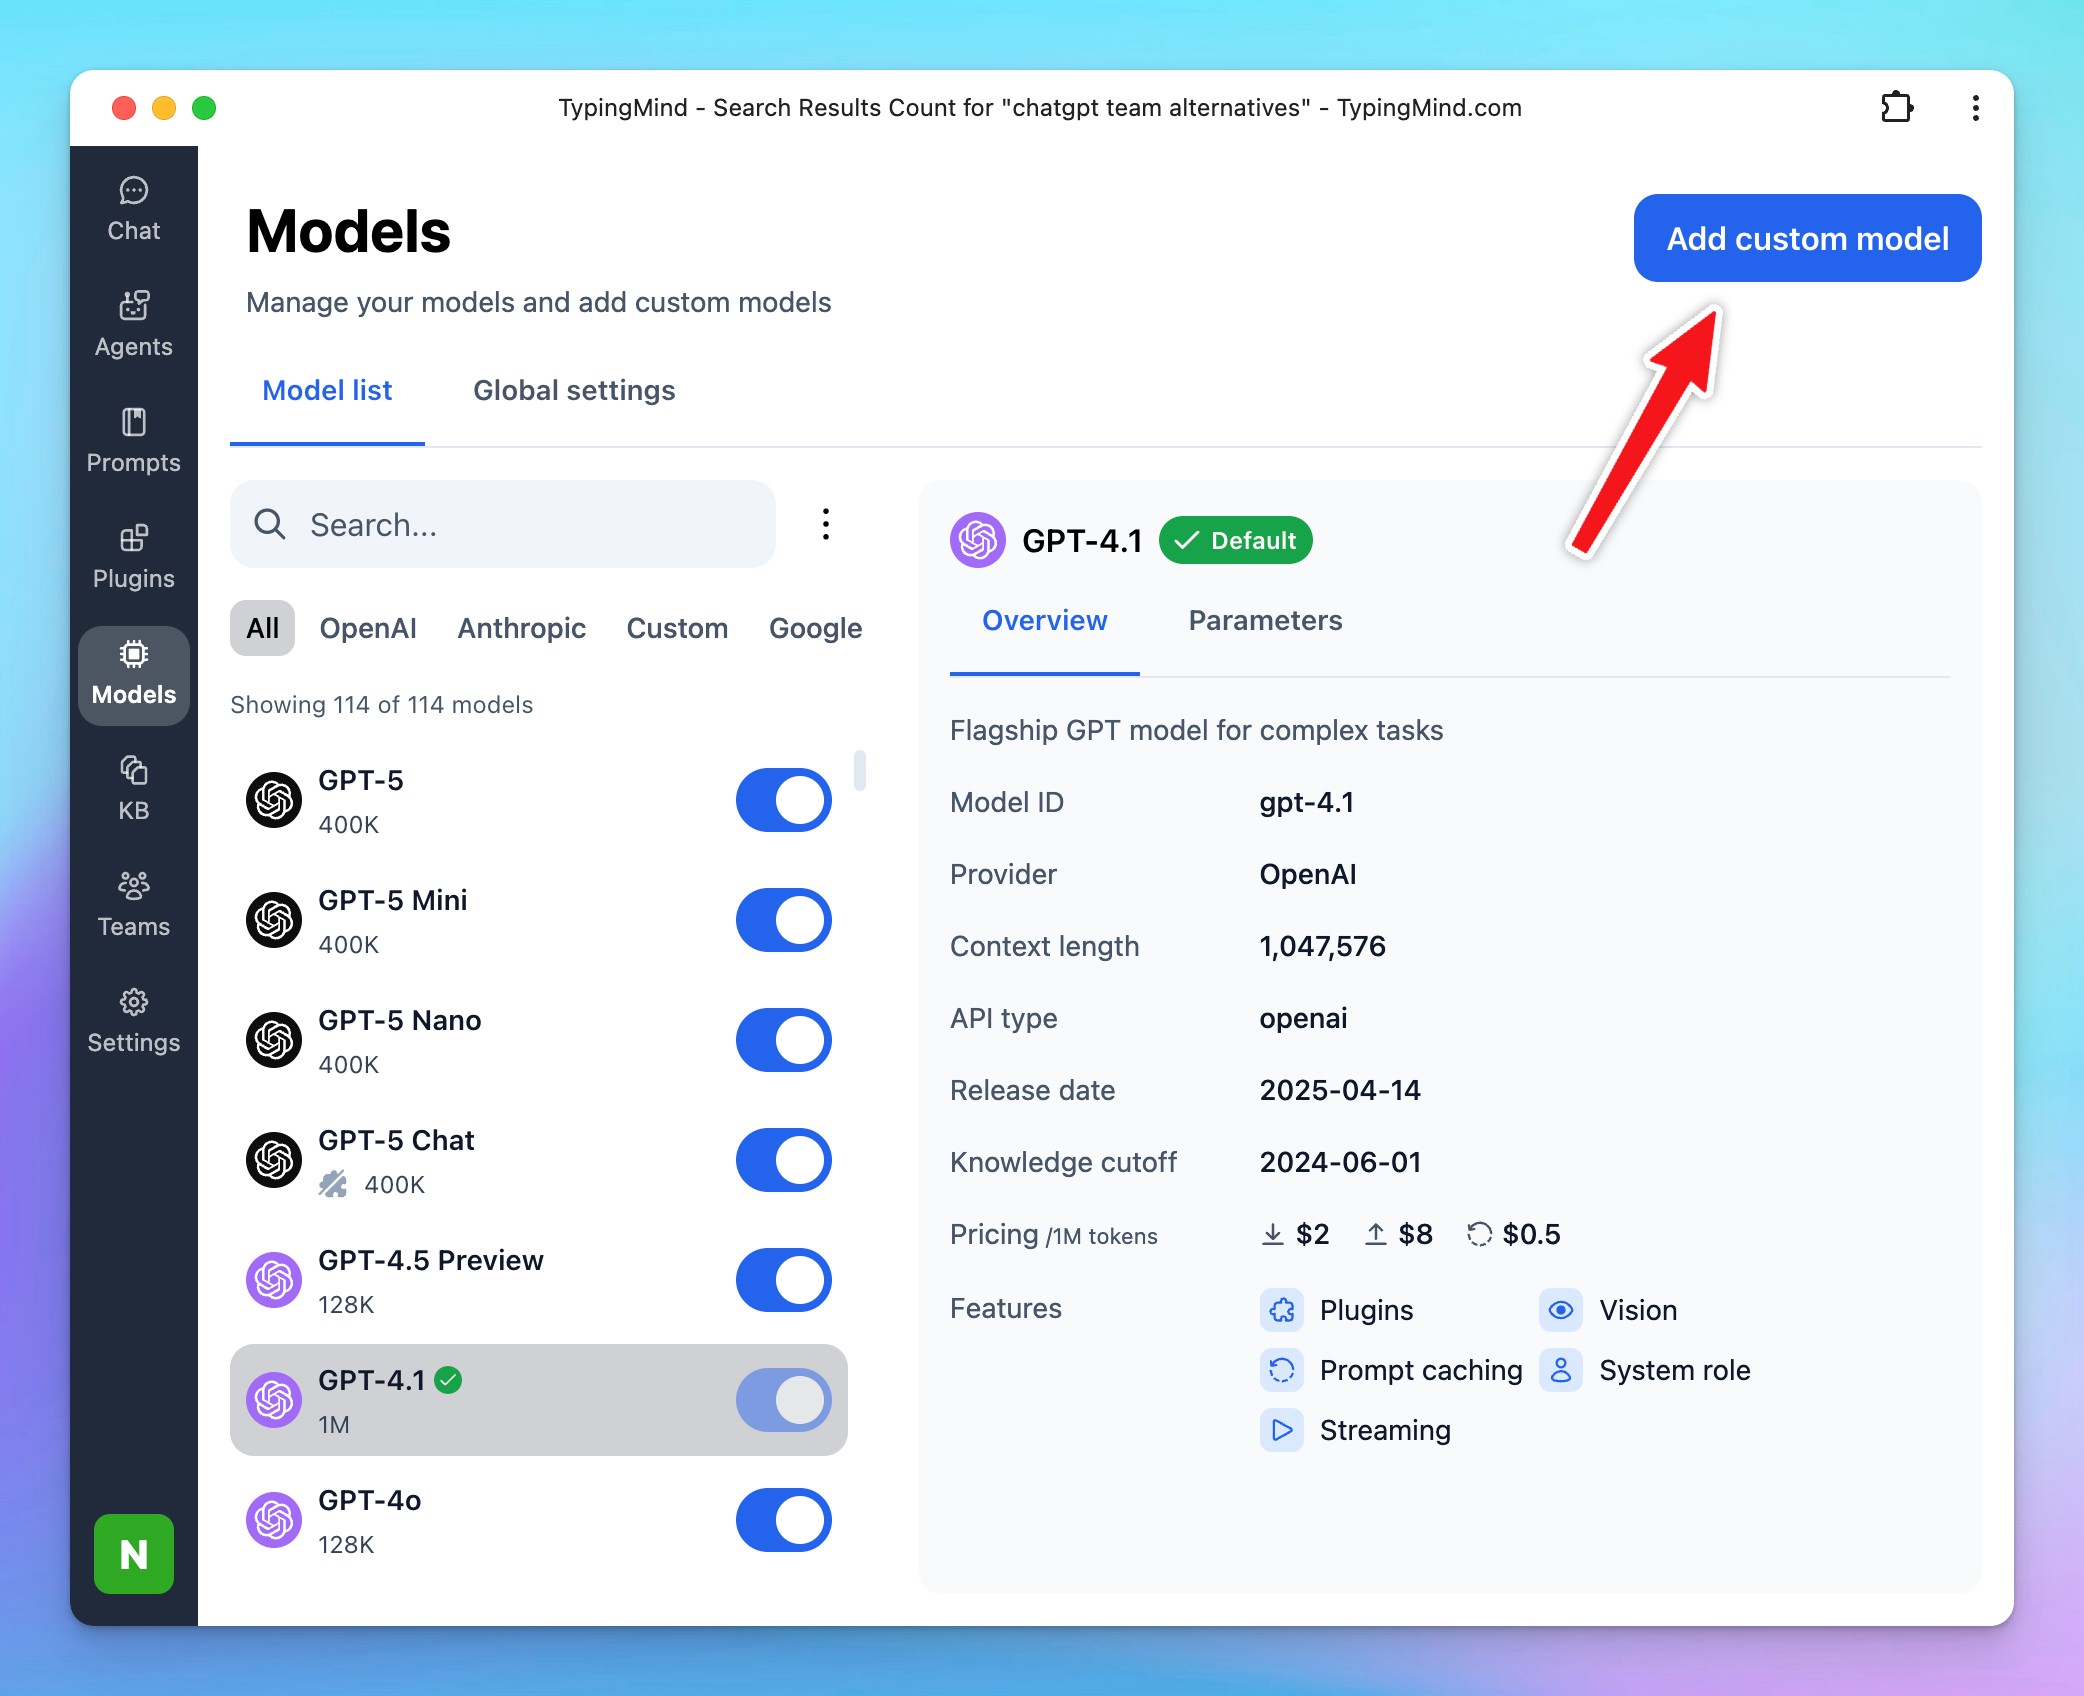
Use the following details:
- Name: xAI (or a name of your choice)
- Endpoint:
https://api.x.ai/v1/chat/completions
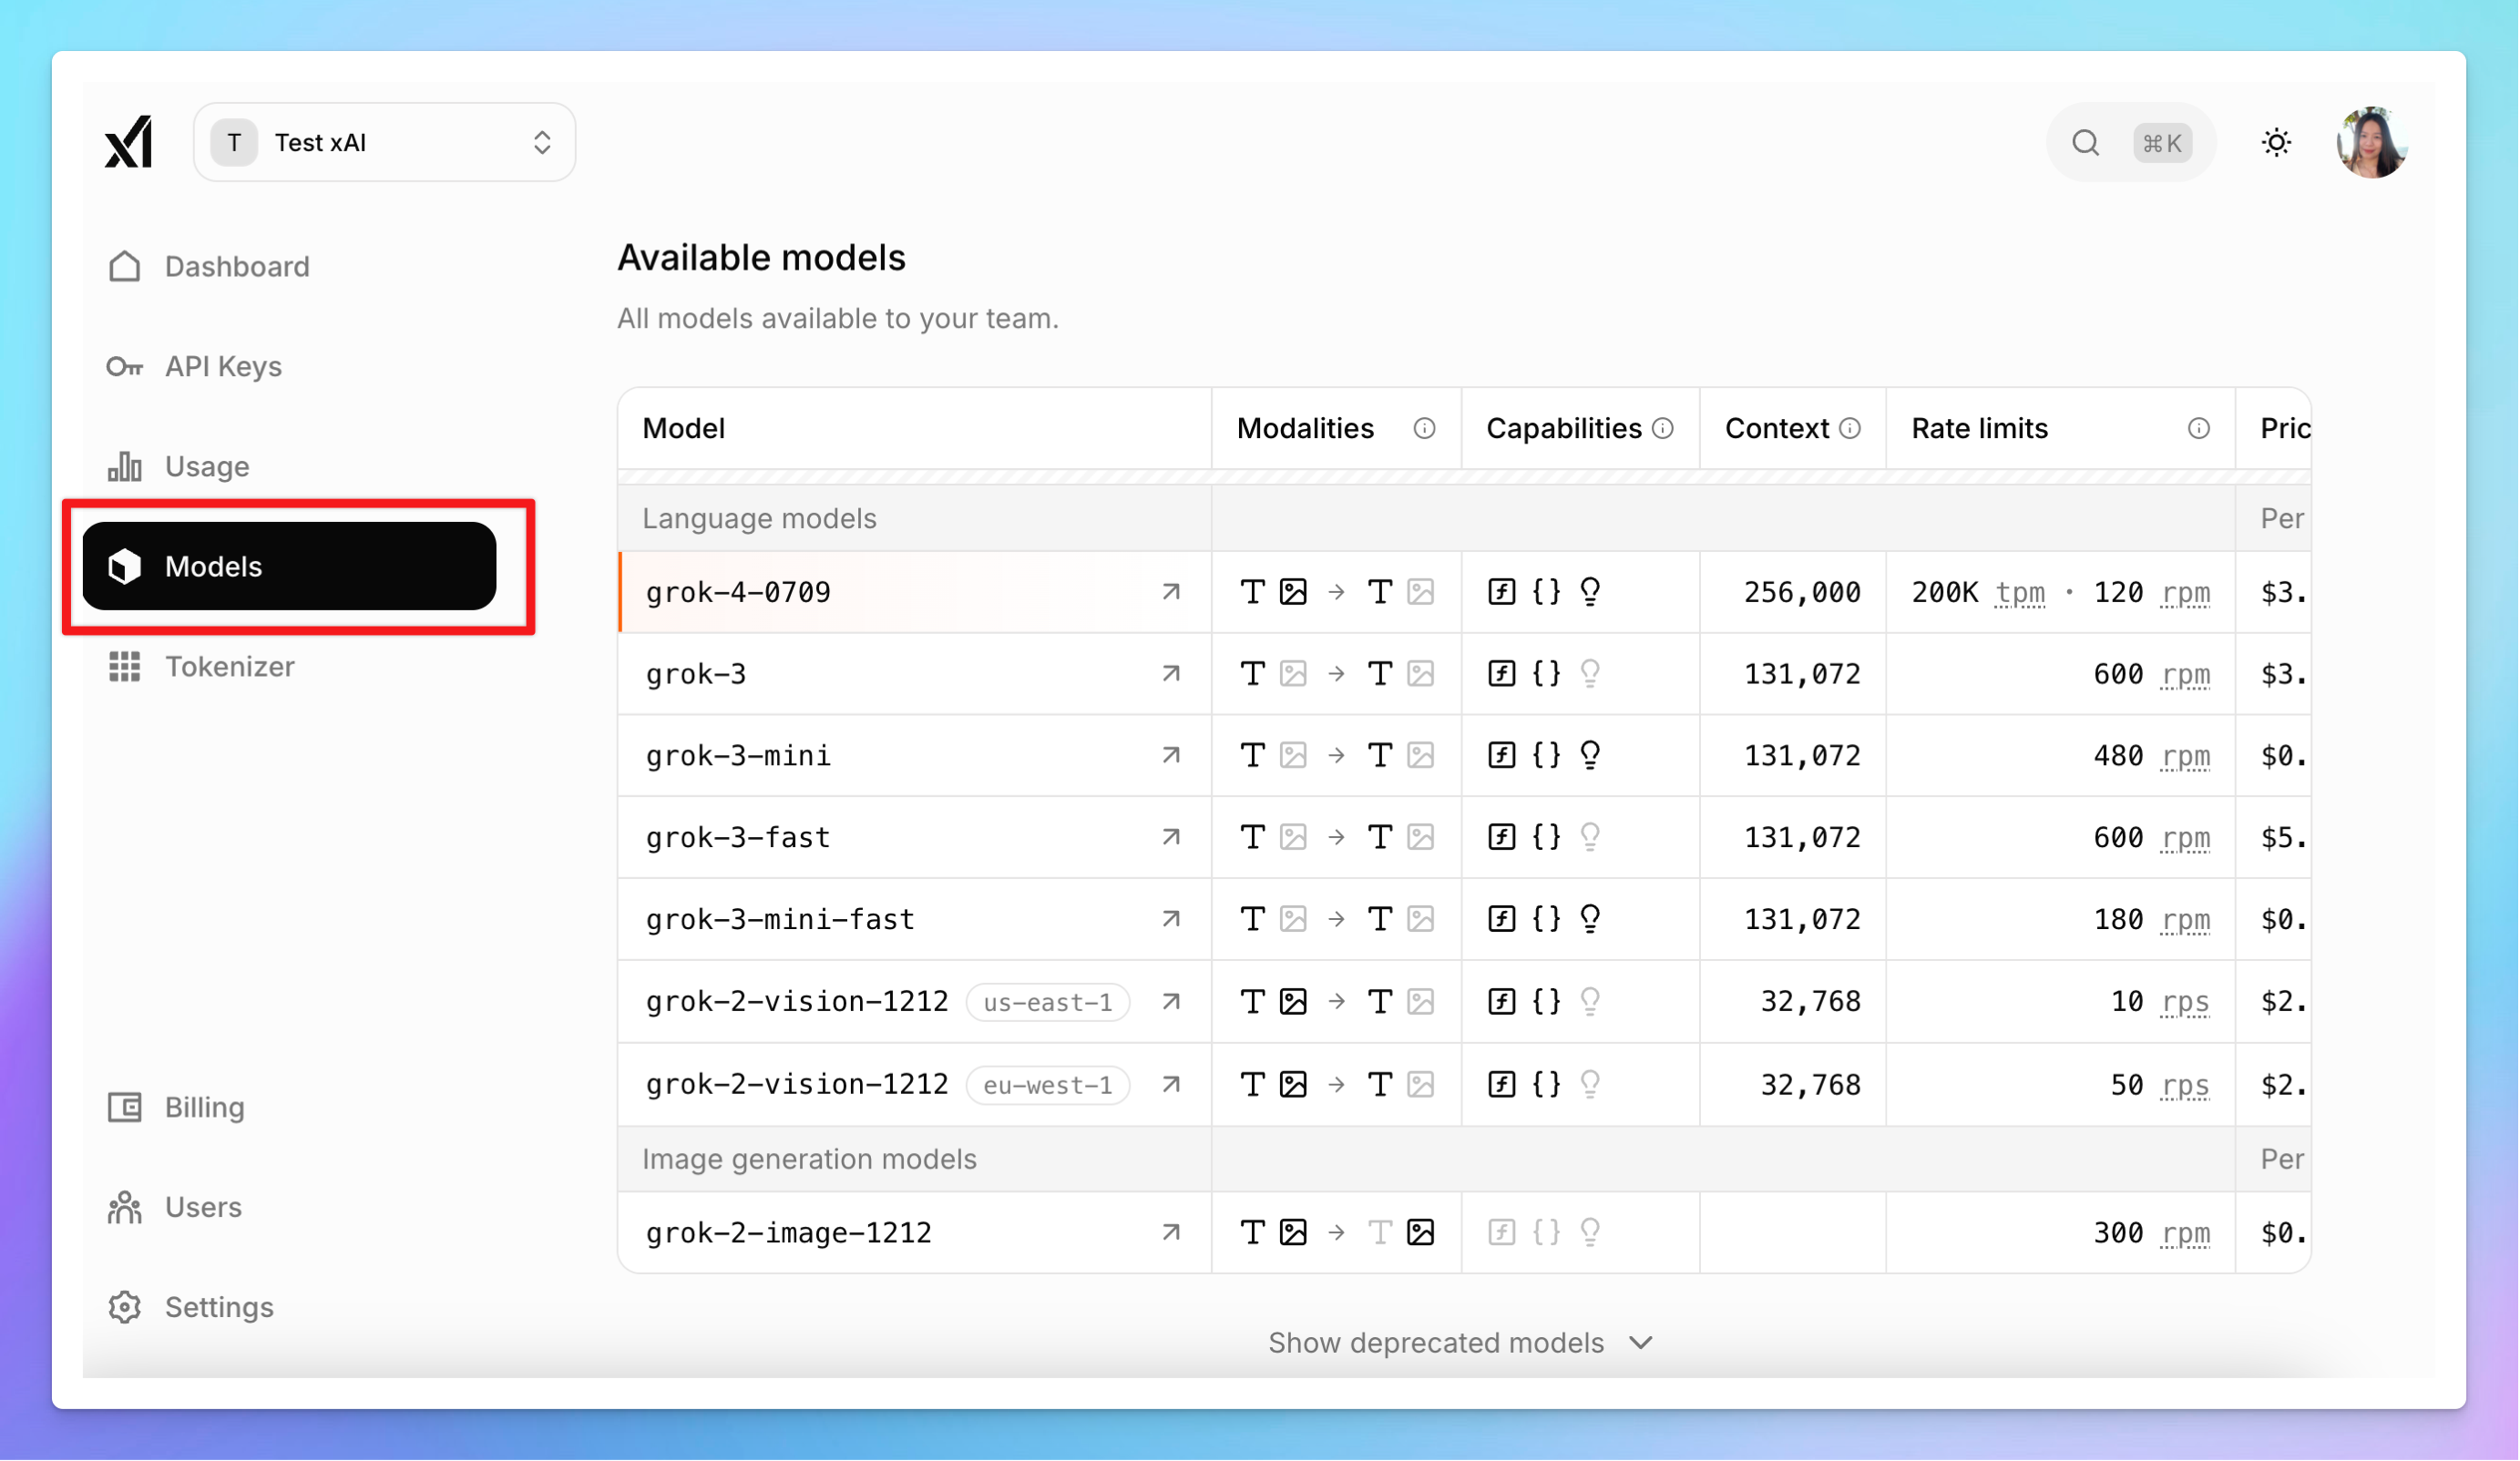
- Model ID:
grok-4-1-fast-reasoning,grok-4-fast-reasoning,grok-4-fast-non-reasoning,grok-code-fast-1,grok-4-0709,grok-3-beta,grok-3-mini-beta(or select from your model list)
- Customer Headers:
- Authorization:
Bearer Your_xAI_API_Key
Click Test to verify the setup. If successful, you’ll receive a confirmation that the model is ready for use.
Step 6: Start chatting!
You’re all set to use xAI within TypingMind. Enjoy!
