Step 1: Set up your Hugging Face endpoint
- Go to https://ui.endpoints.huggingface.co/
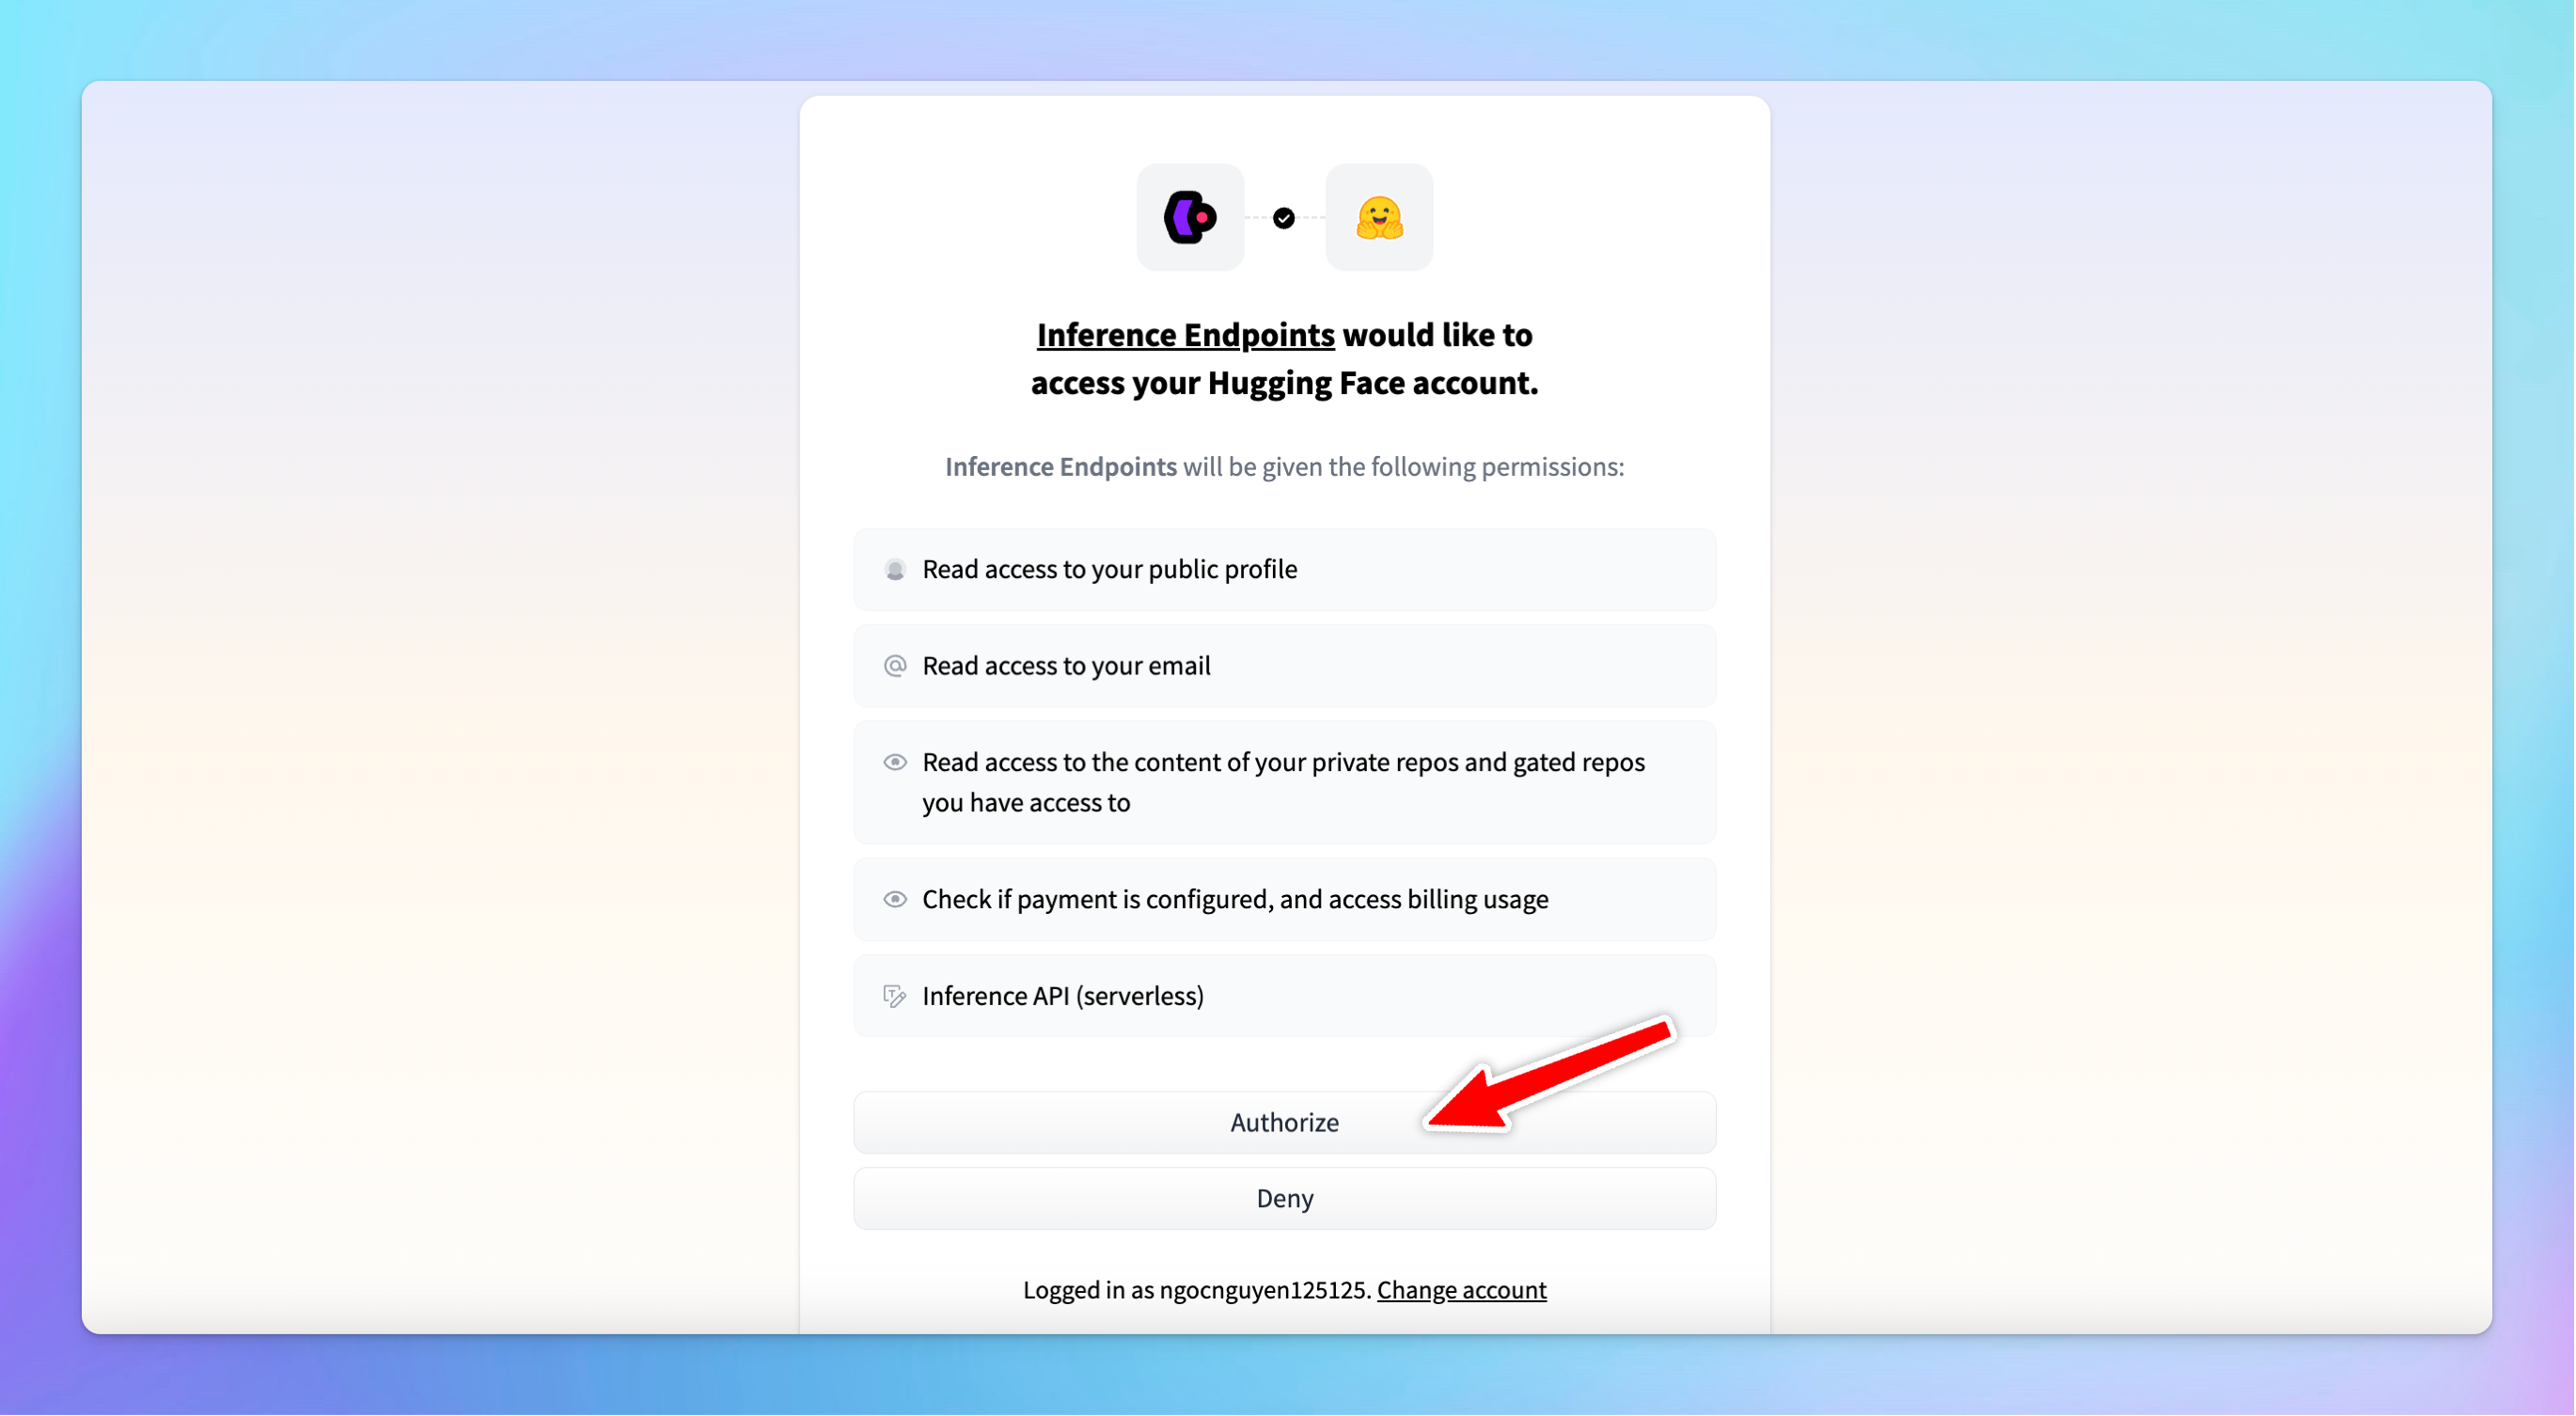
- Log in to your Hugging Face account if you haven’t already.
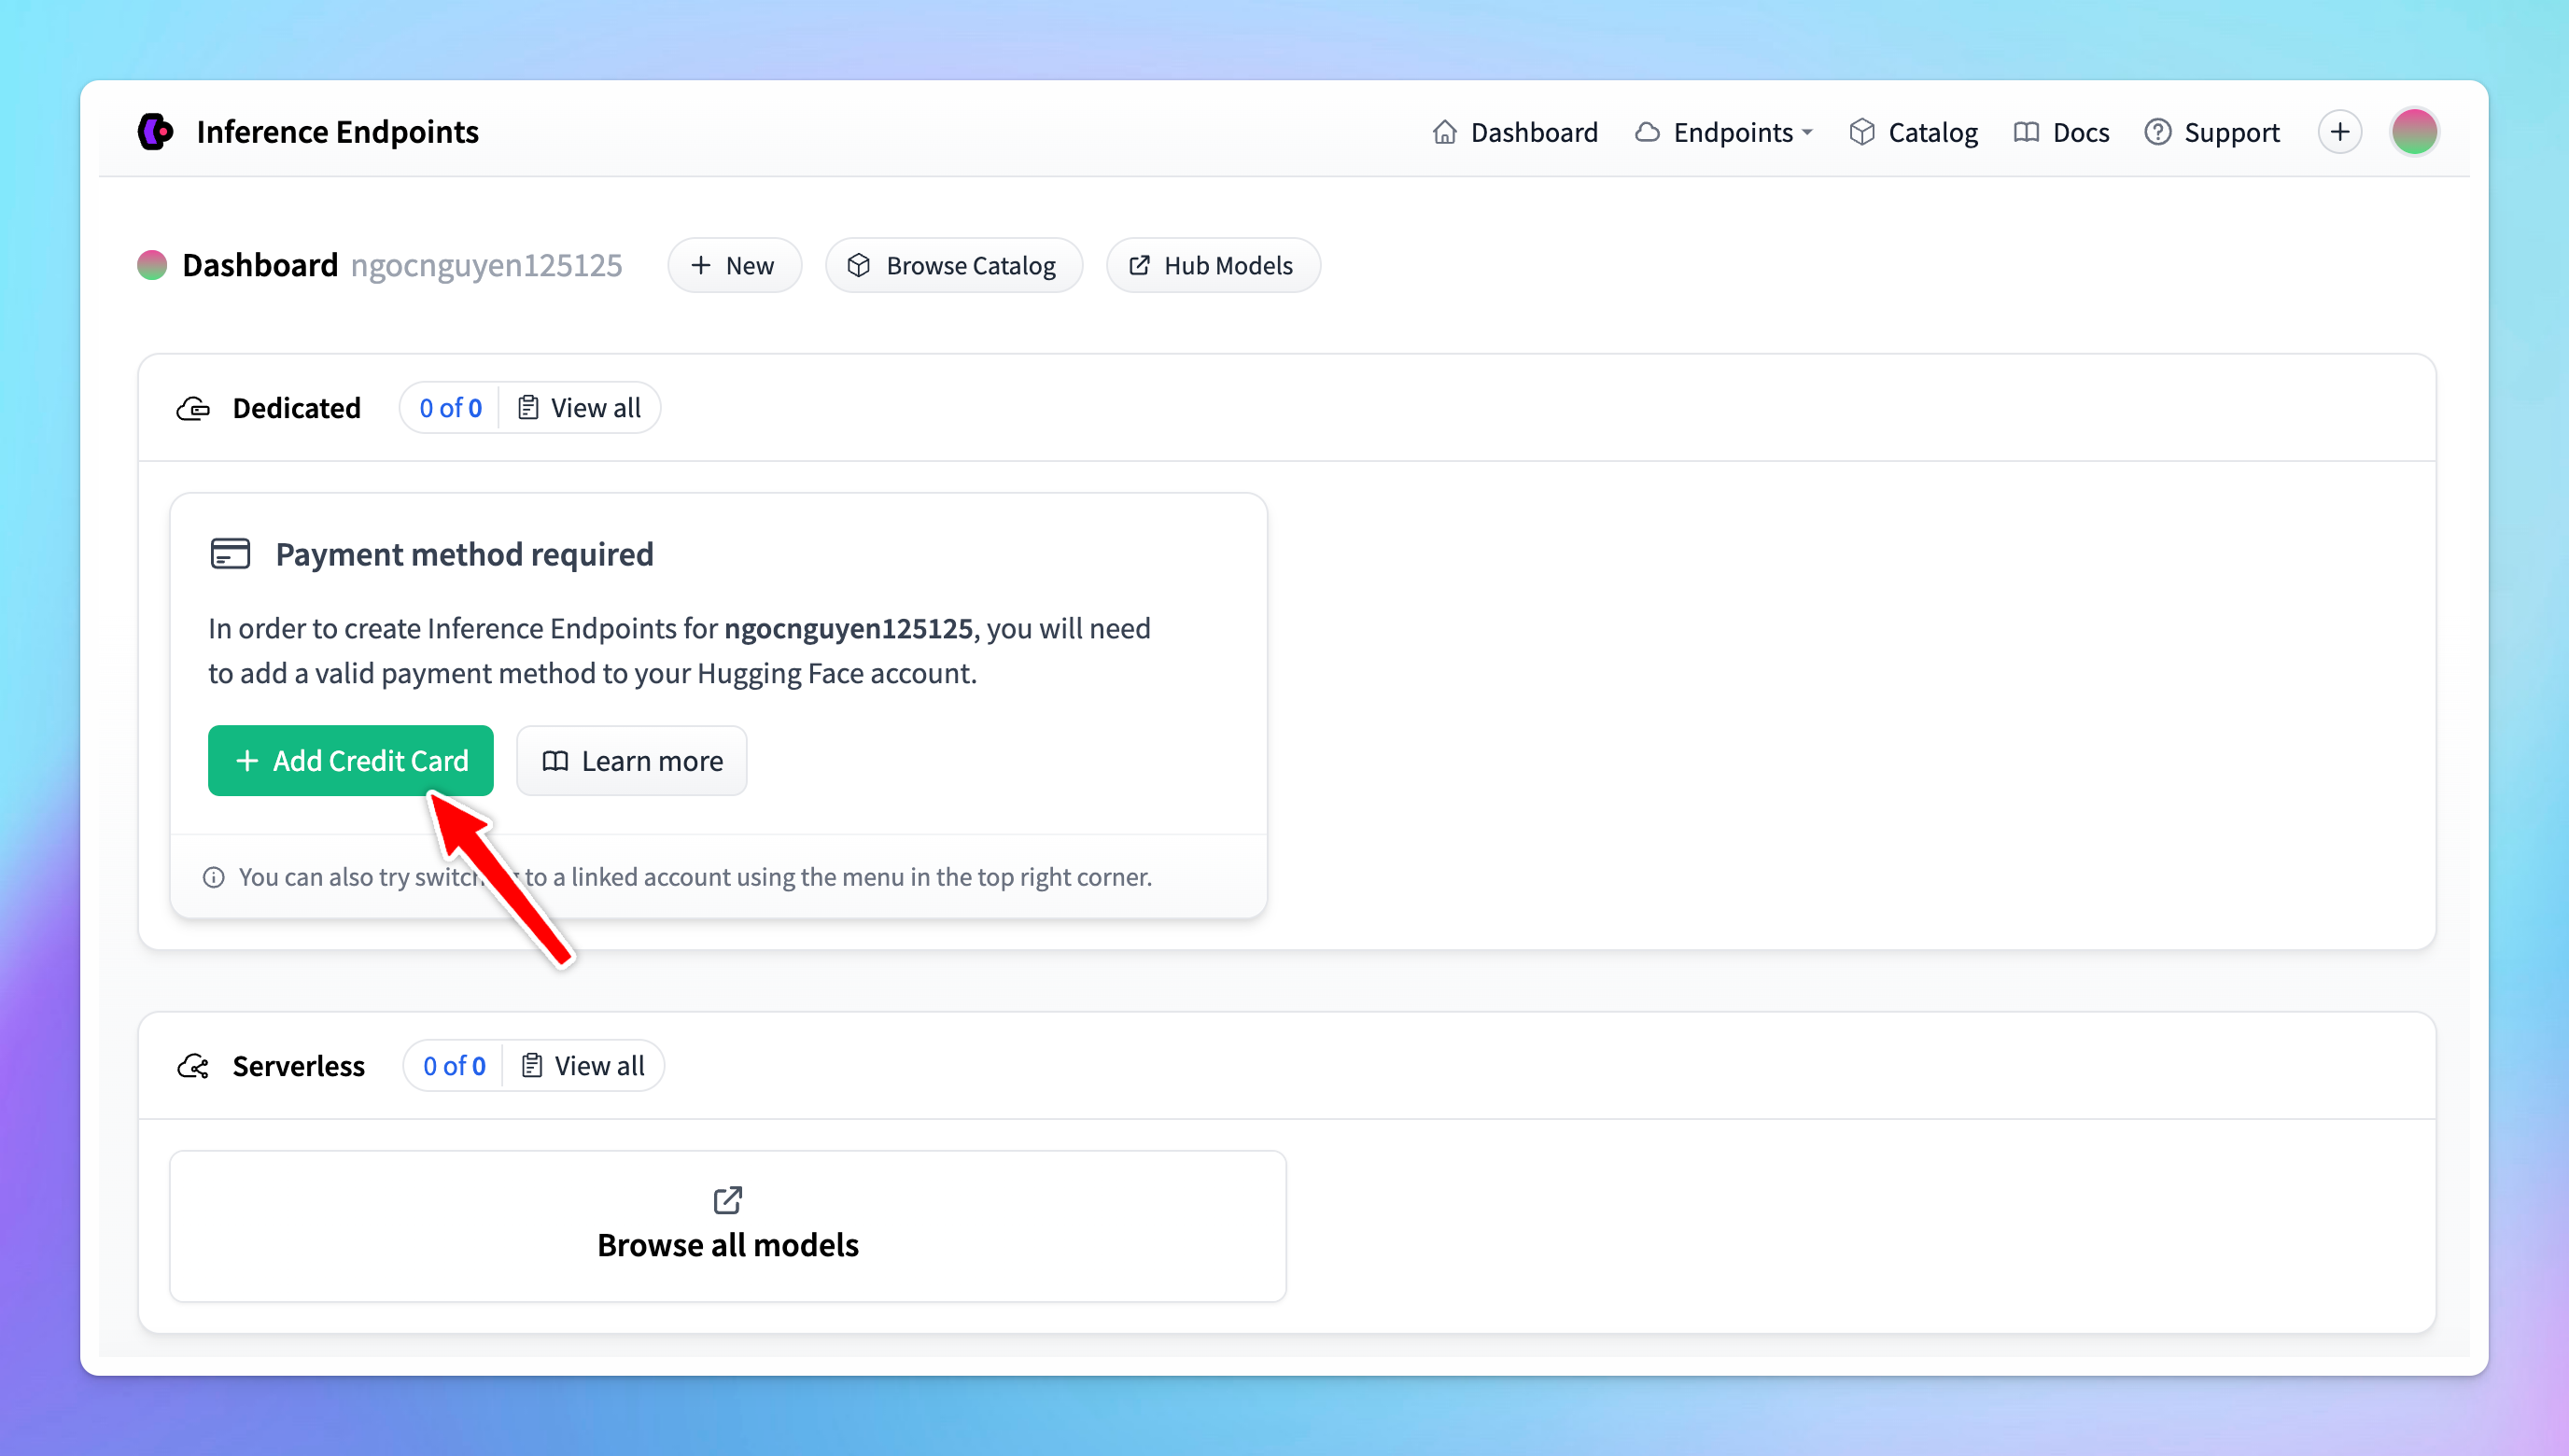
- Add payment method since Hugging Face charges based on usage hours.
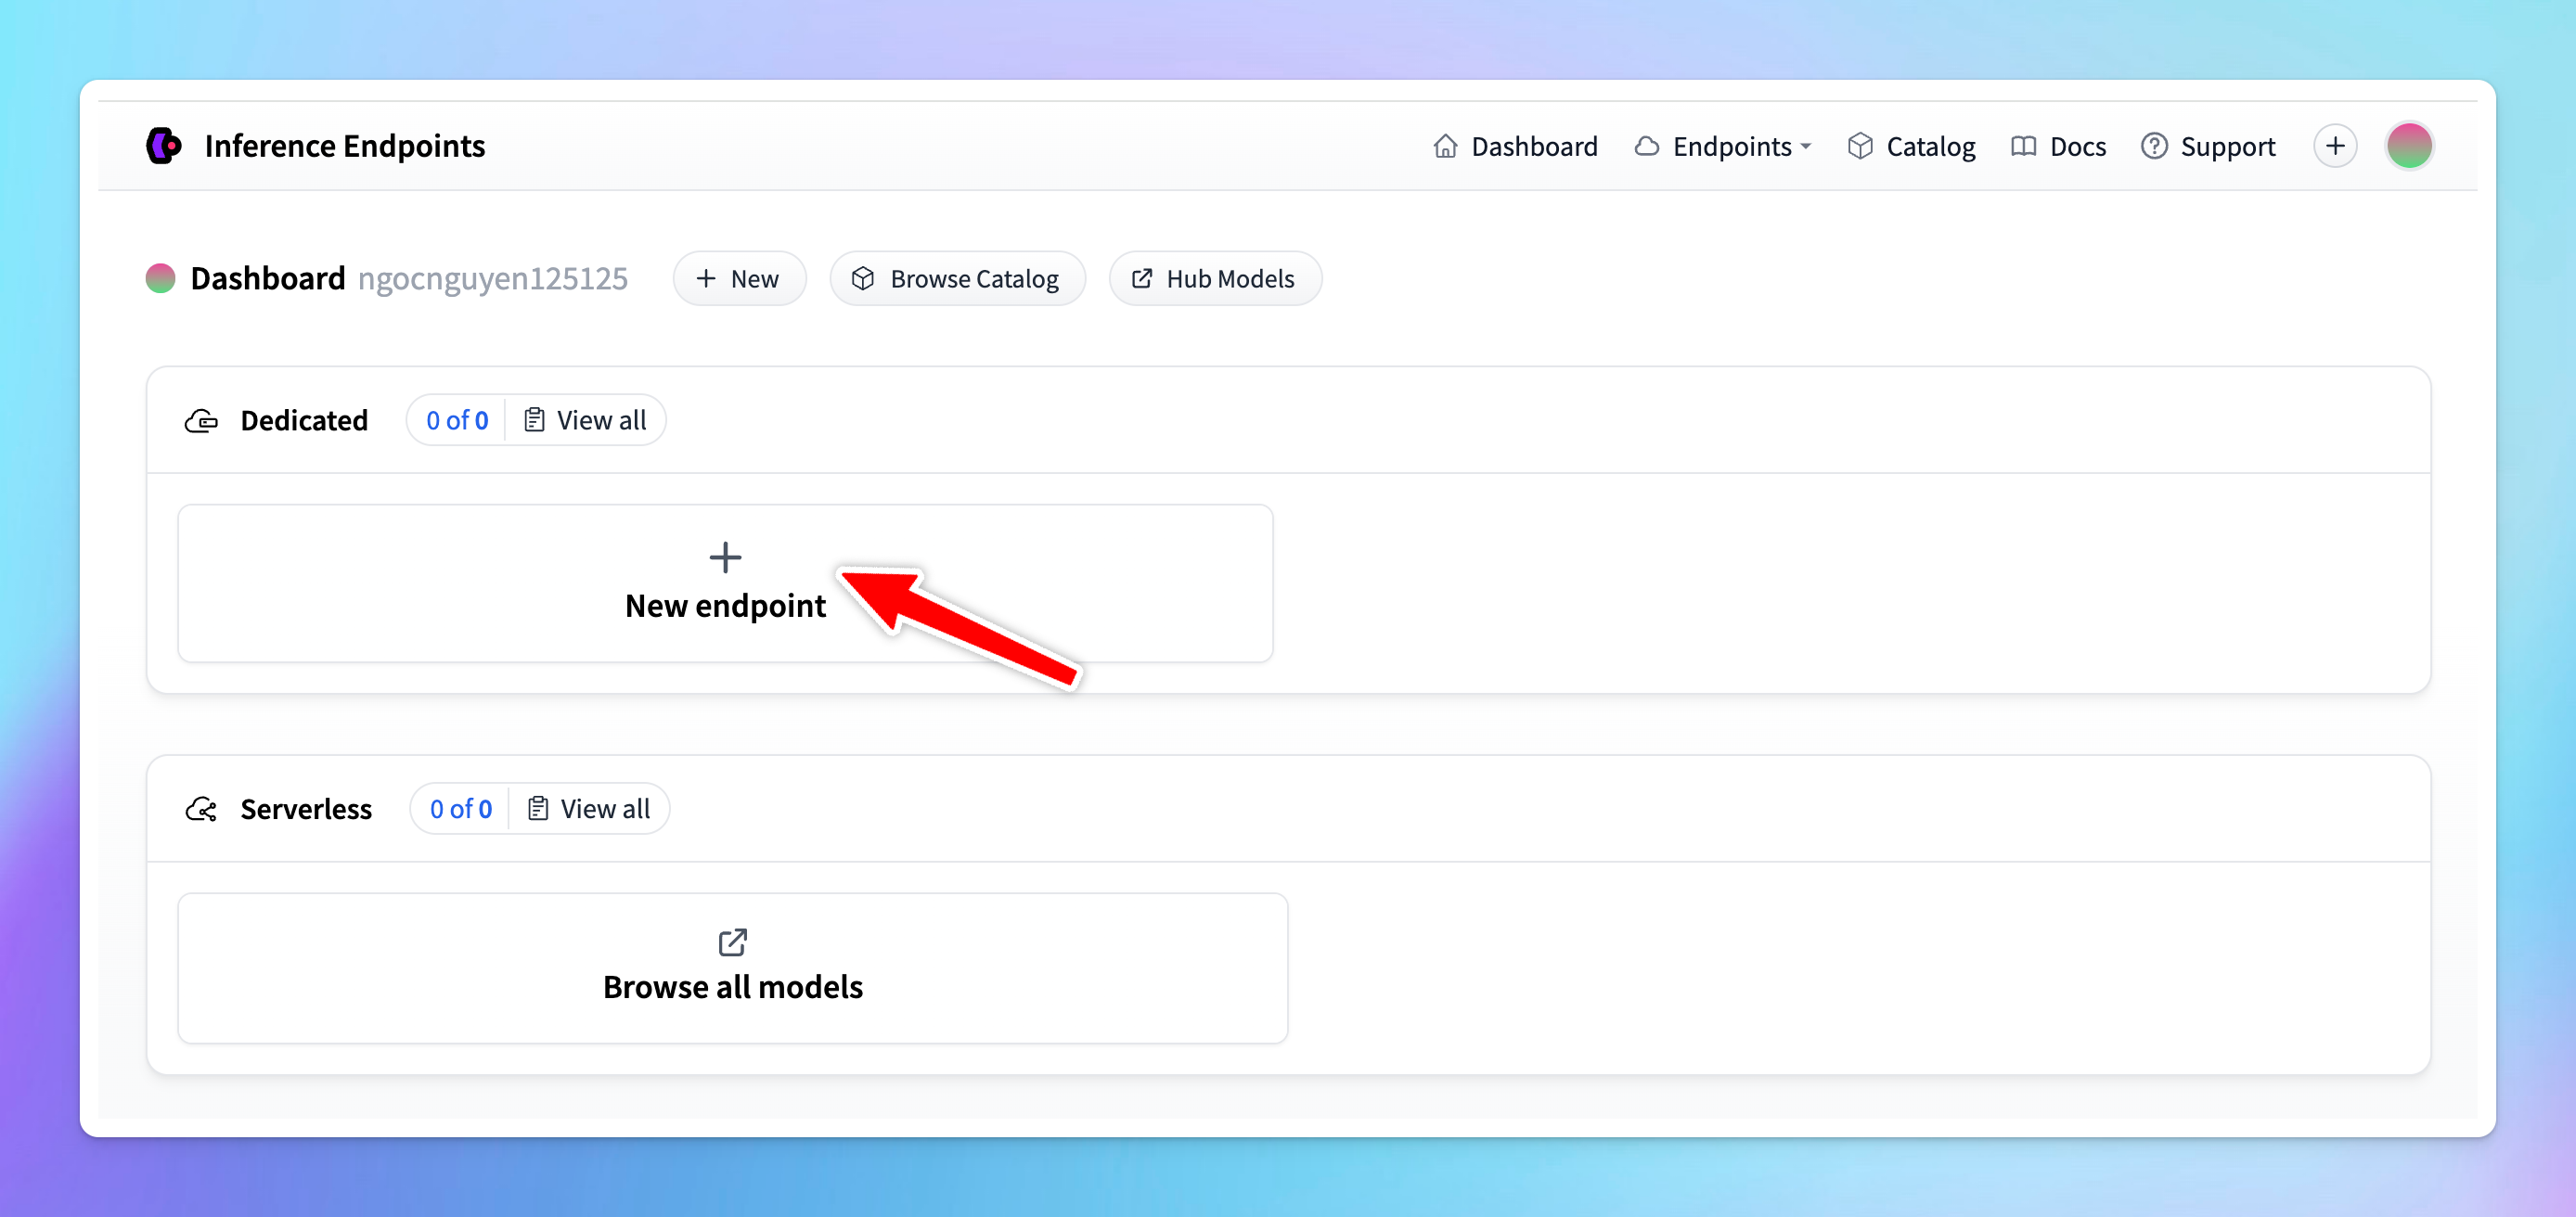
- Click New endpoint
- Choose the model you want to deploy. Hugging Face offers over 60,000 models, including Transformers, diffusers, and sentence Transformers.
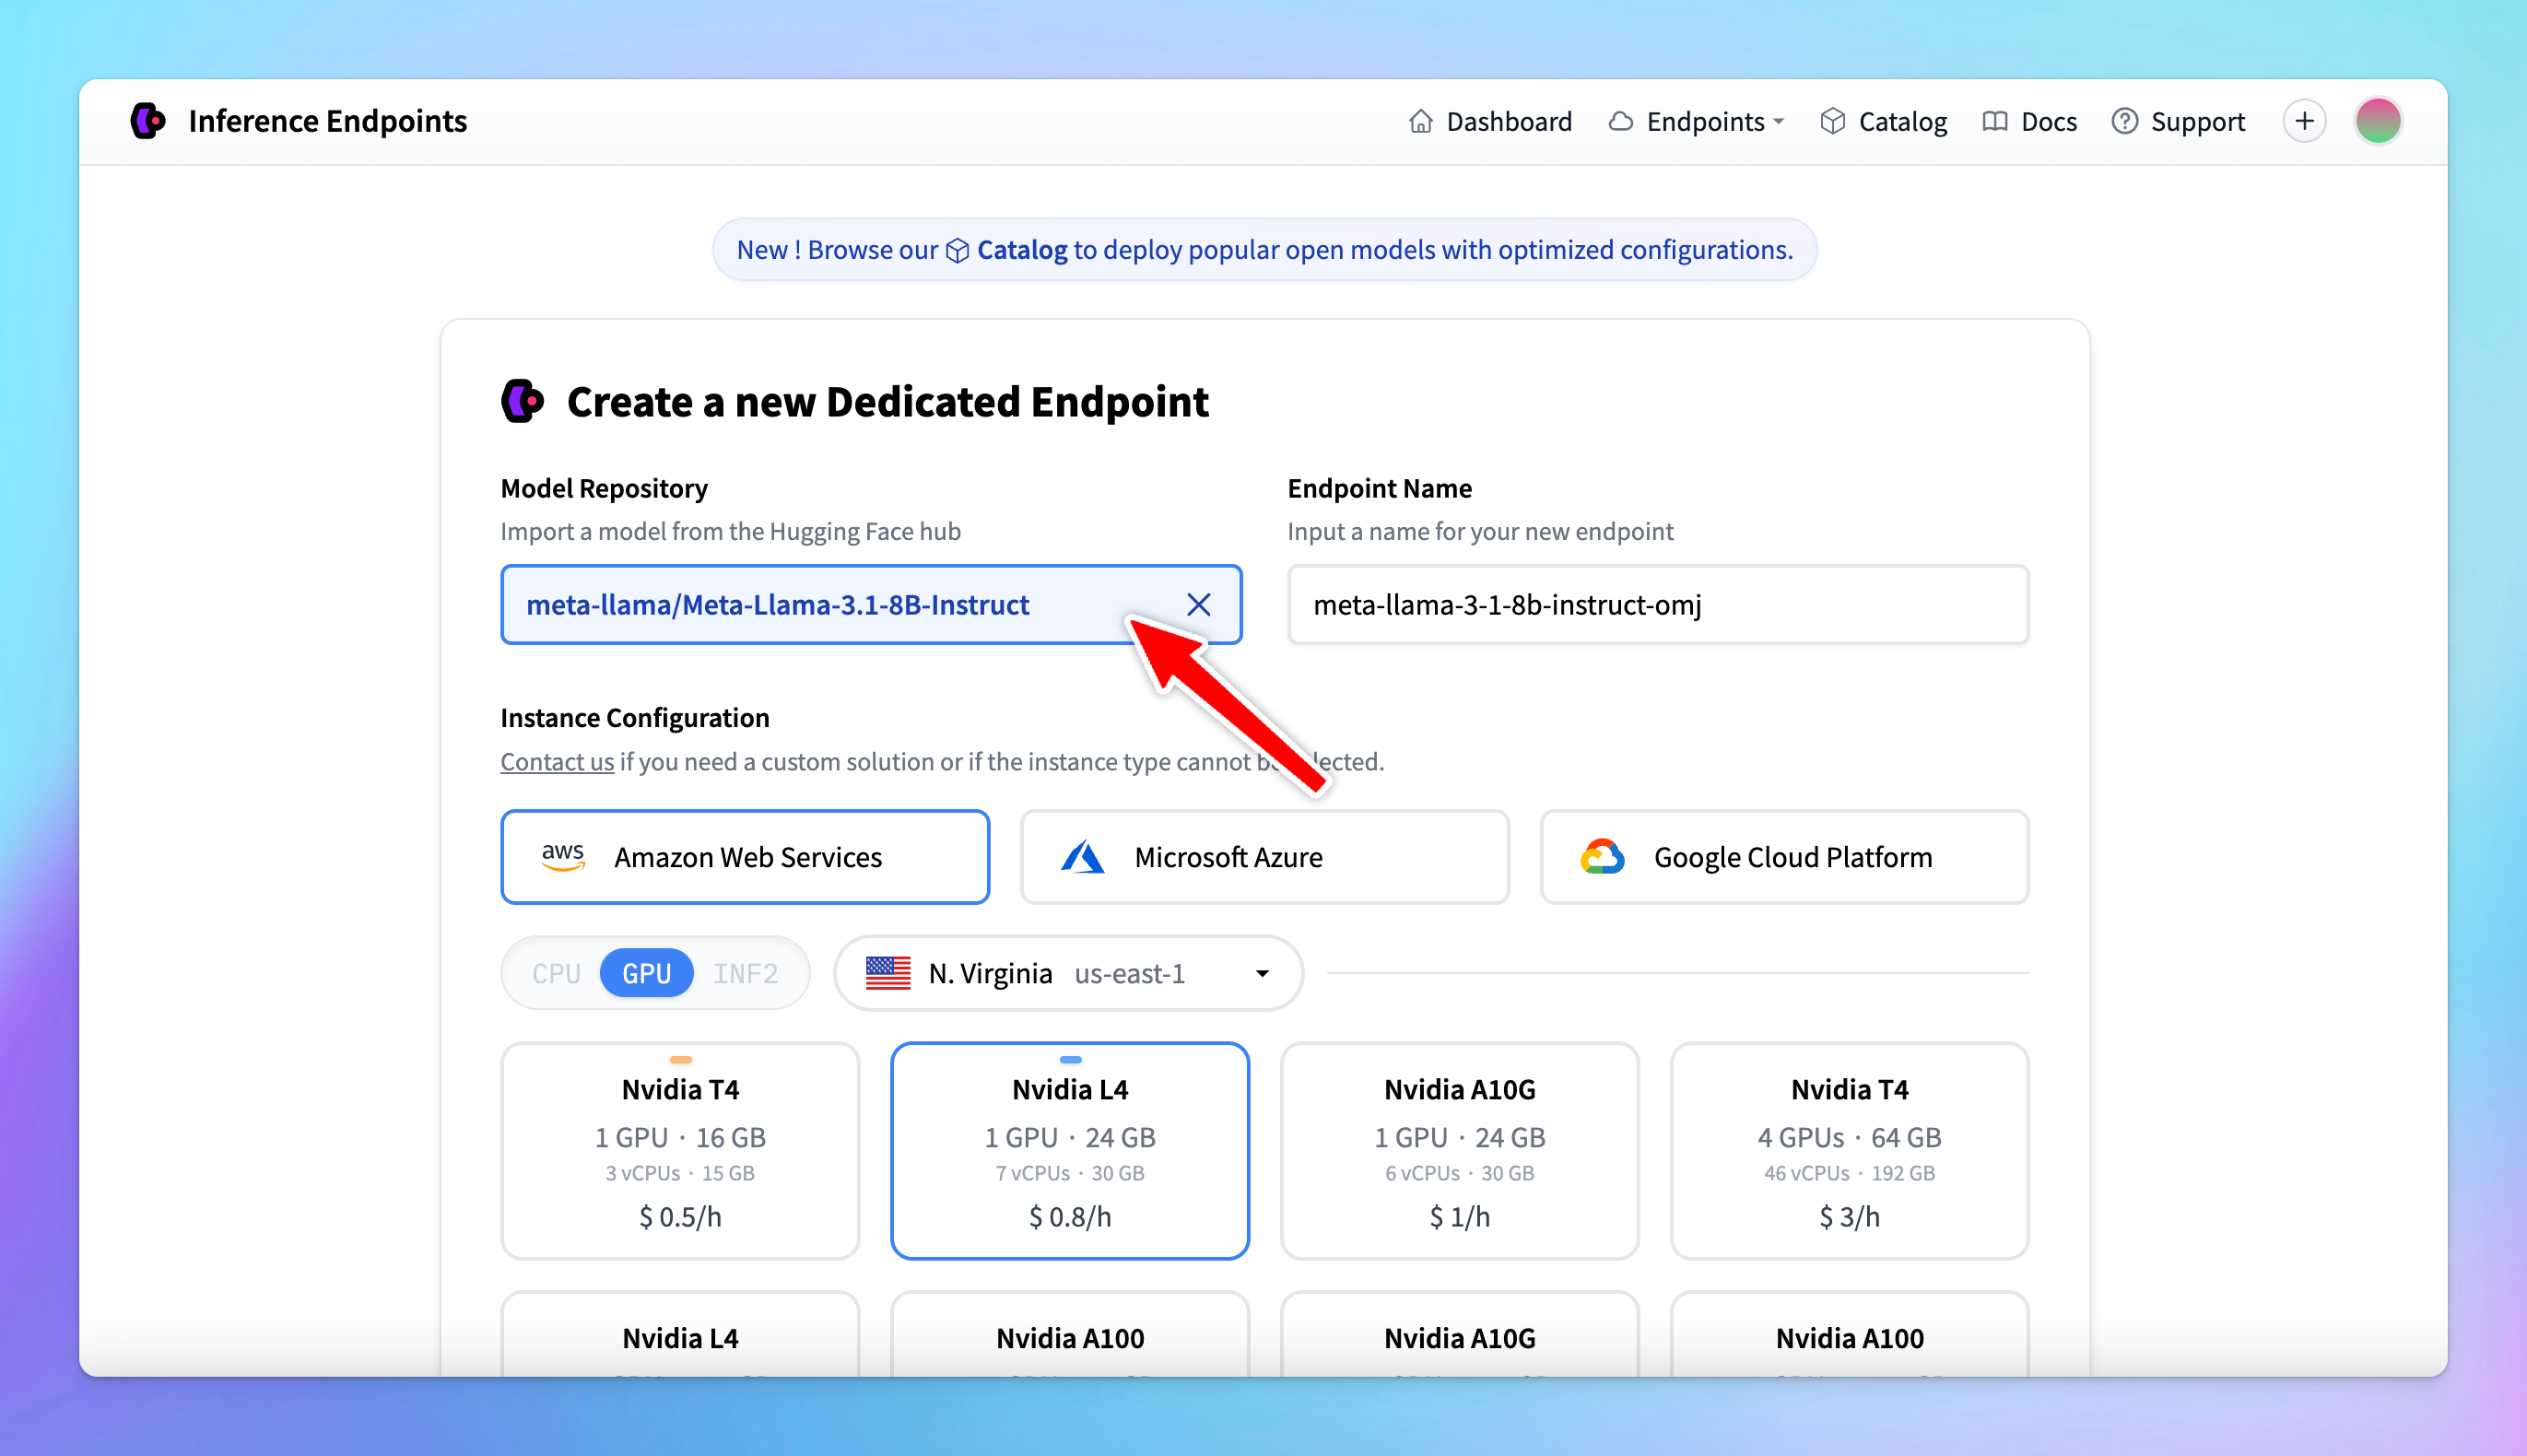
- Select a cloud provider and a region close to your data (e.g., Europe, North America, Asia Pacific).
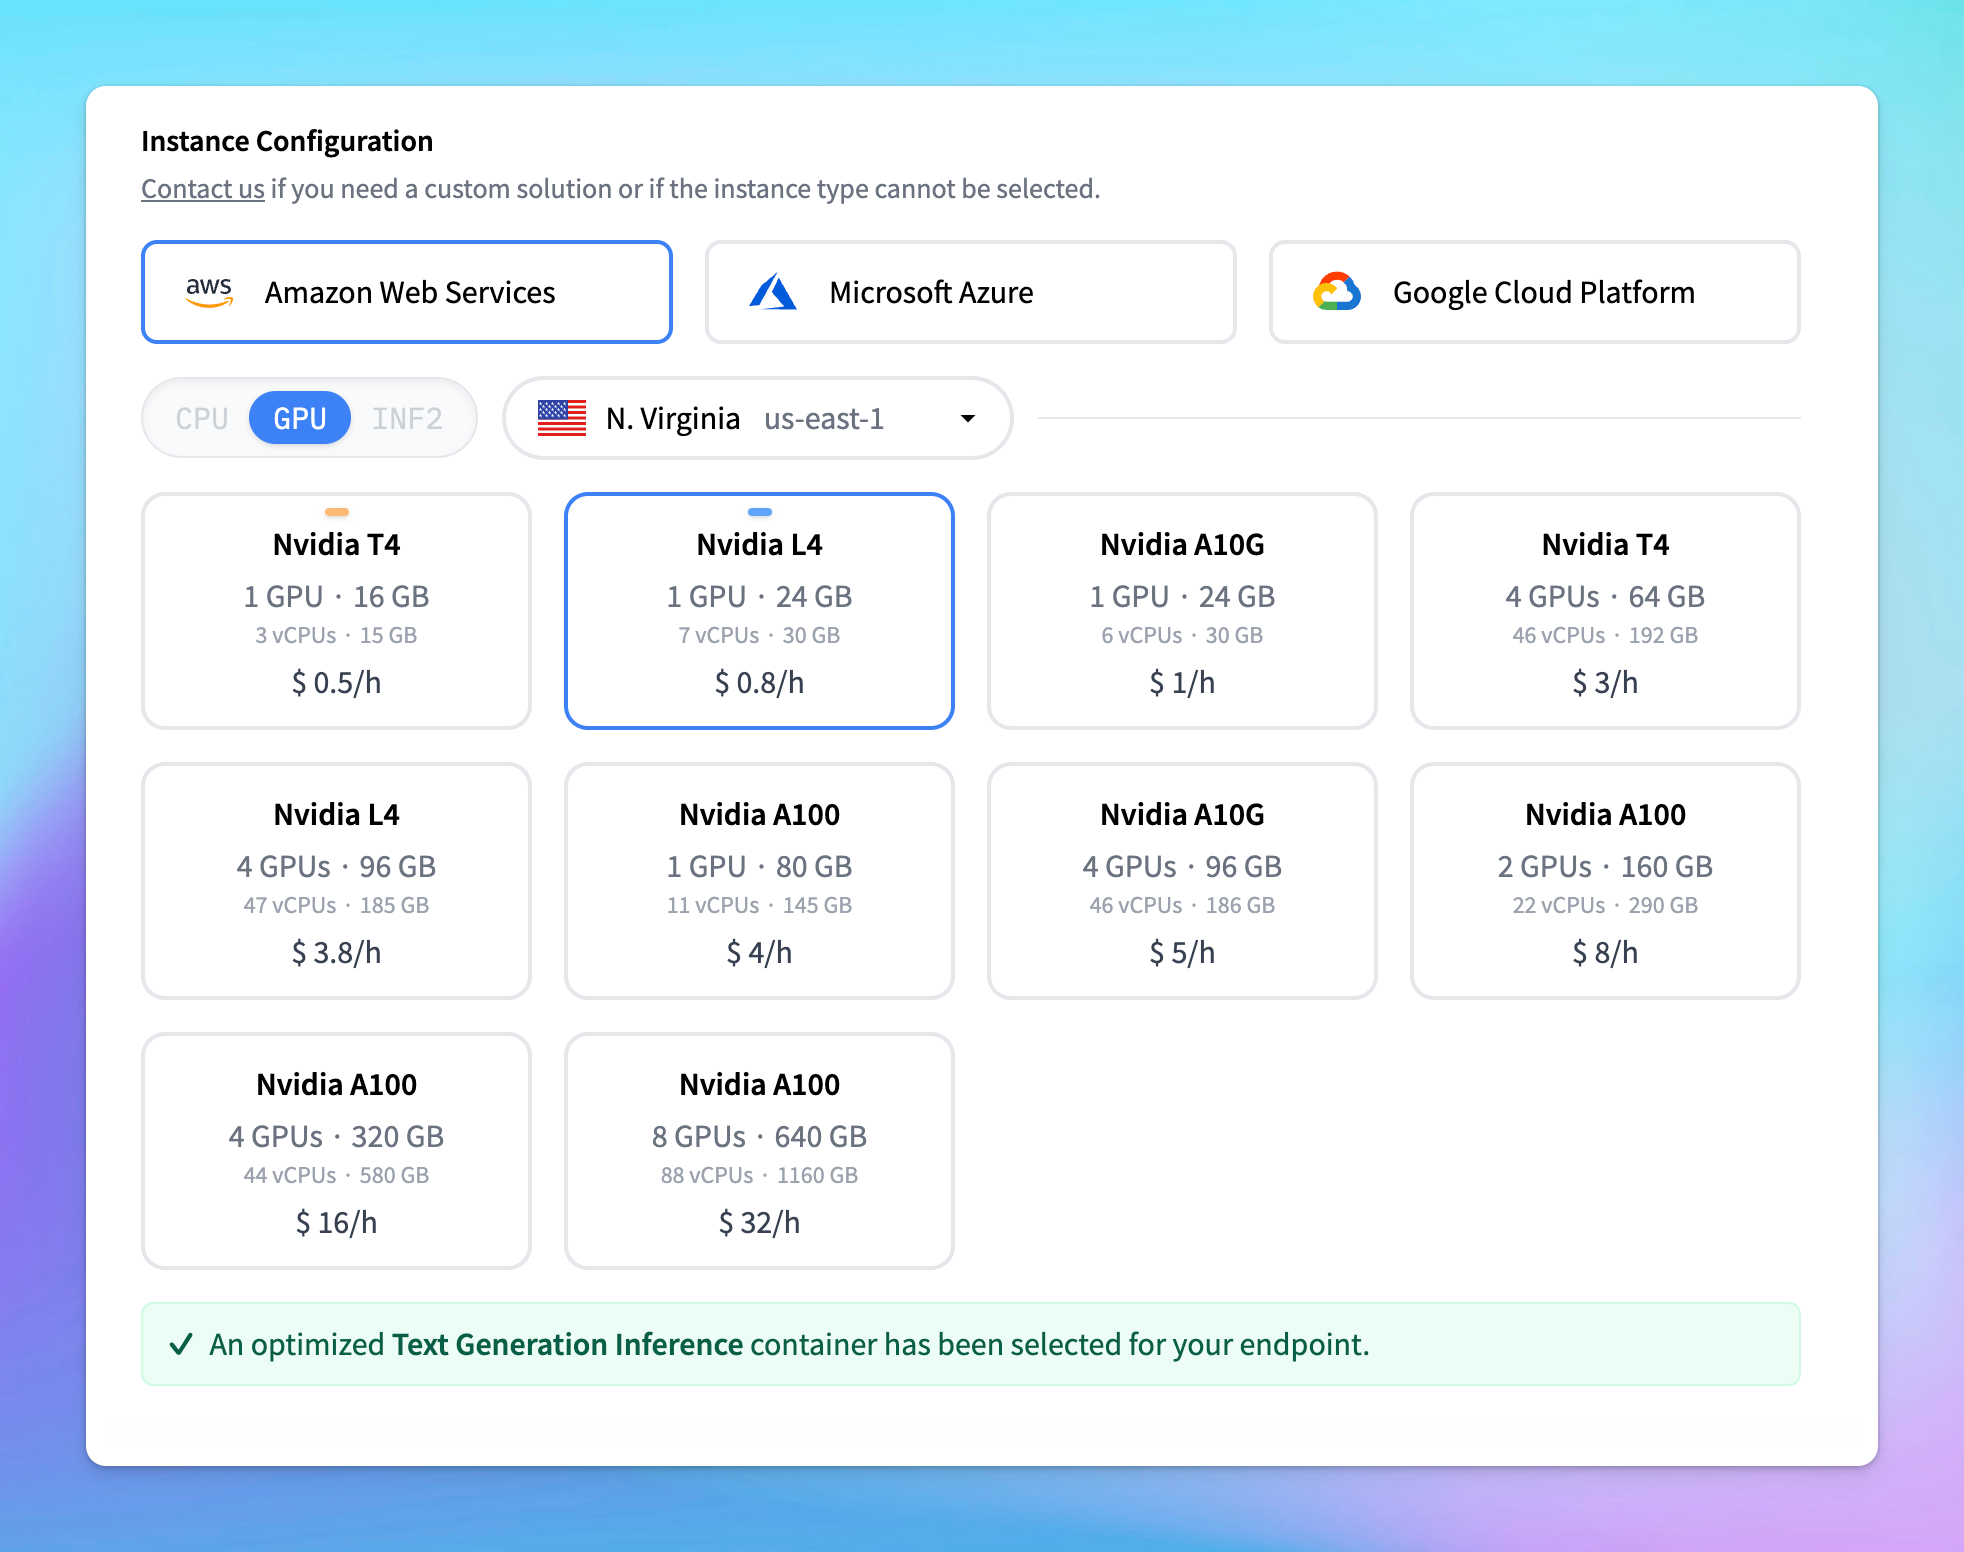
- Select the GPU: make sure the selected GPU has enough memory for the model. The default selection is usually optimal. You can totally select your preferred GPU, but avoid choosing a low-memory GPU for a high-memory model.
- To manage costs, set the model to automatically scale to zero after a specified period of inactivity.
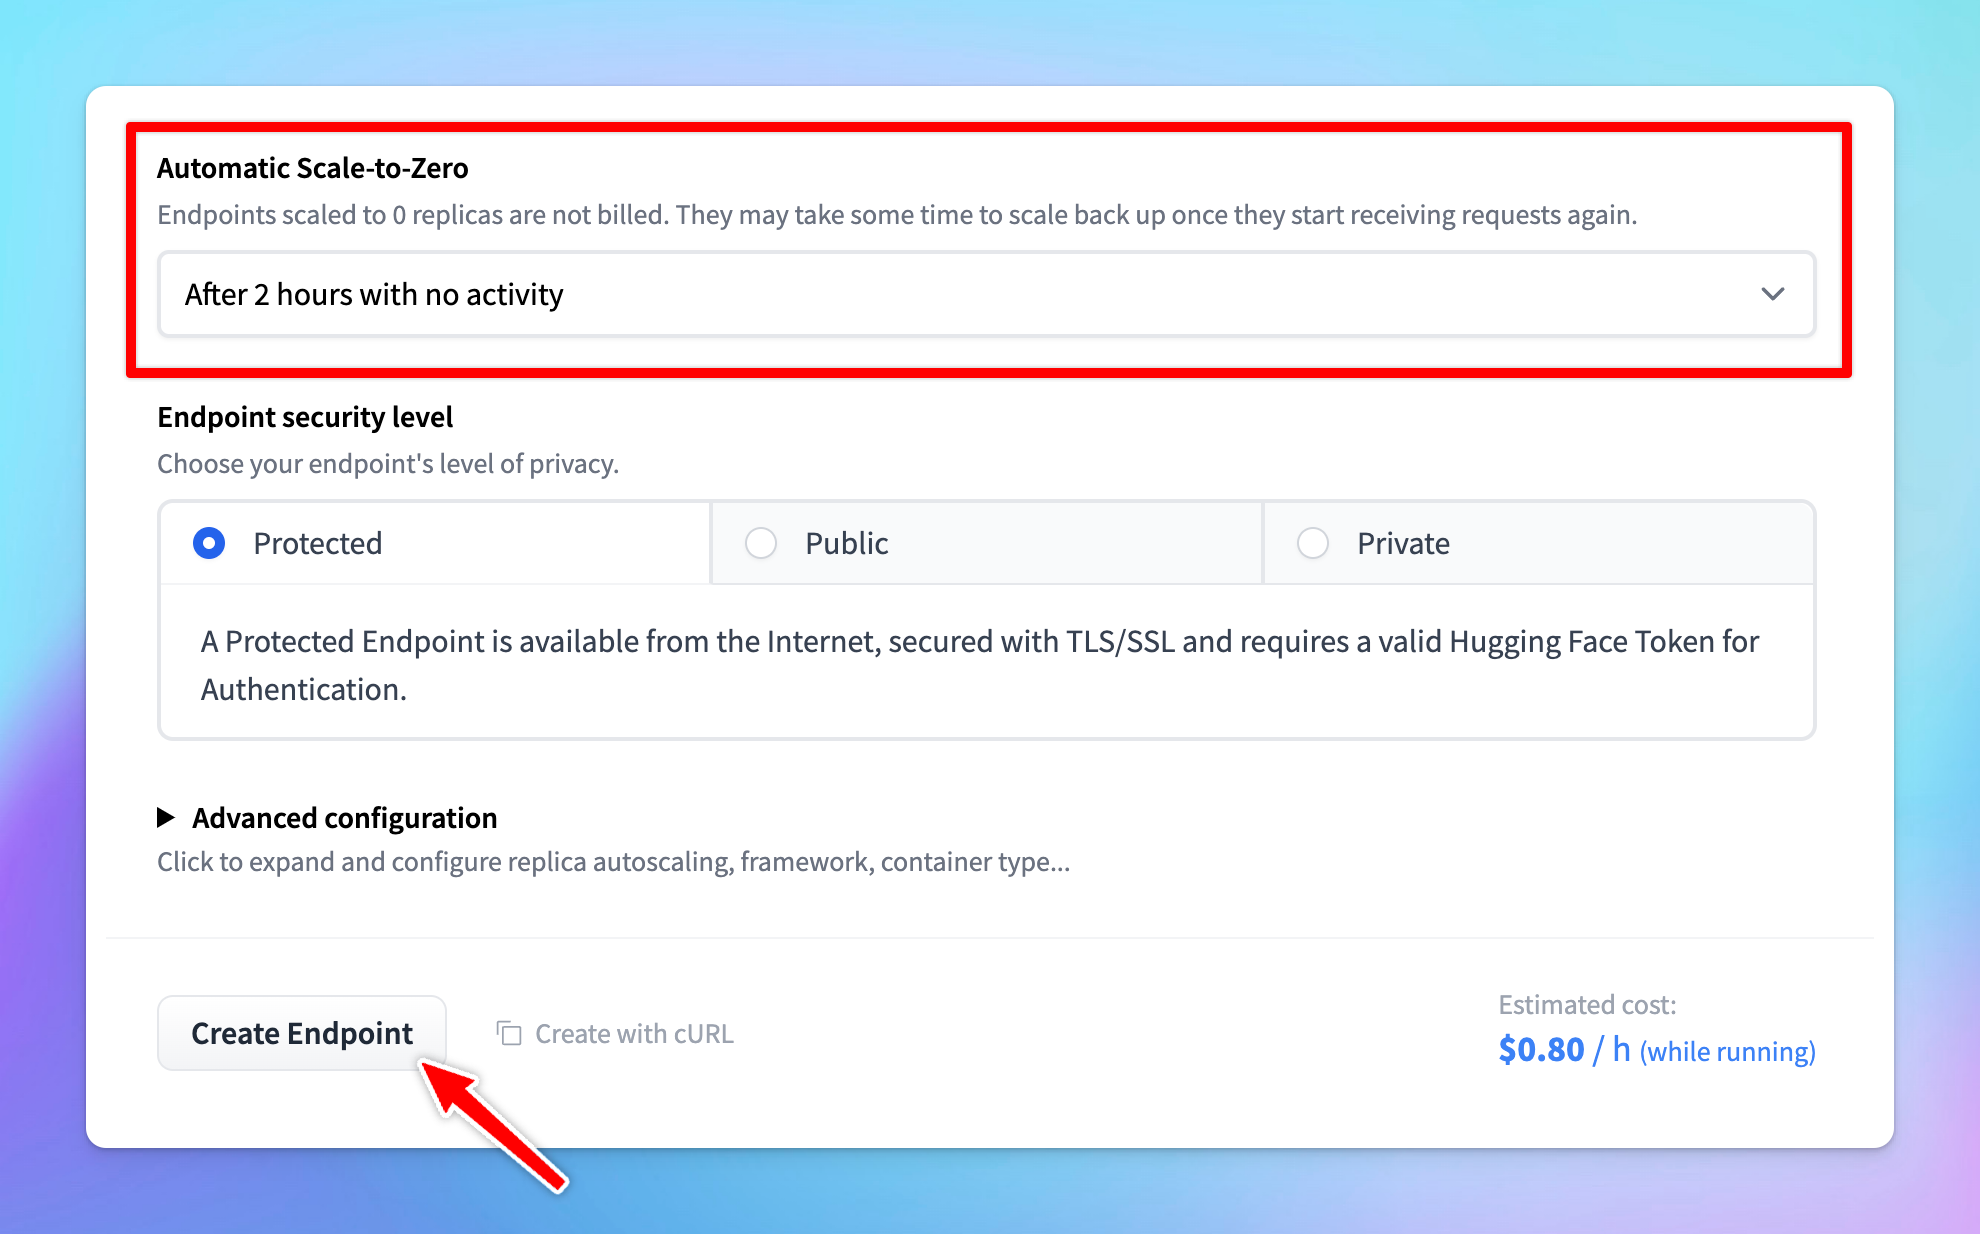
- Choose the Protected type for endpoint security. This setting allows that only users with the correct token can access the model.
- Click Create Endpoint. Note that it may take a few minutes to create the endpoint.
💡 Some models may require specific adjustments. For example, if you encounter an error like “rope scaling must be a dictionary with two fields,” you’ll need to modify the source code accordingly. Upload the corrected code to Hugging Face and redeploy the model.
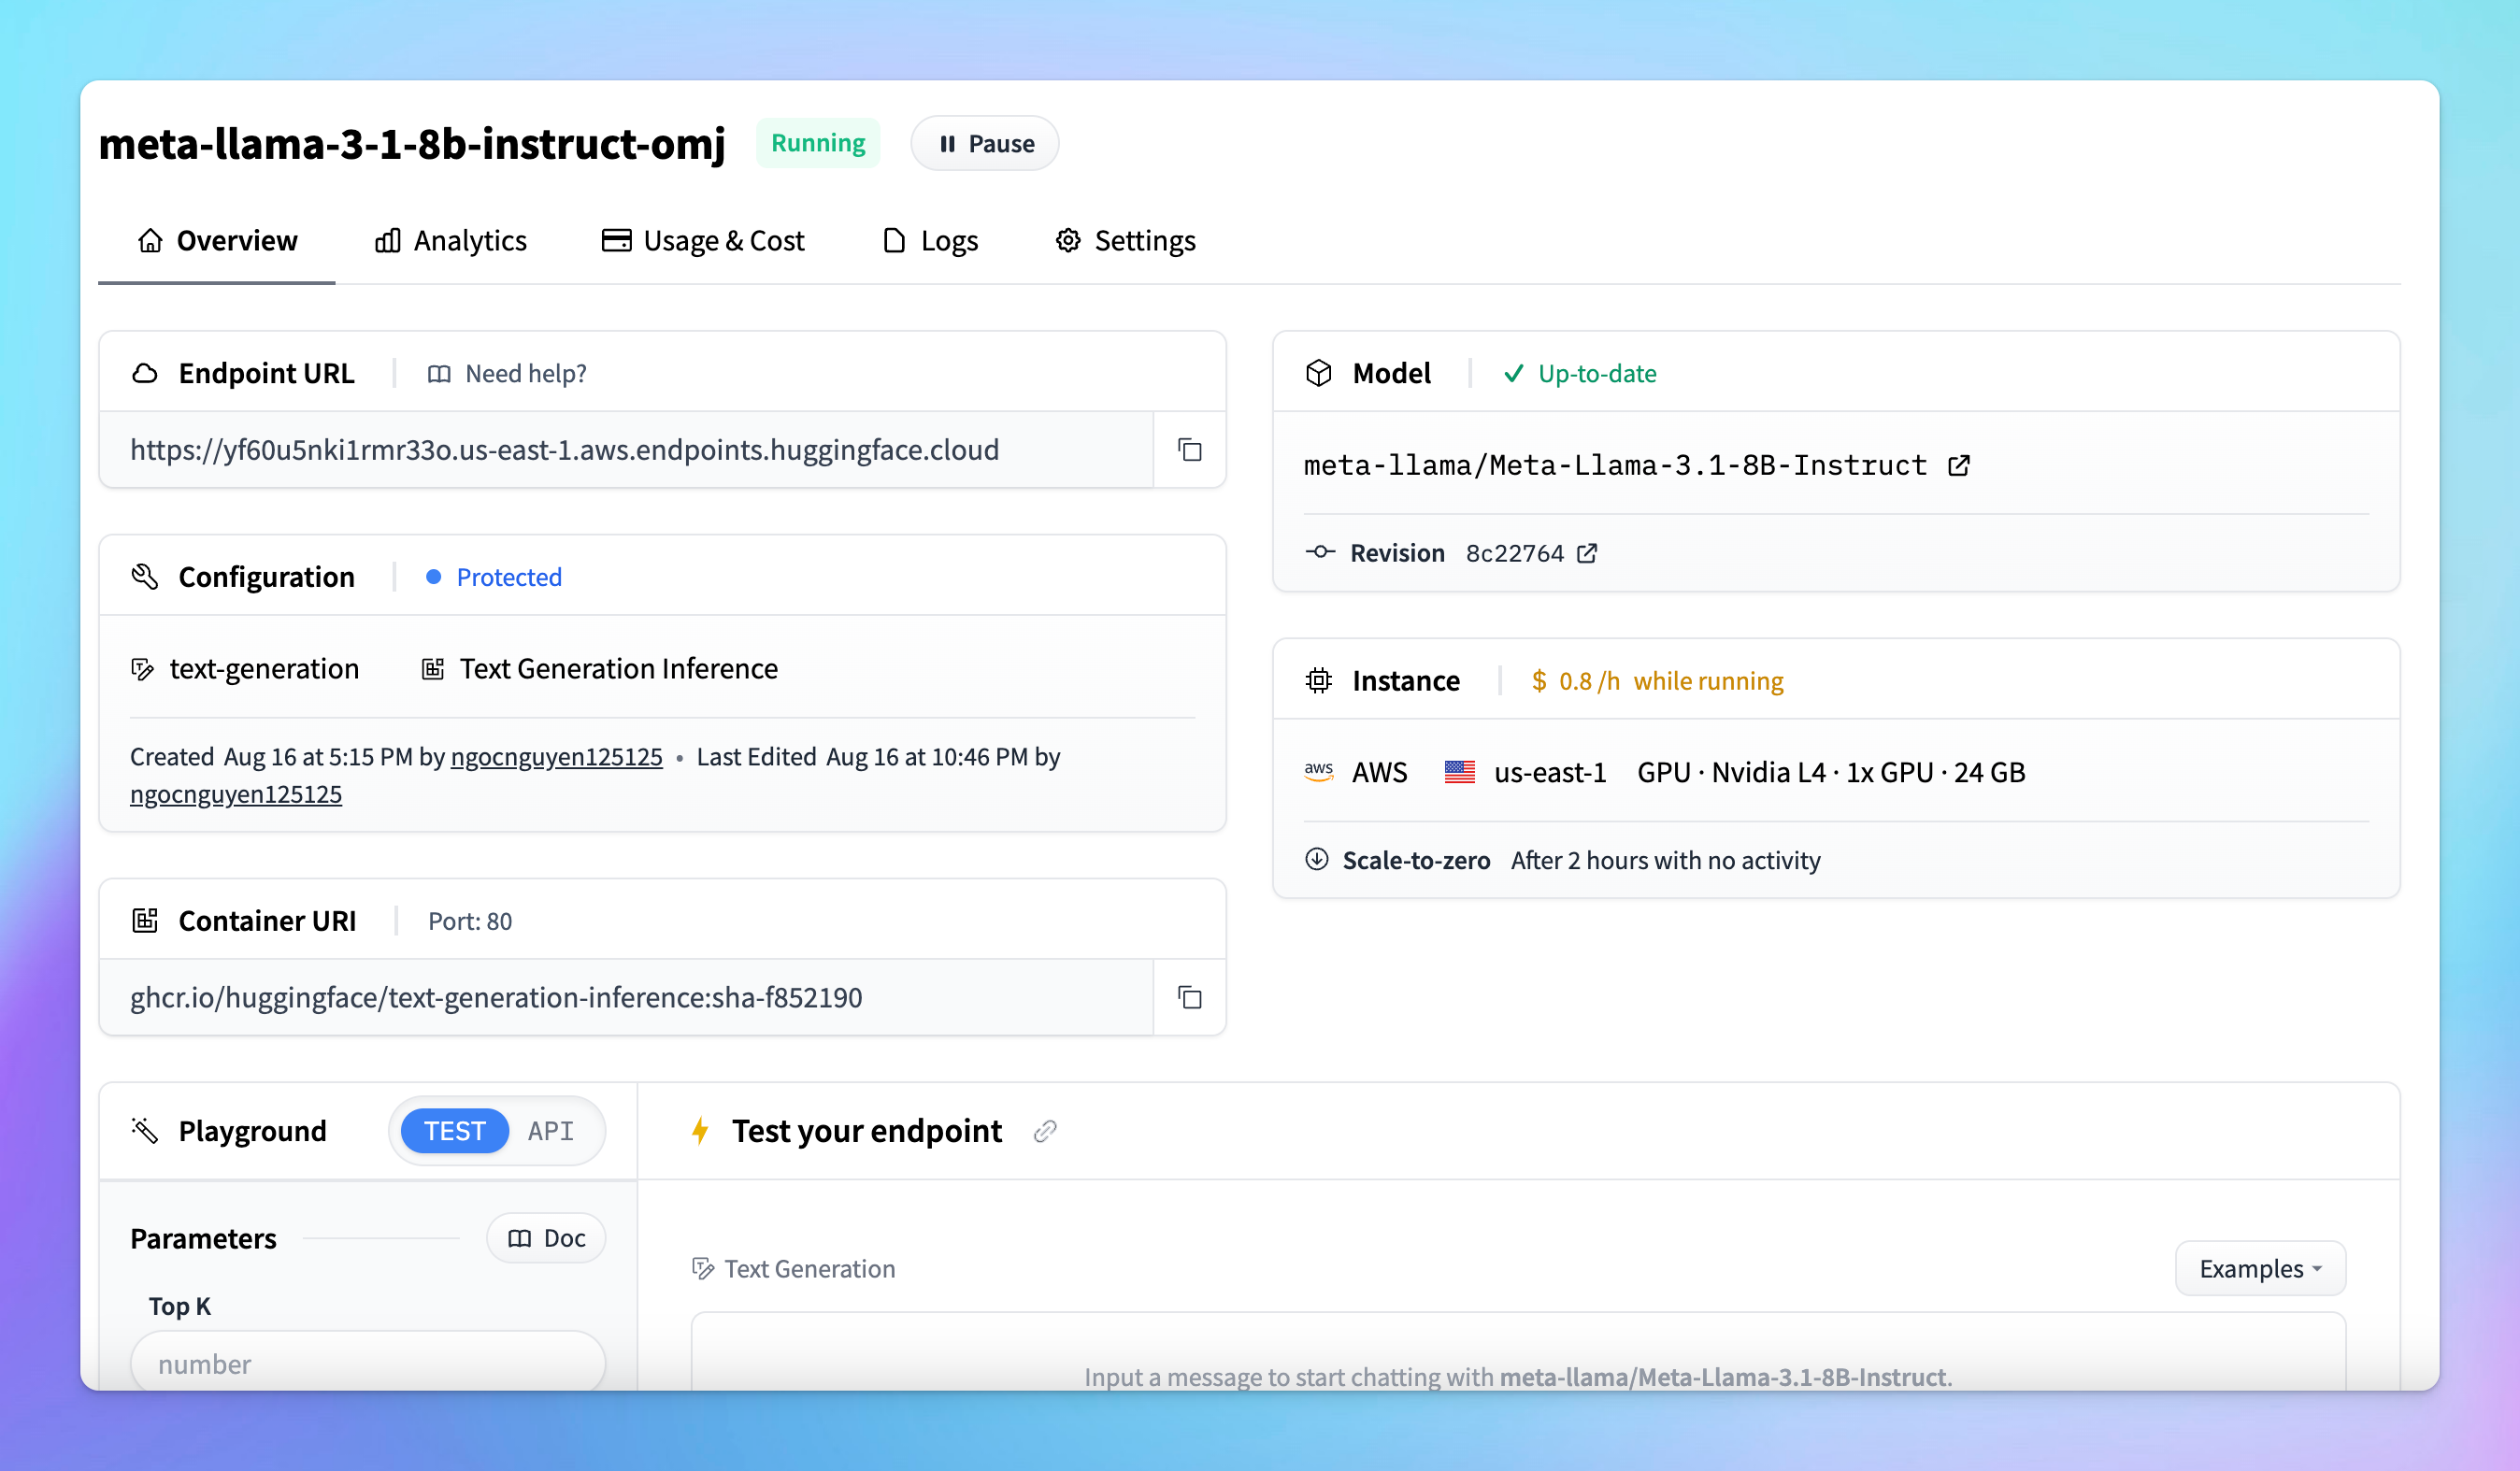
- Once the endpoint is created, it is ready for use.
Step 2: Create your API key
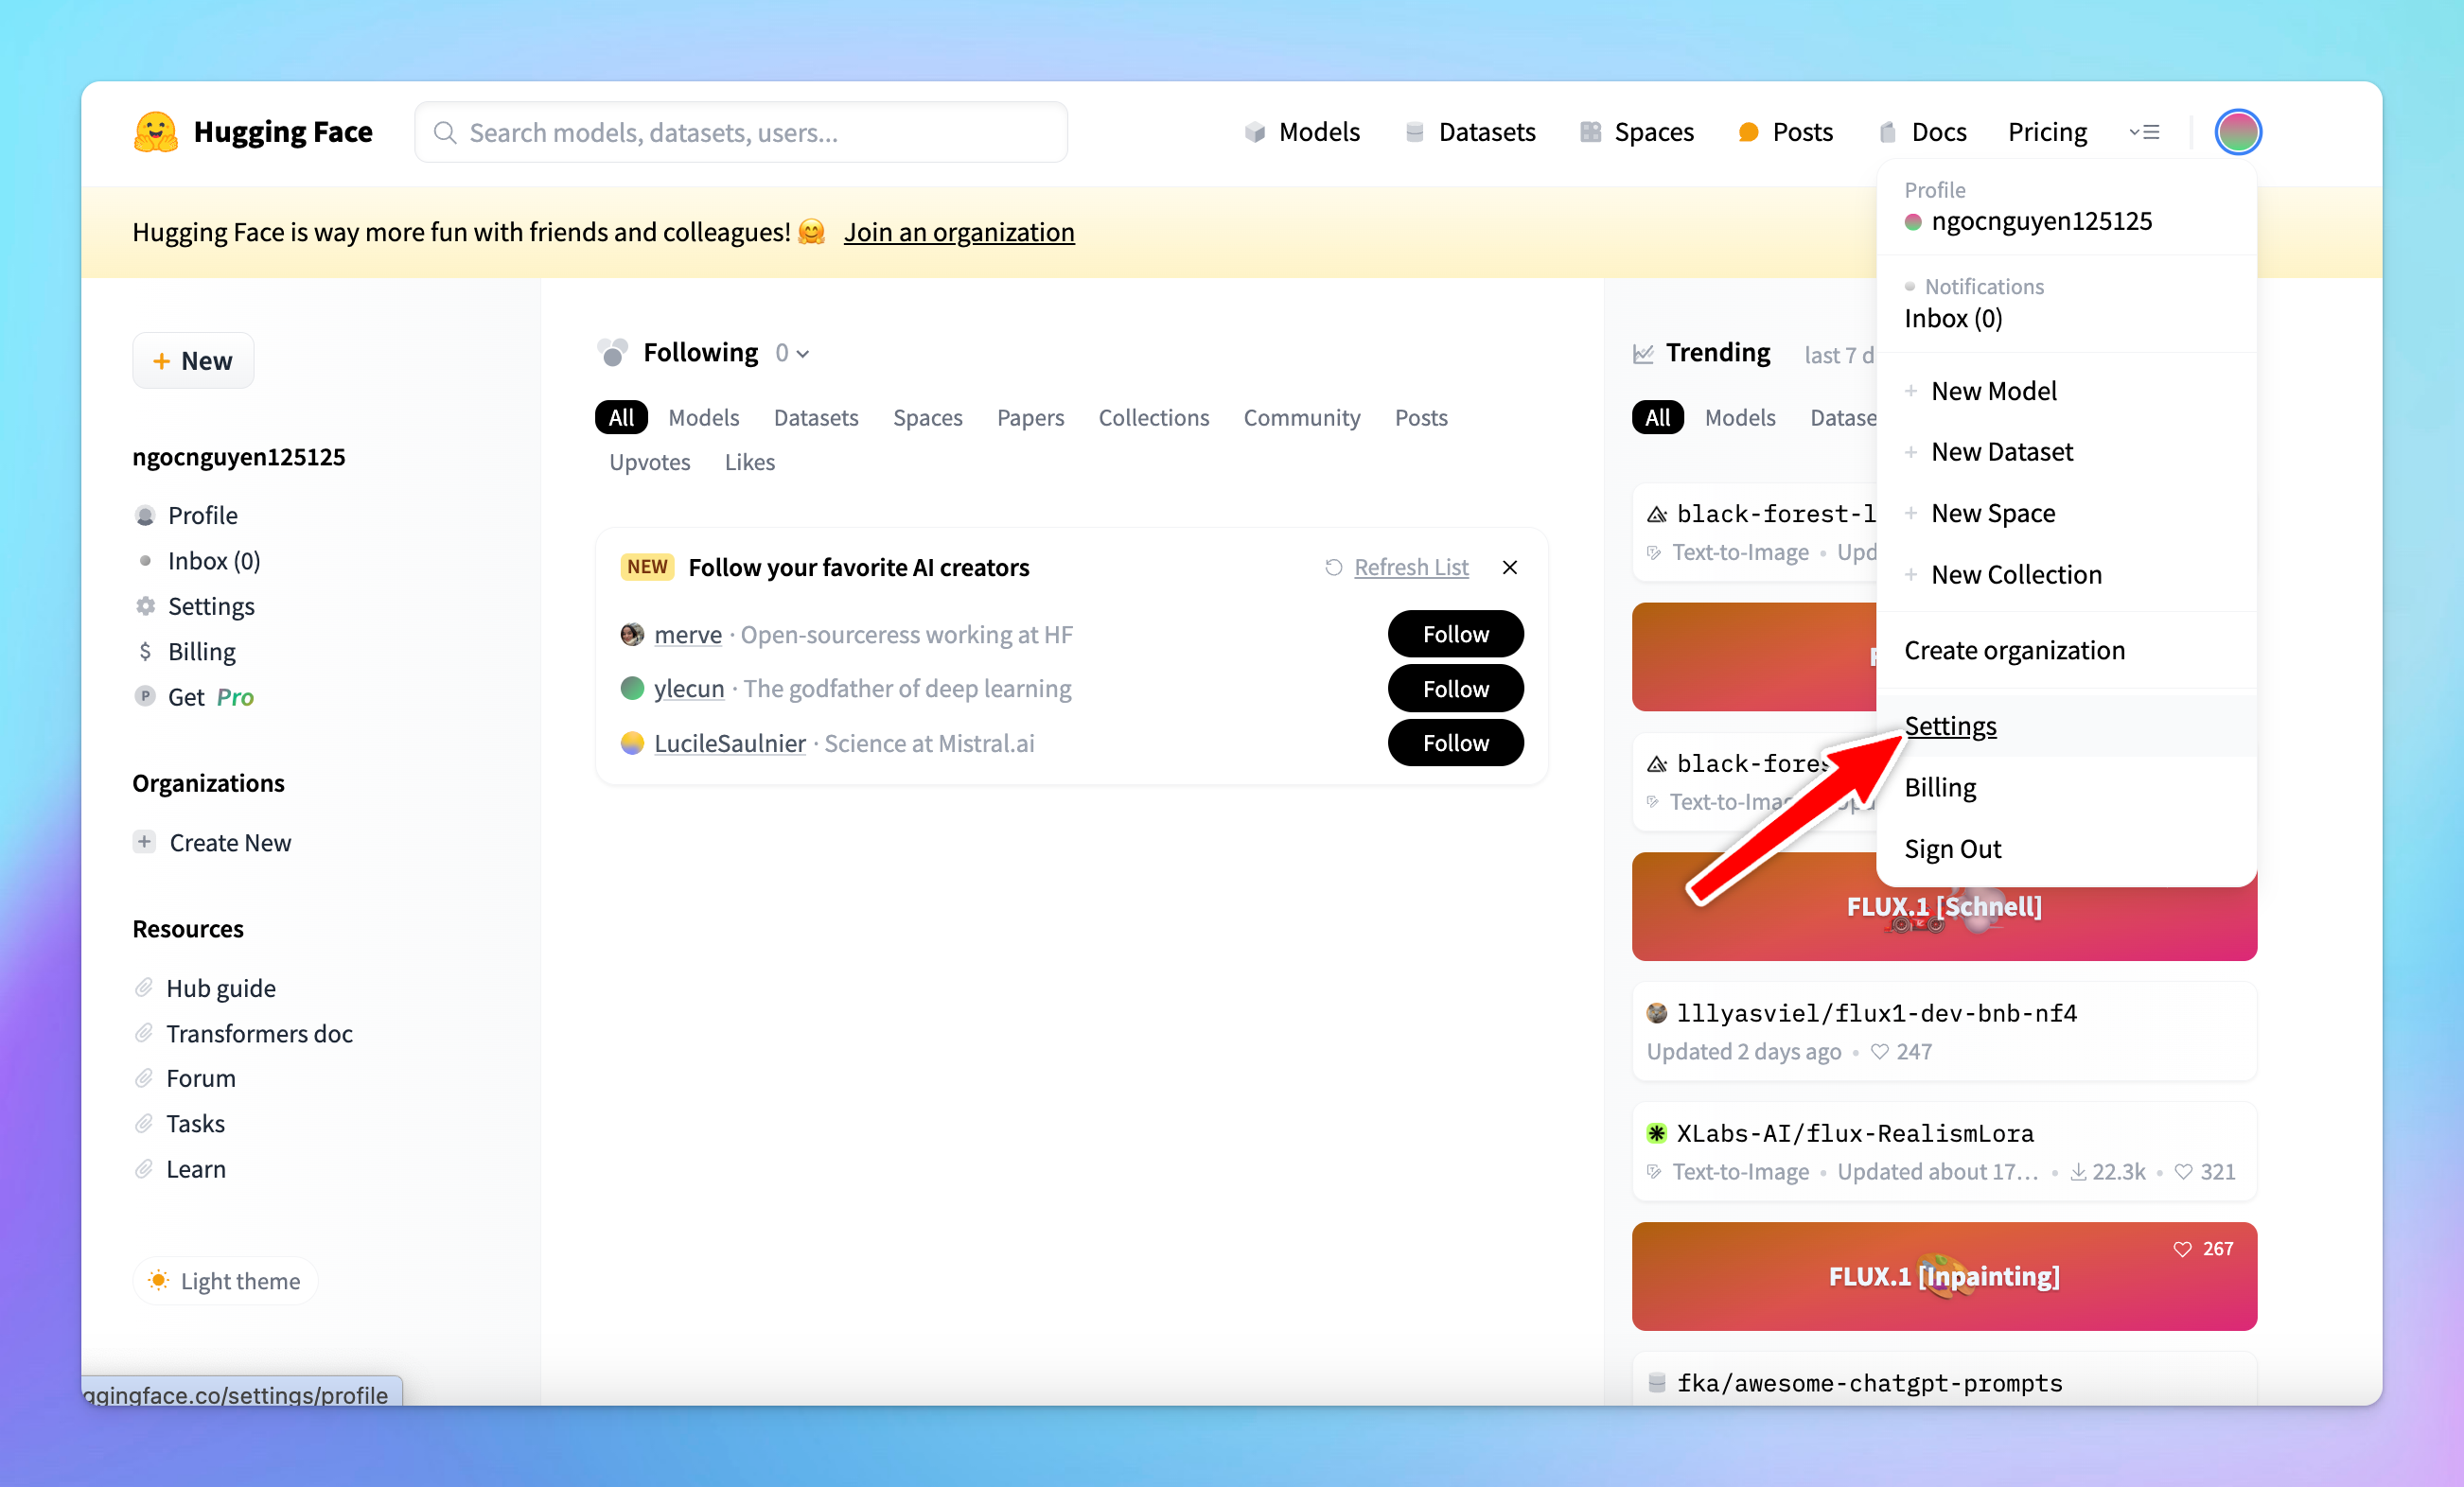
- Go to huggingface.co and log into your account
- Select Settings from the drop-down menu
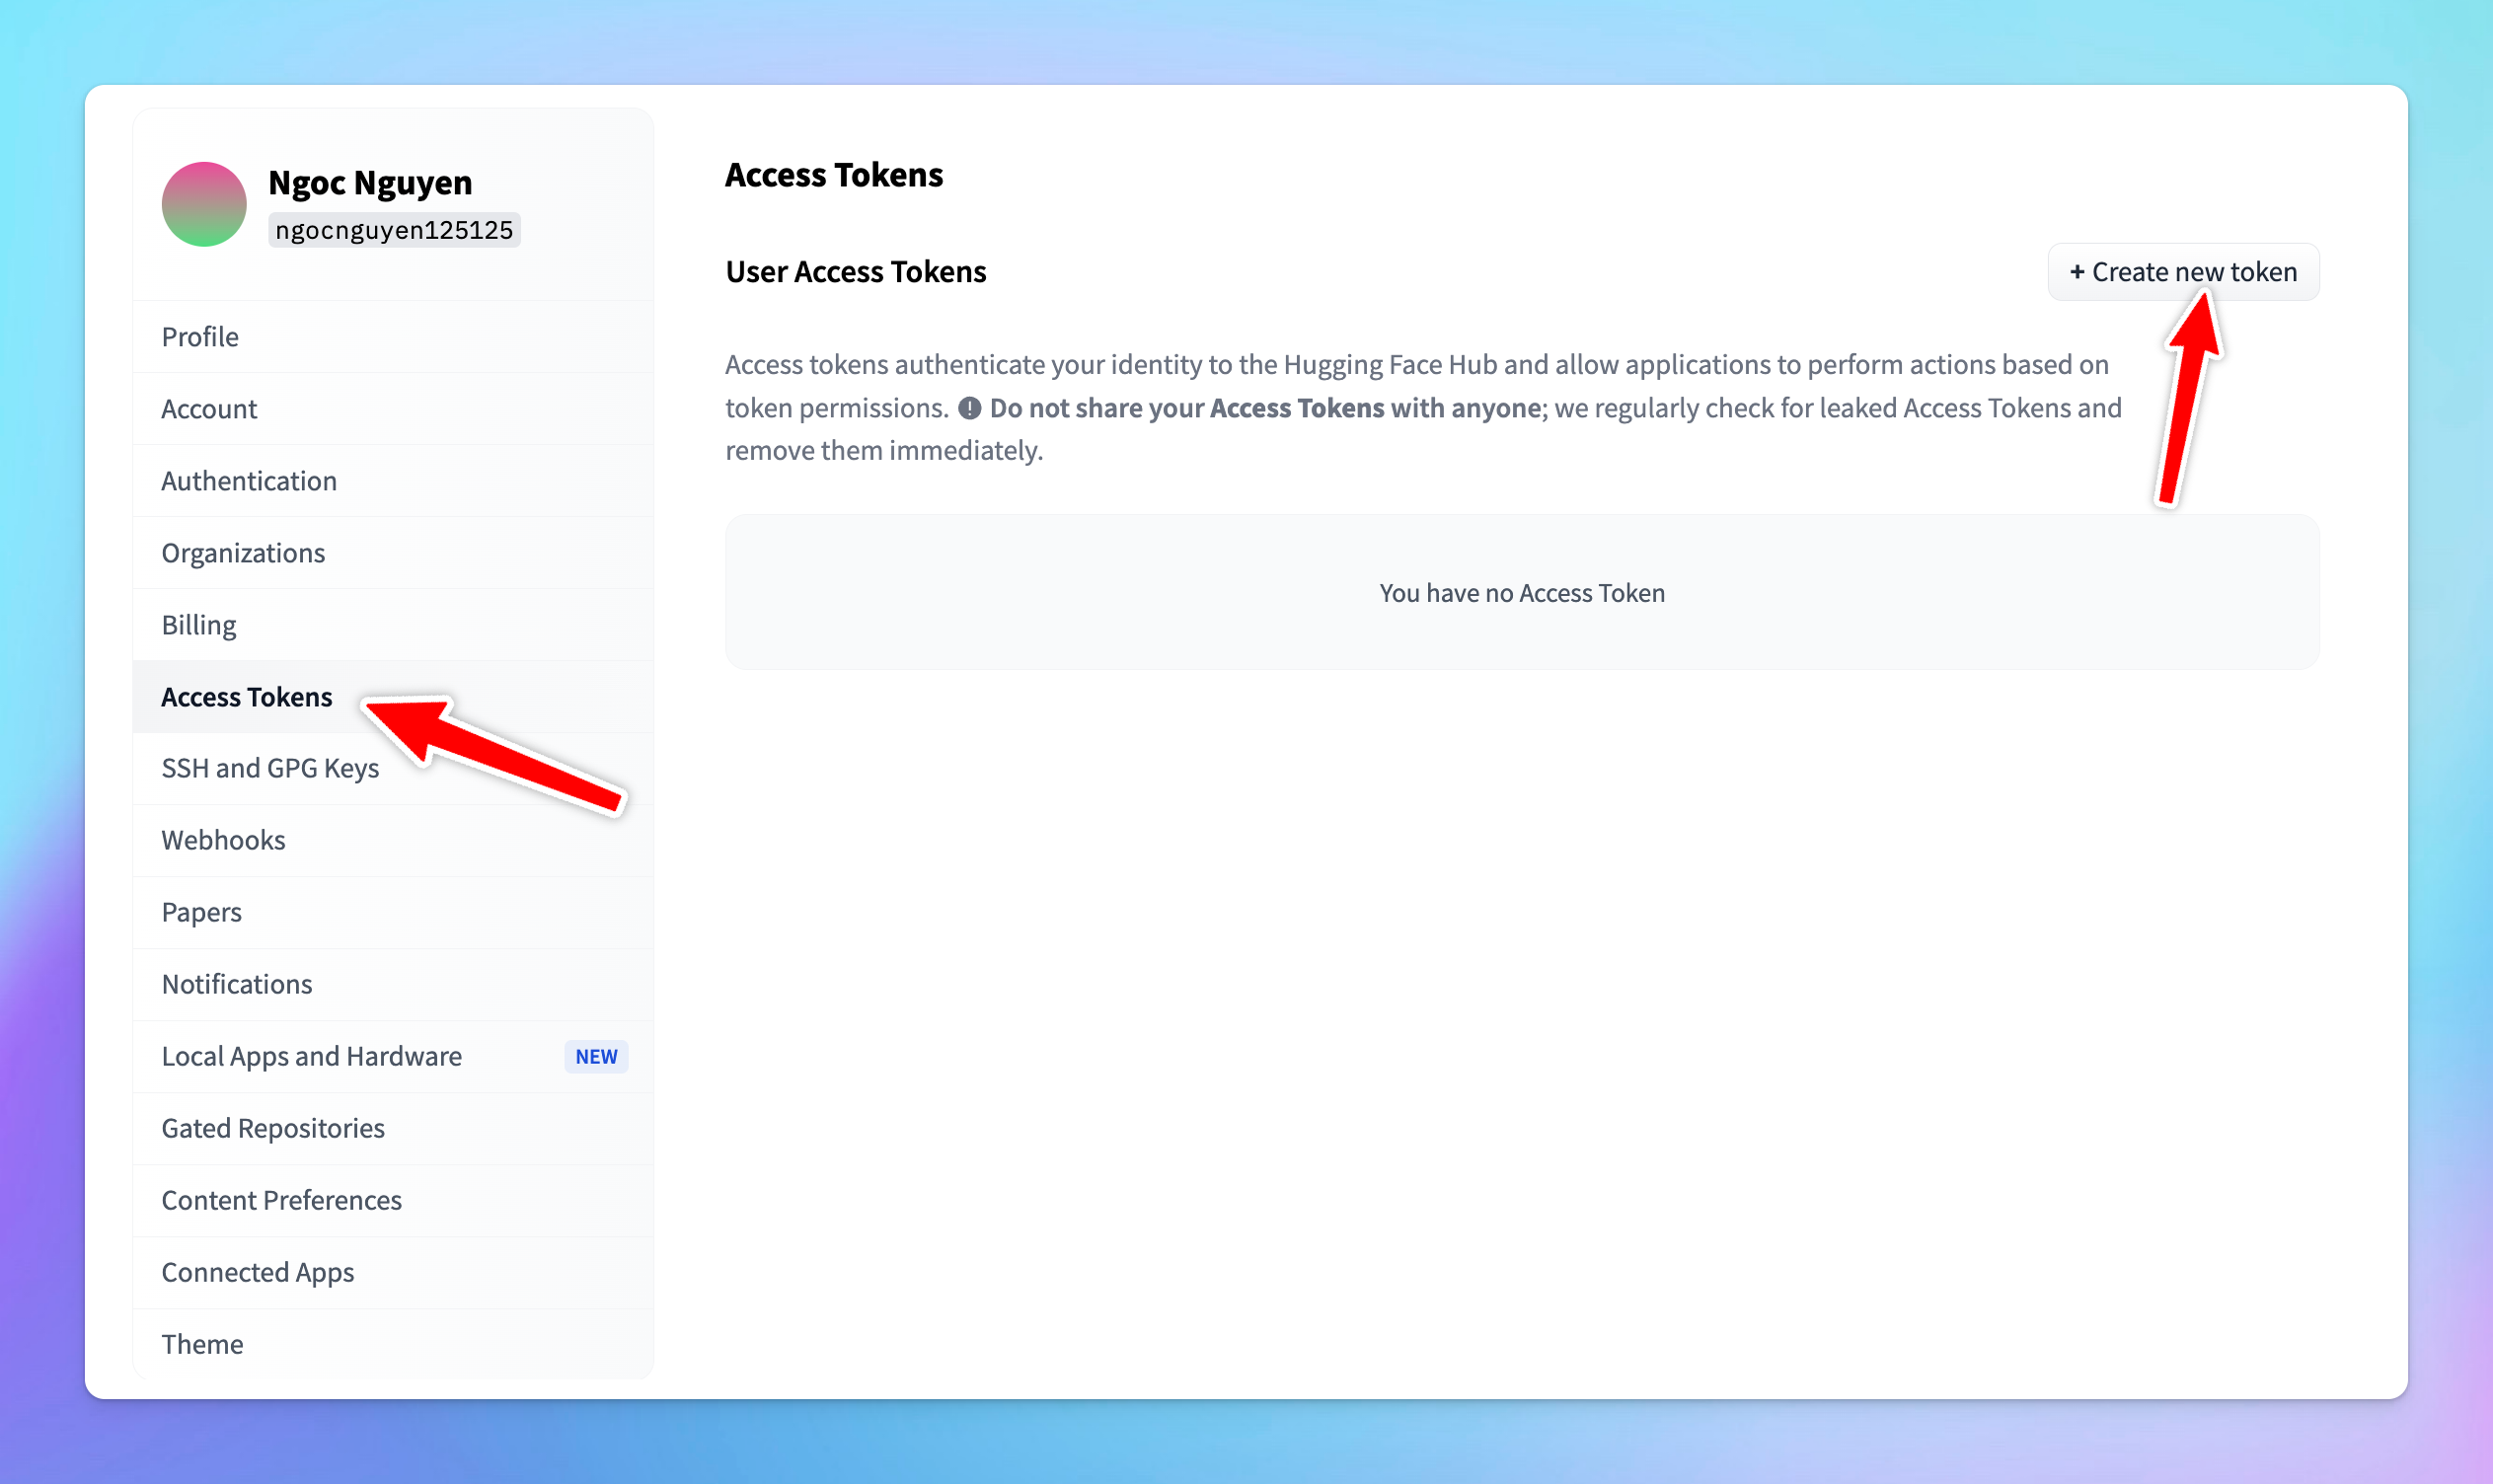
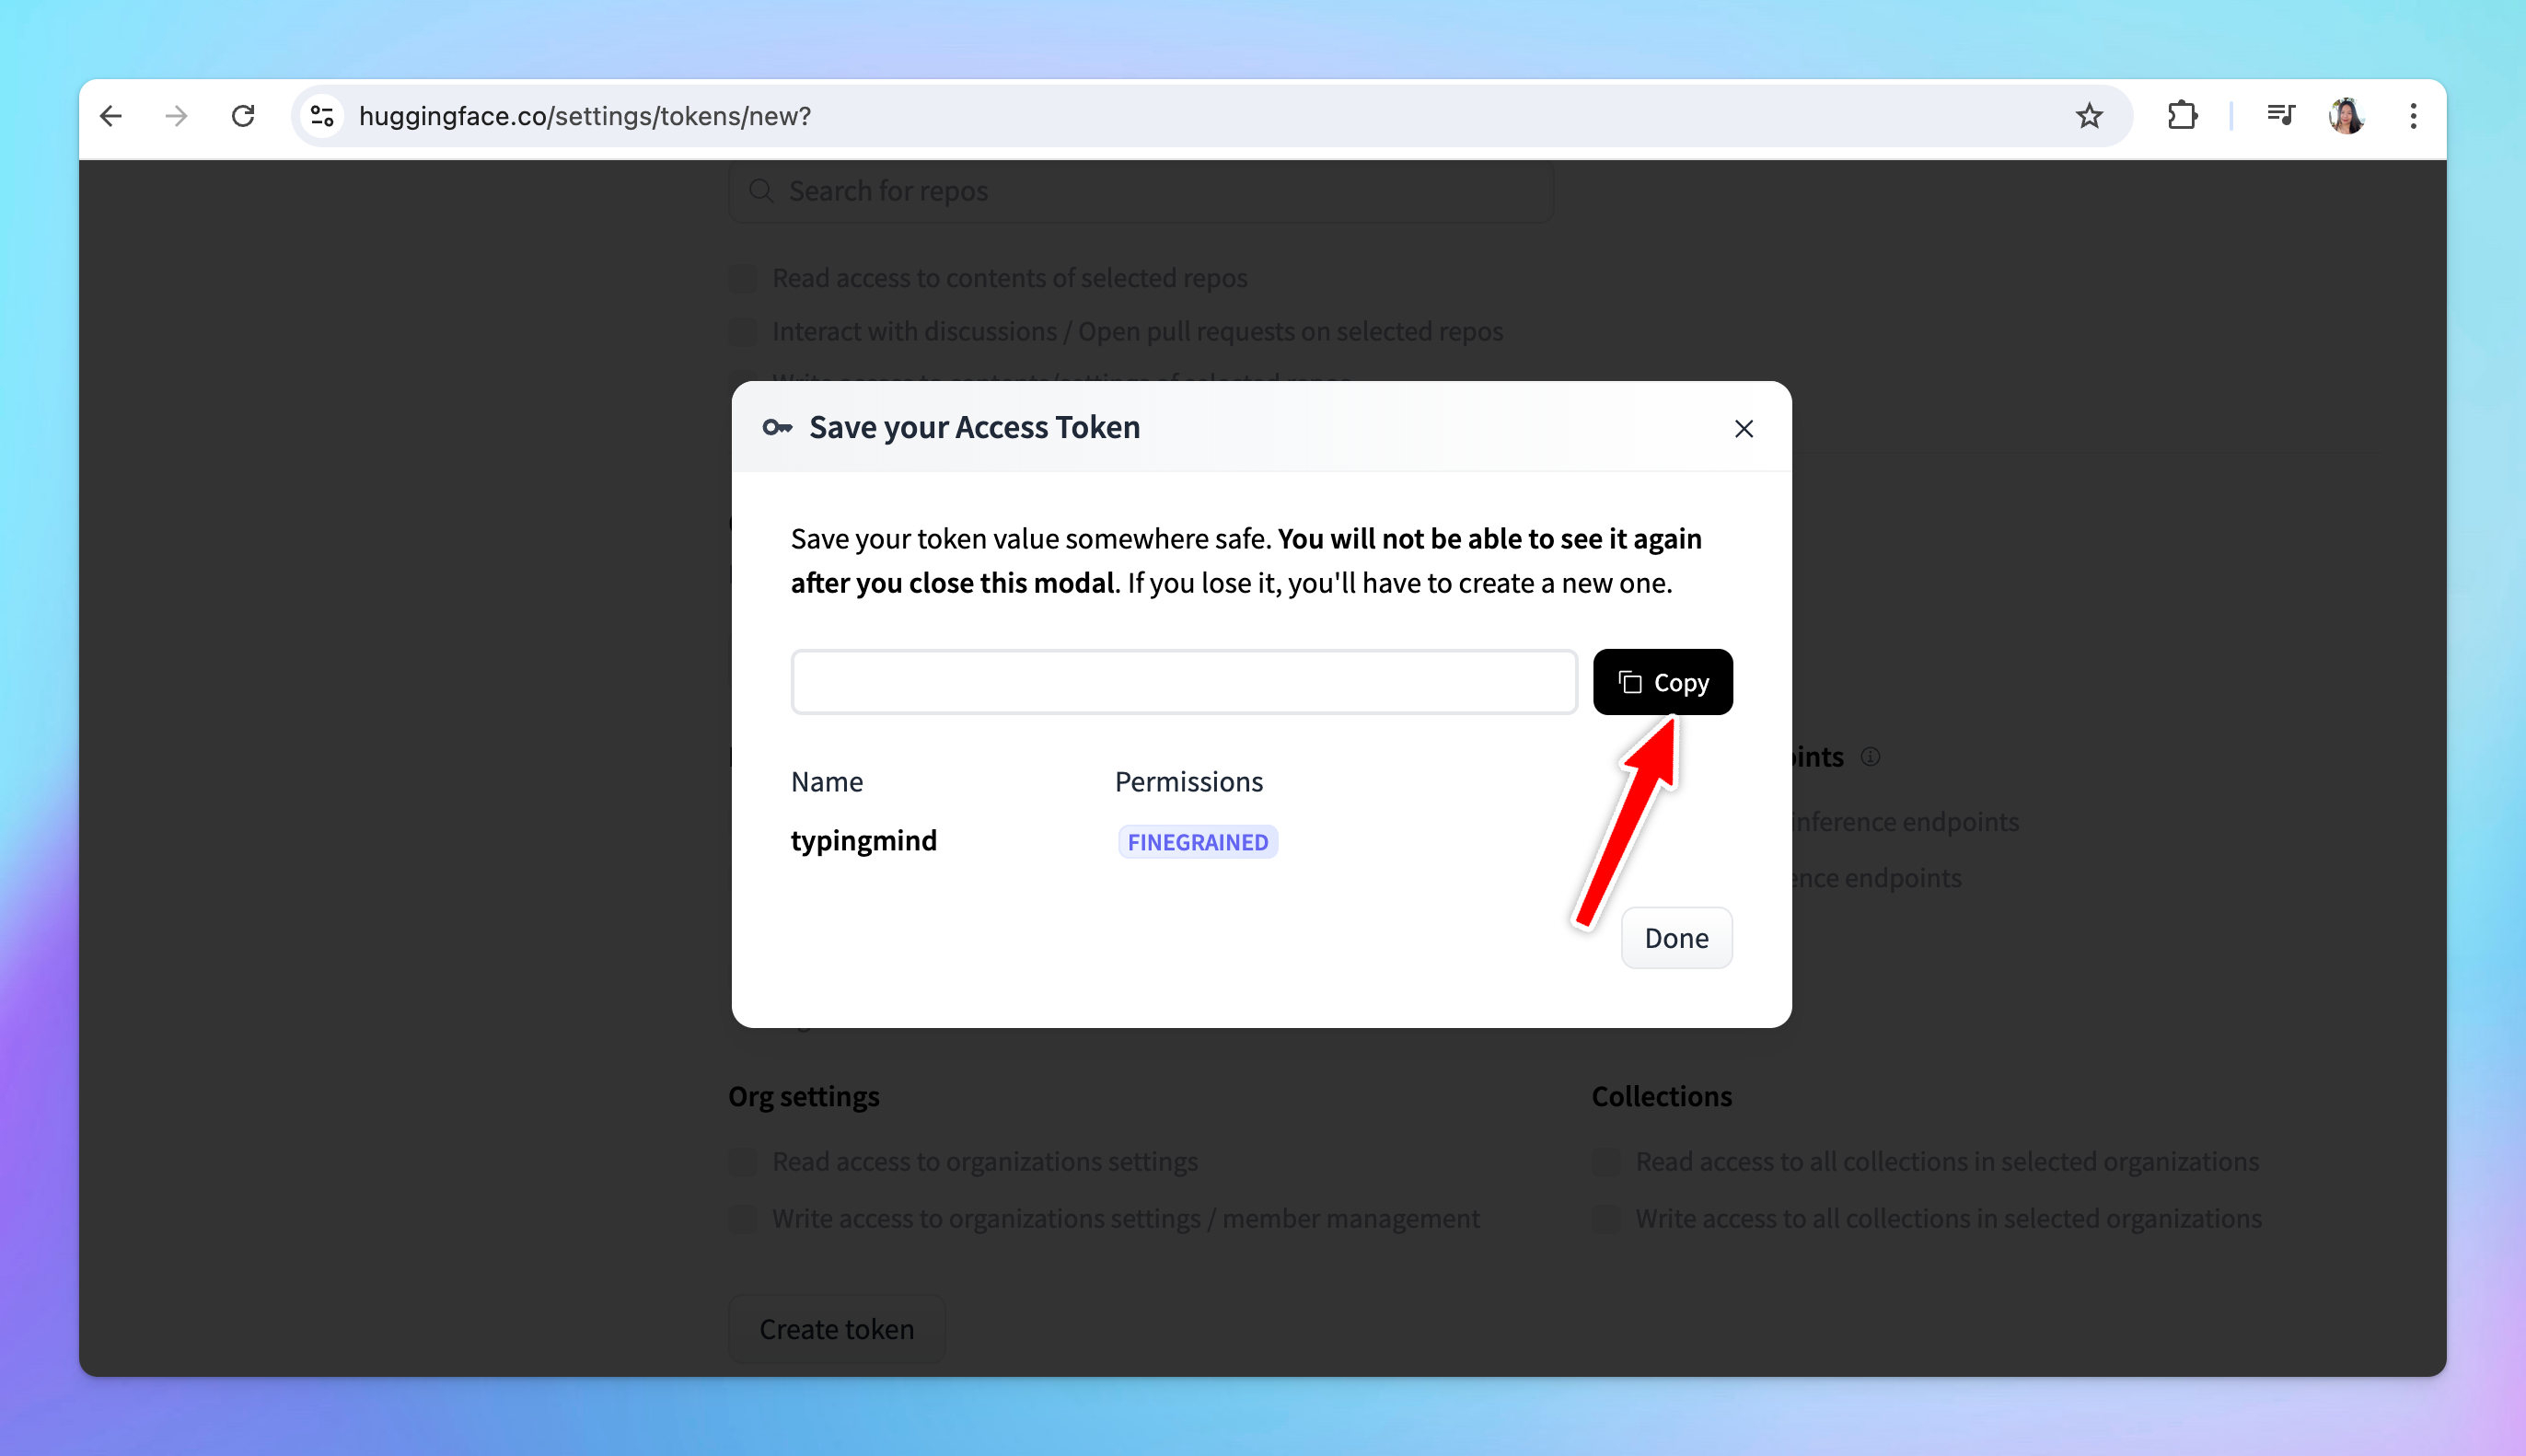
- Click on the Access Tokens section in the sidebar and click Create new token
- Token Name: you can give your token a descriptive name, such as “typingmind”.
- For general use, ensure the following permissions are checked:
- “Make calls to the serverless inference API”
- “Make calls to inference endpoints”
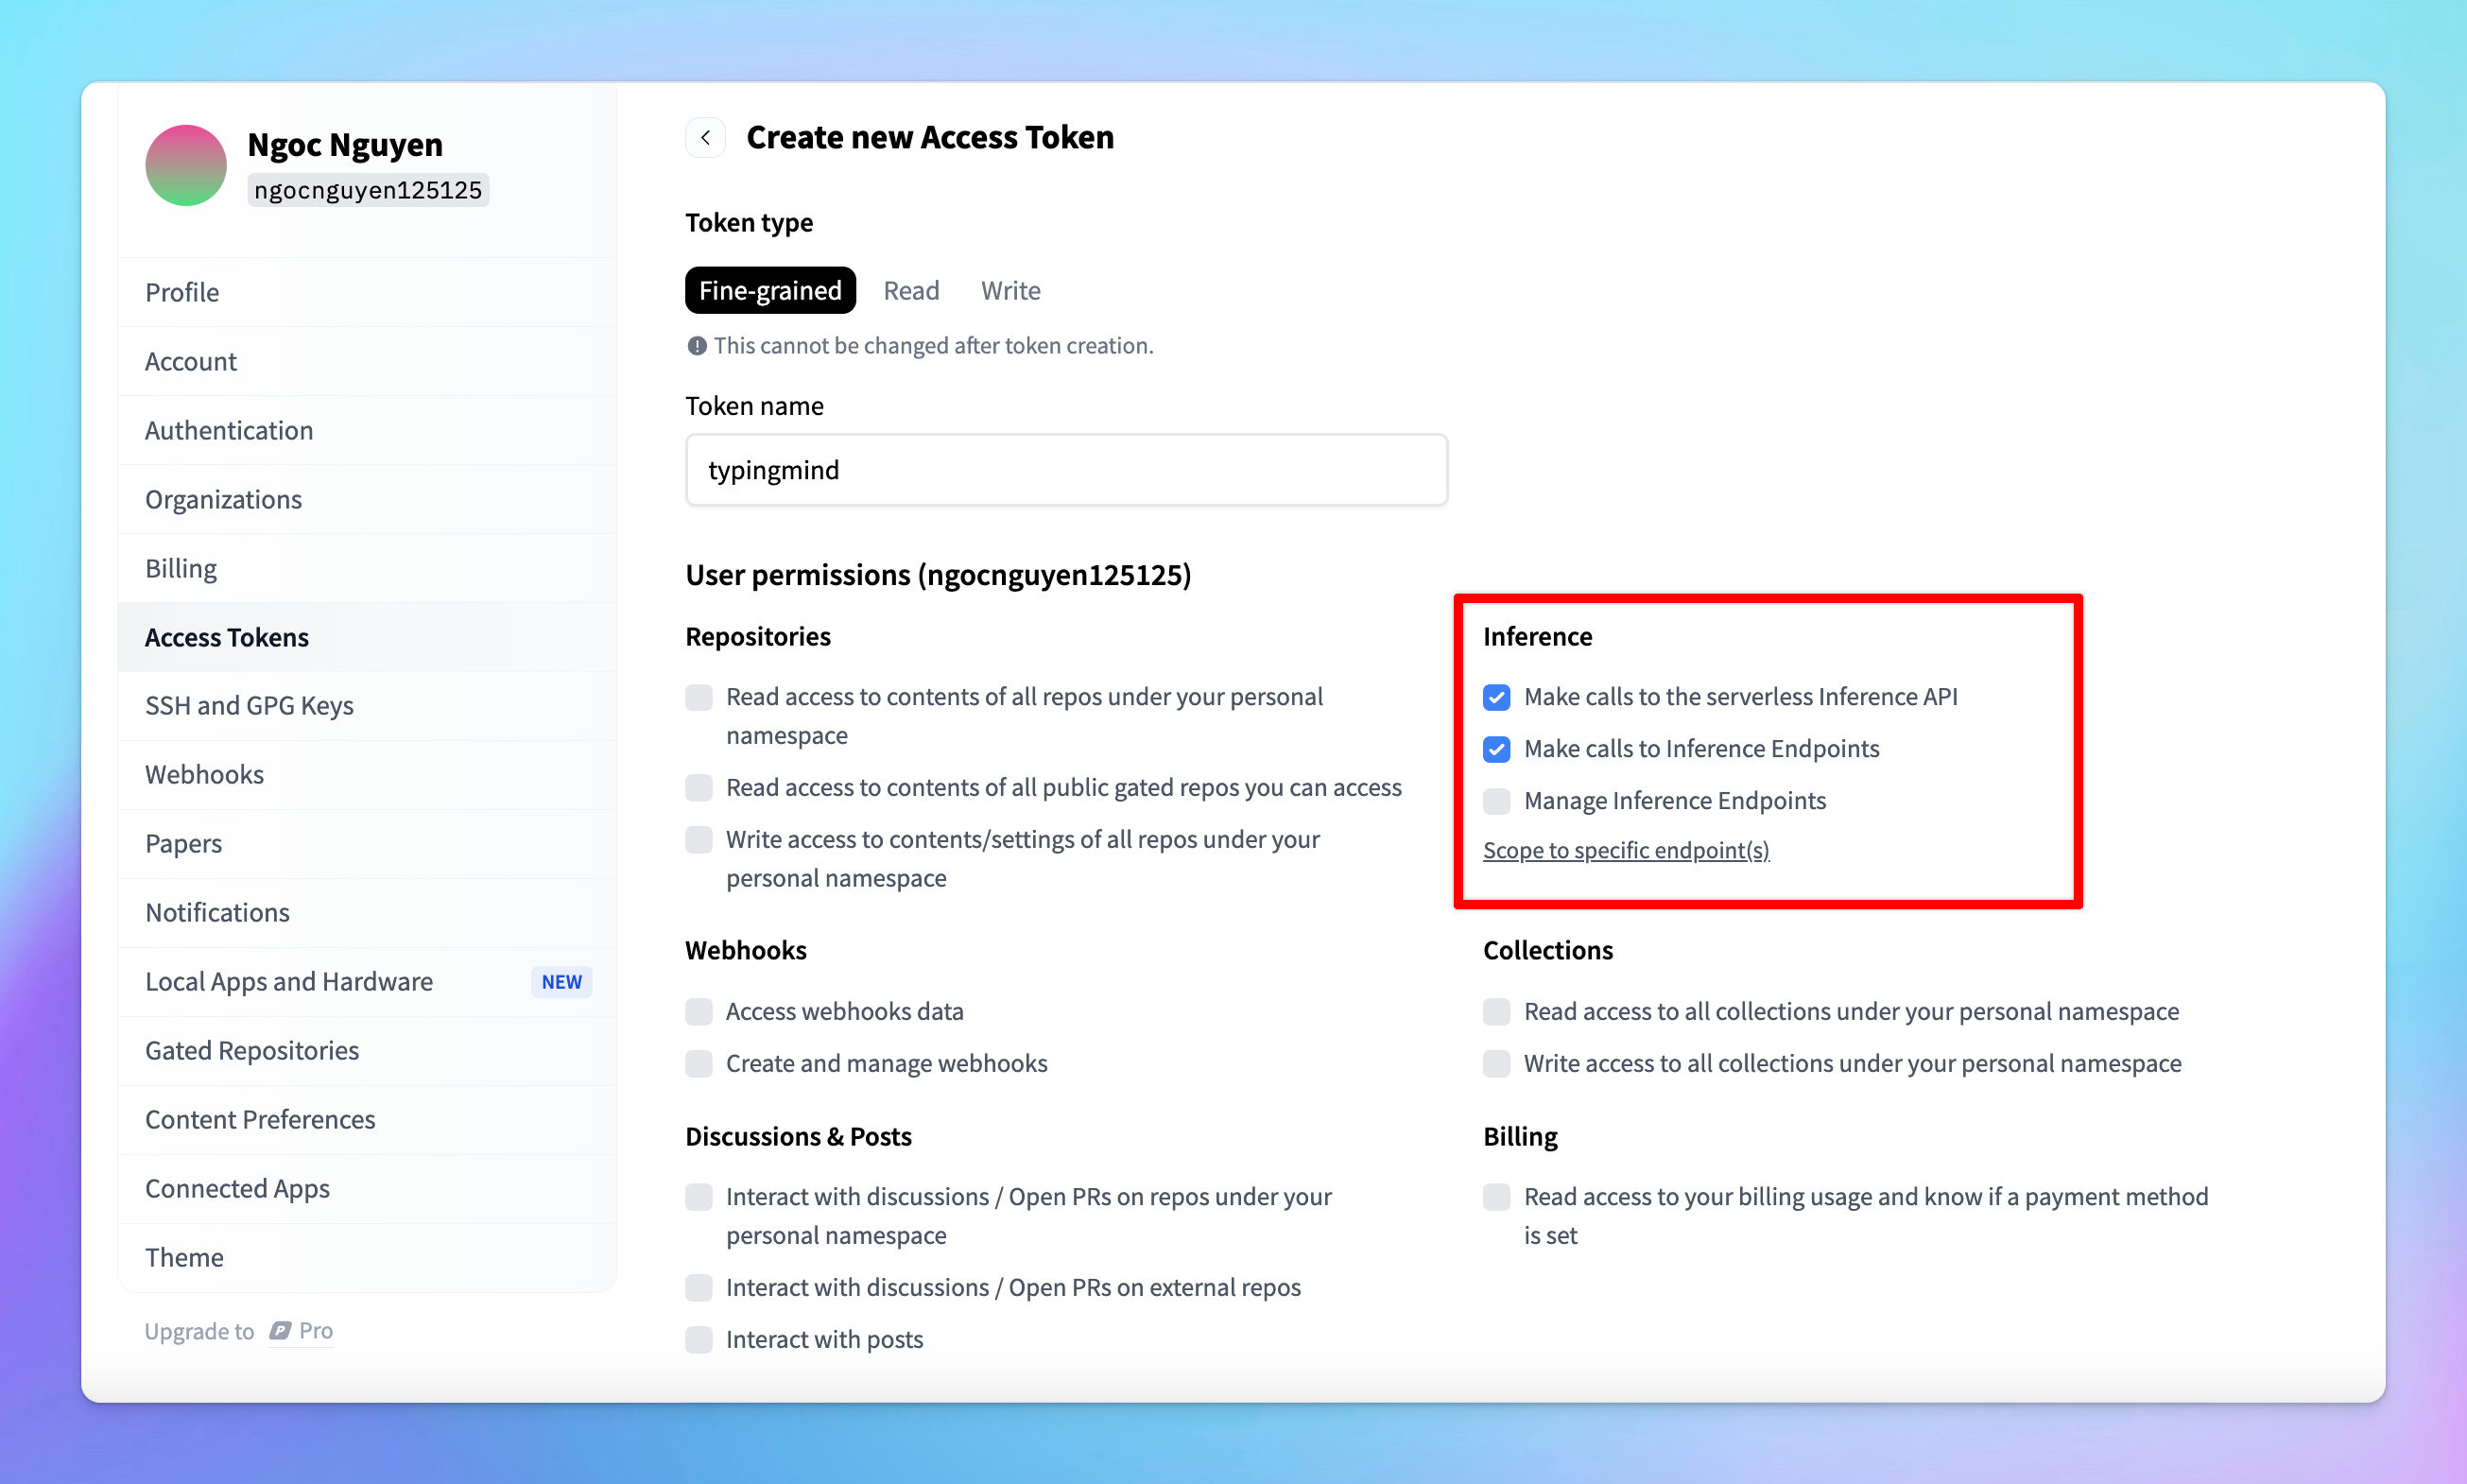
- After setting the permissions, scroll down and click Create.
- Copy the API key immediately and store it in a secure location. You will need this key to link your deployed model with TypingMind.
Step 3: Integrate with TypingMind
- Go to TypingMind
- Click on the Model button and then select Manage Models.
- Click on Add Custom Model.
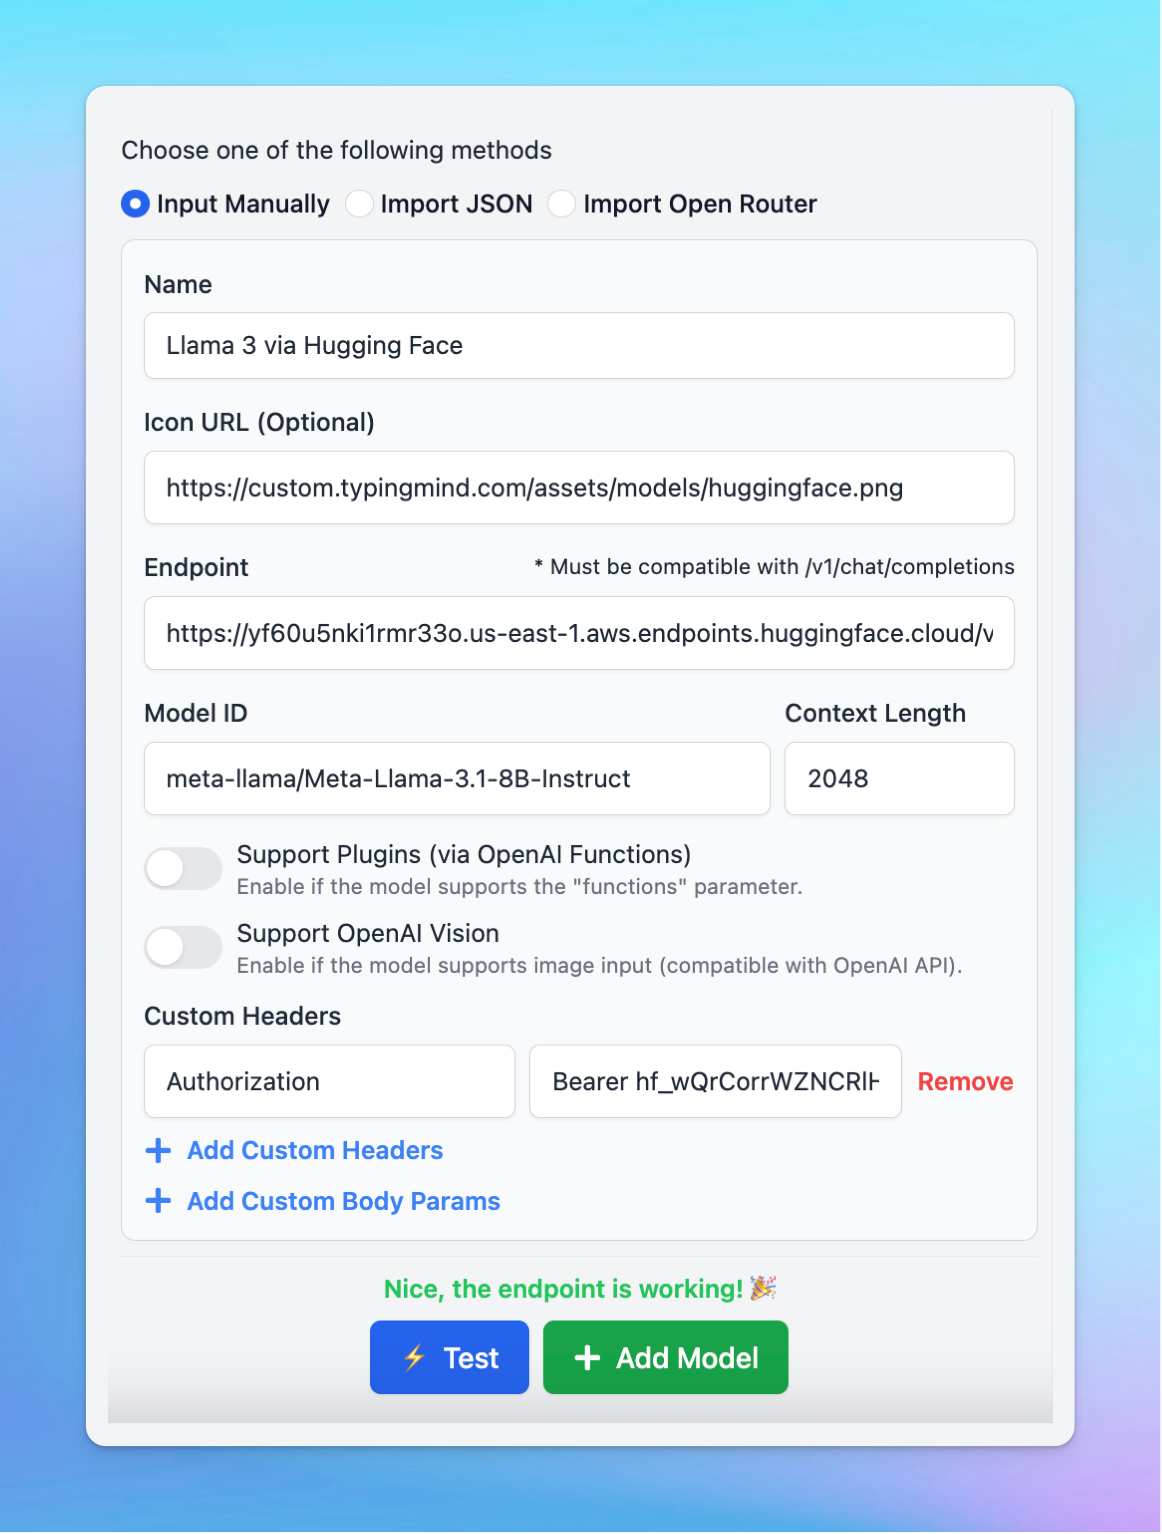
- Fill in the following required fields:
- Name: enter a name for your model.
- Icon URL: optionally, provide a URL for an icon that represents your model.
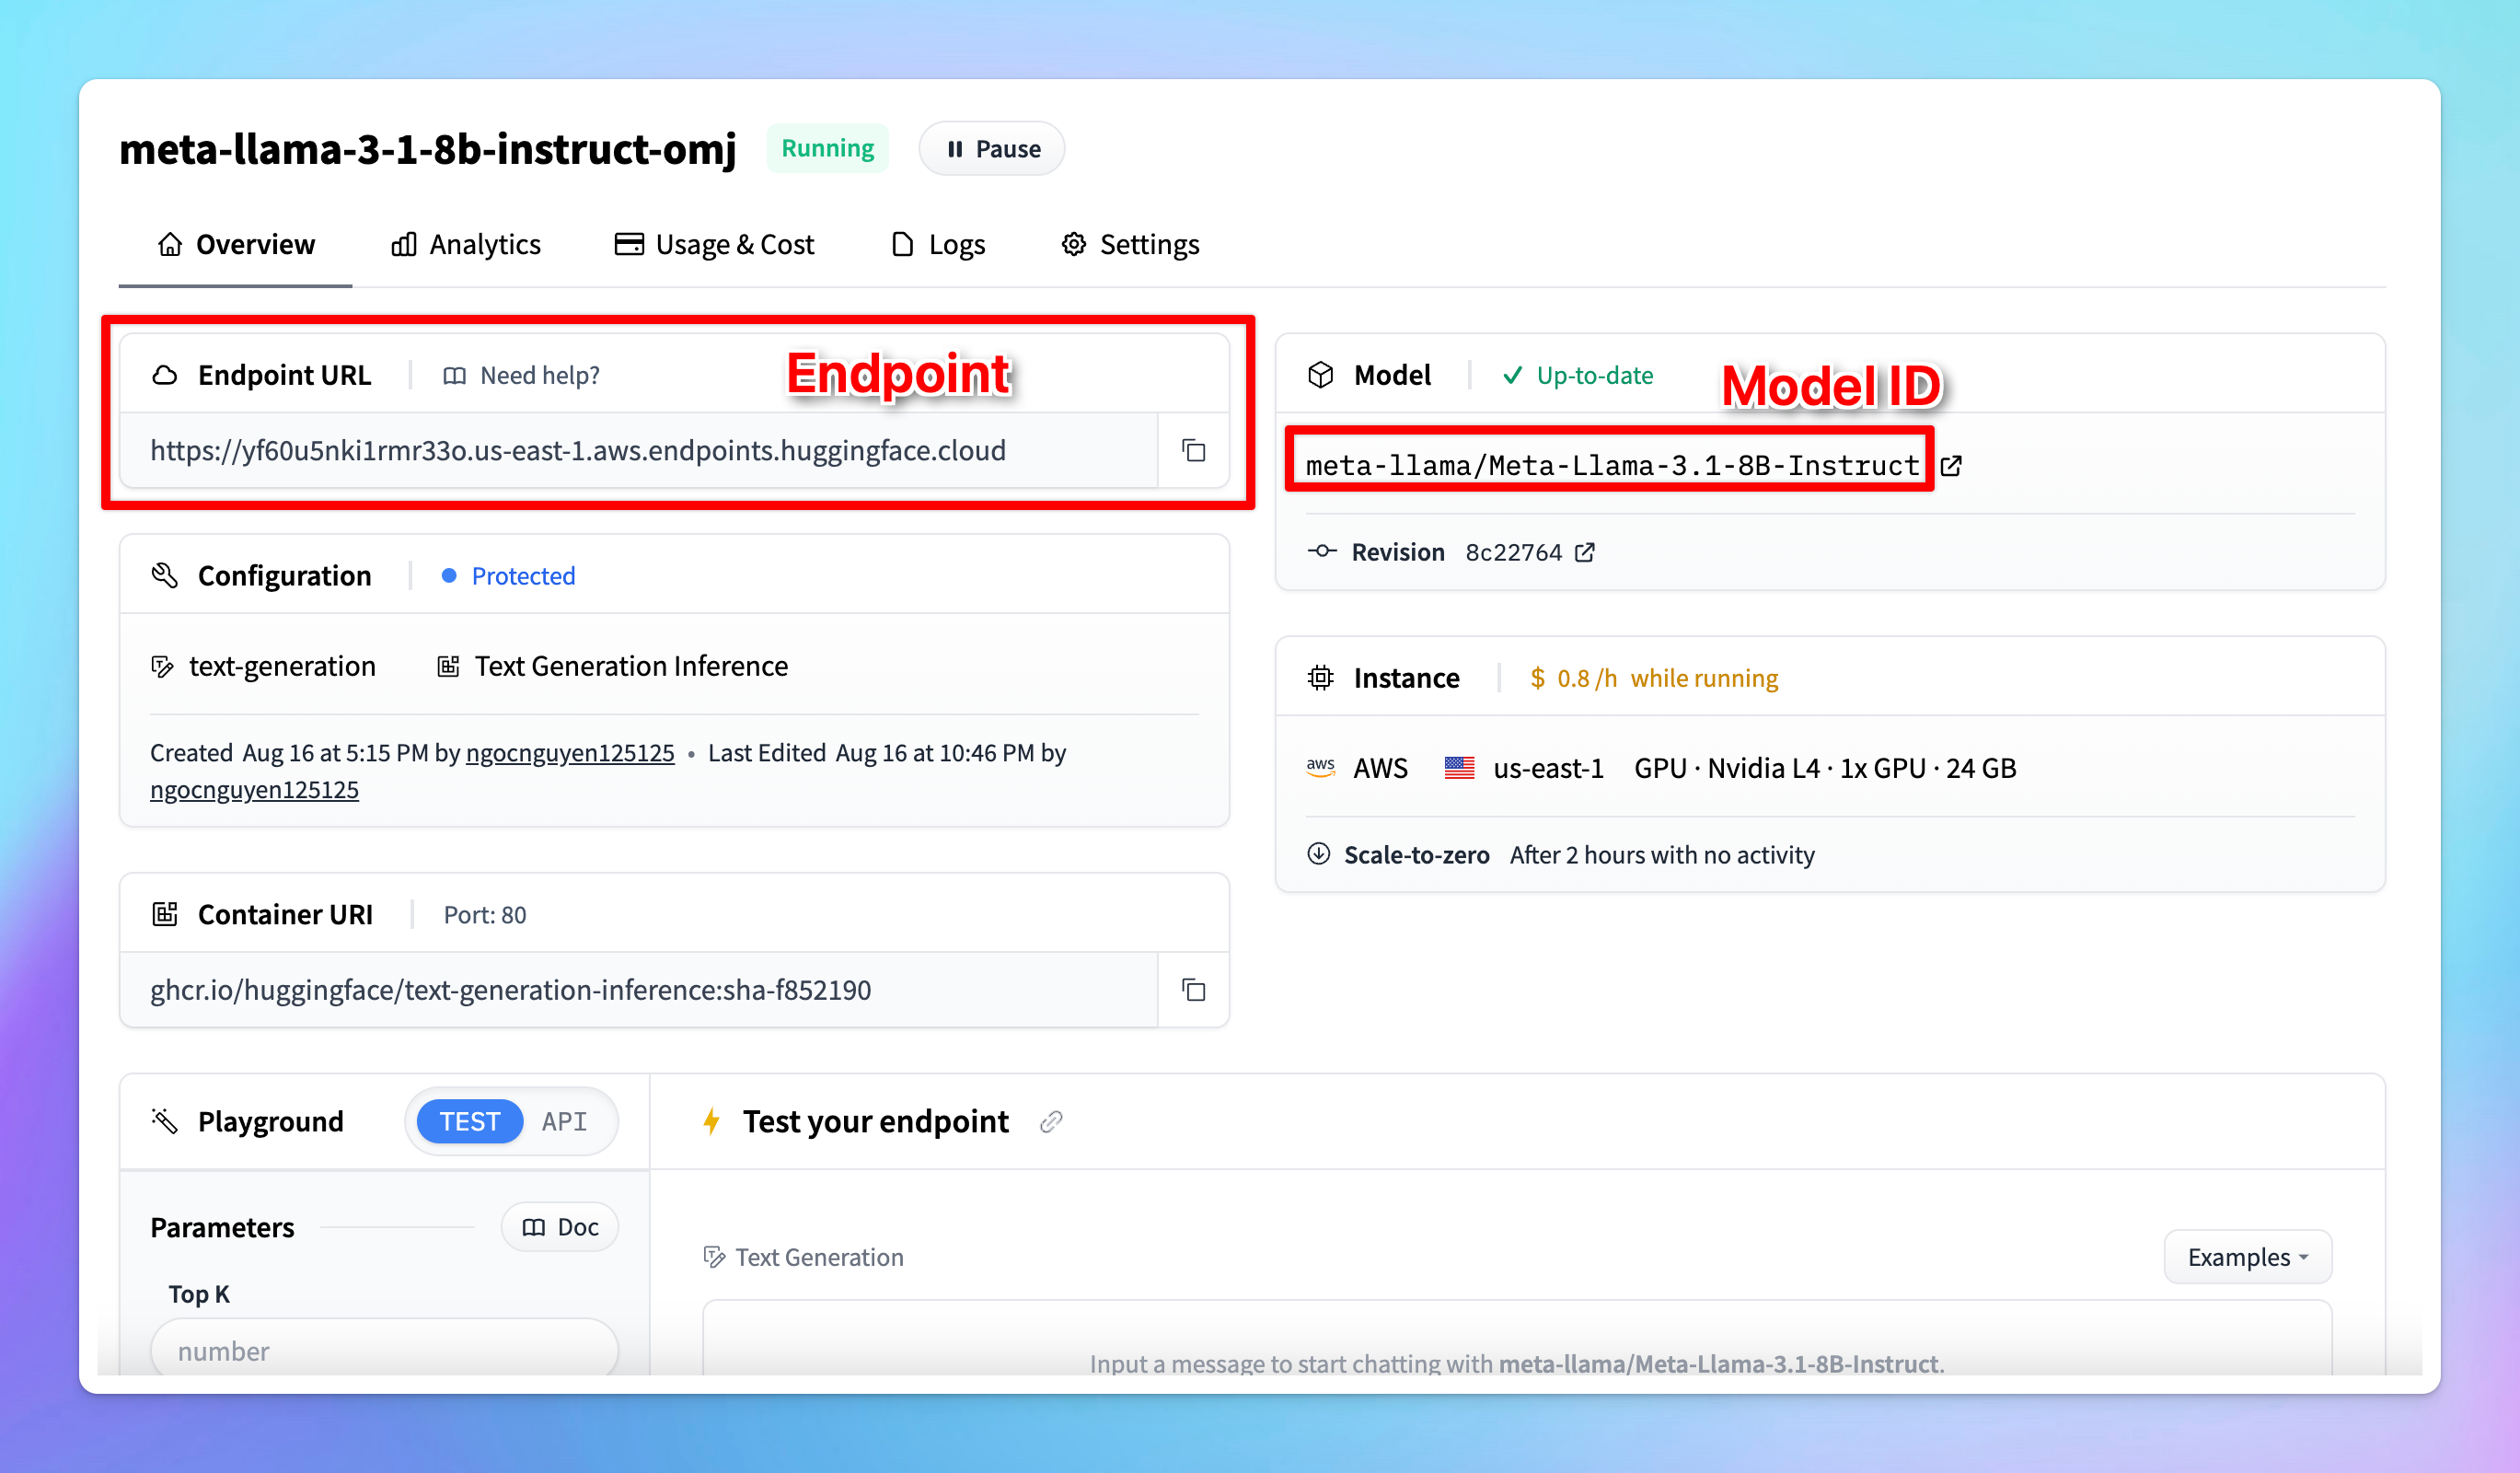
- Endpoint: copy the endpoint URL from your Hugging Face model page that you created in step 2 and paste it into the appropriate field. Make sure you append
/v1/chat/completionsat the end of the endpoint URL to make it compatible. - Model ID: this can be copied directly from the model page on Hugging Face.
- Click Add Custom Headers, type
Authorizationin the first box. - In the second box, type
Bearer [Your API Key], replacing[Your API Key]with the actual key you generated earlier. - Click “Test” to verify if the setup is working correctly.
- If successful, you should receive a confirmation that the model is ready to use.
- If the test fails, double-check the endpoint URL, API key, and permissions.
Step 4: Start chatting!
Your model is now live on Typing Mind! Let’s start a conversation now: