1. Create an account
Go to openrouter.ai and create an account. Open Router allows you to use some model for free, or you can buy more credits to use the premium models.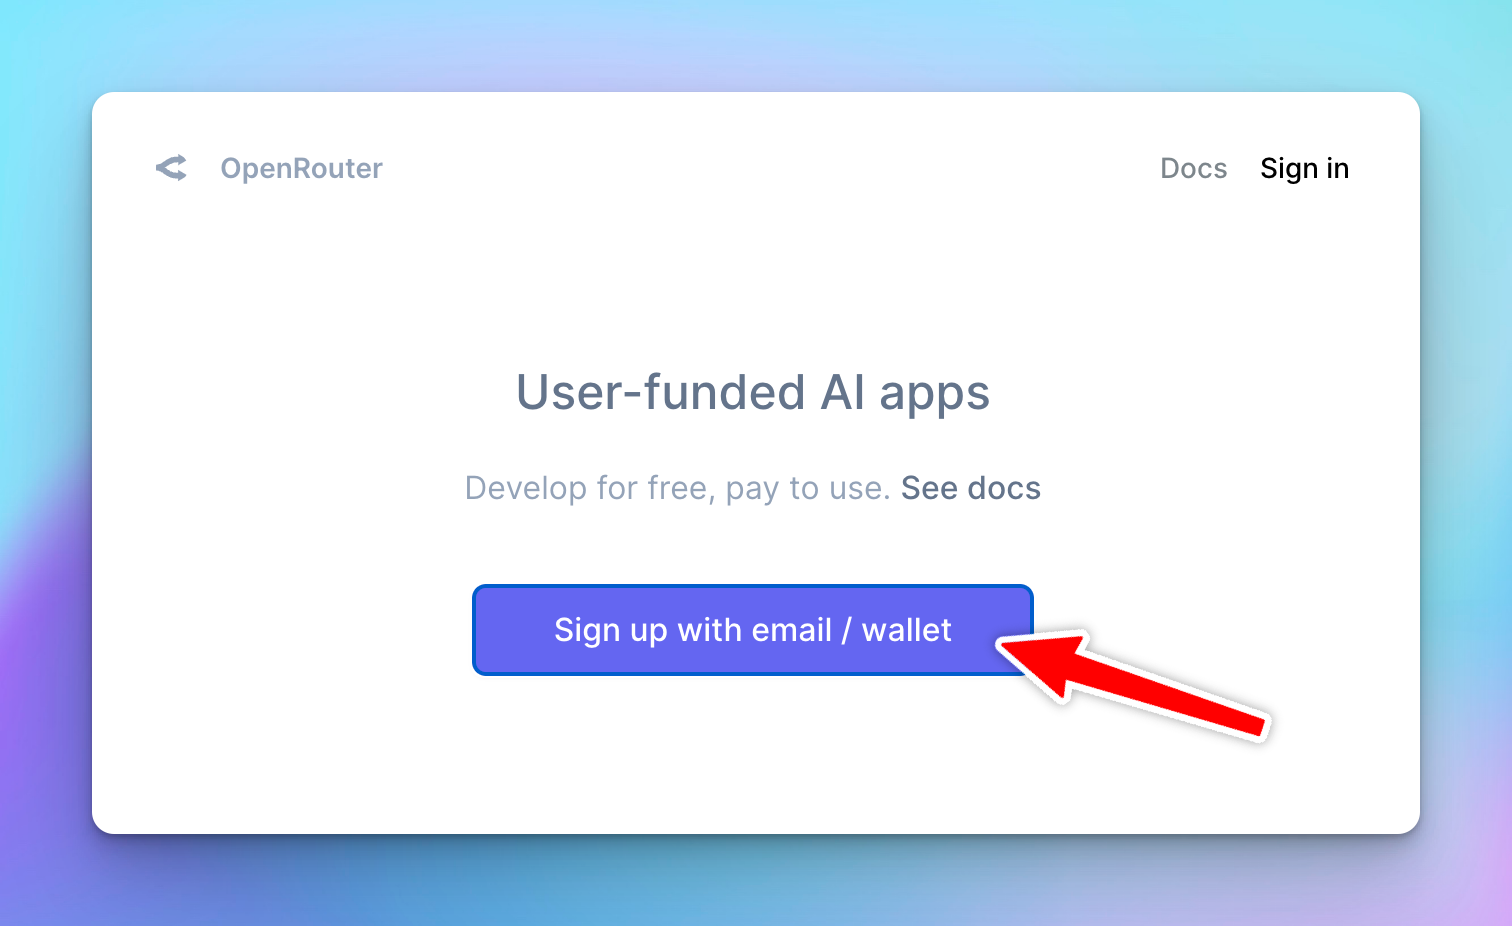
2. Create an API key
After signing up, go to https://openrouter.ai/keys to create an API key. Enter “Typing Mind” to the name field. Leave the “Credit limit” empty to set the limit to unlimited.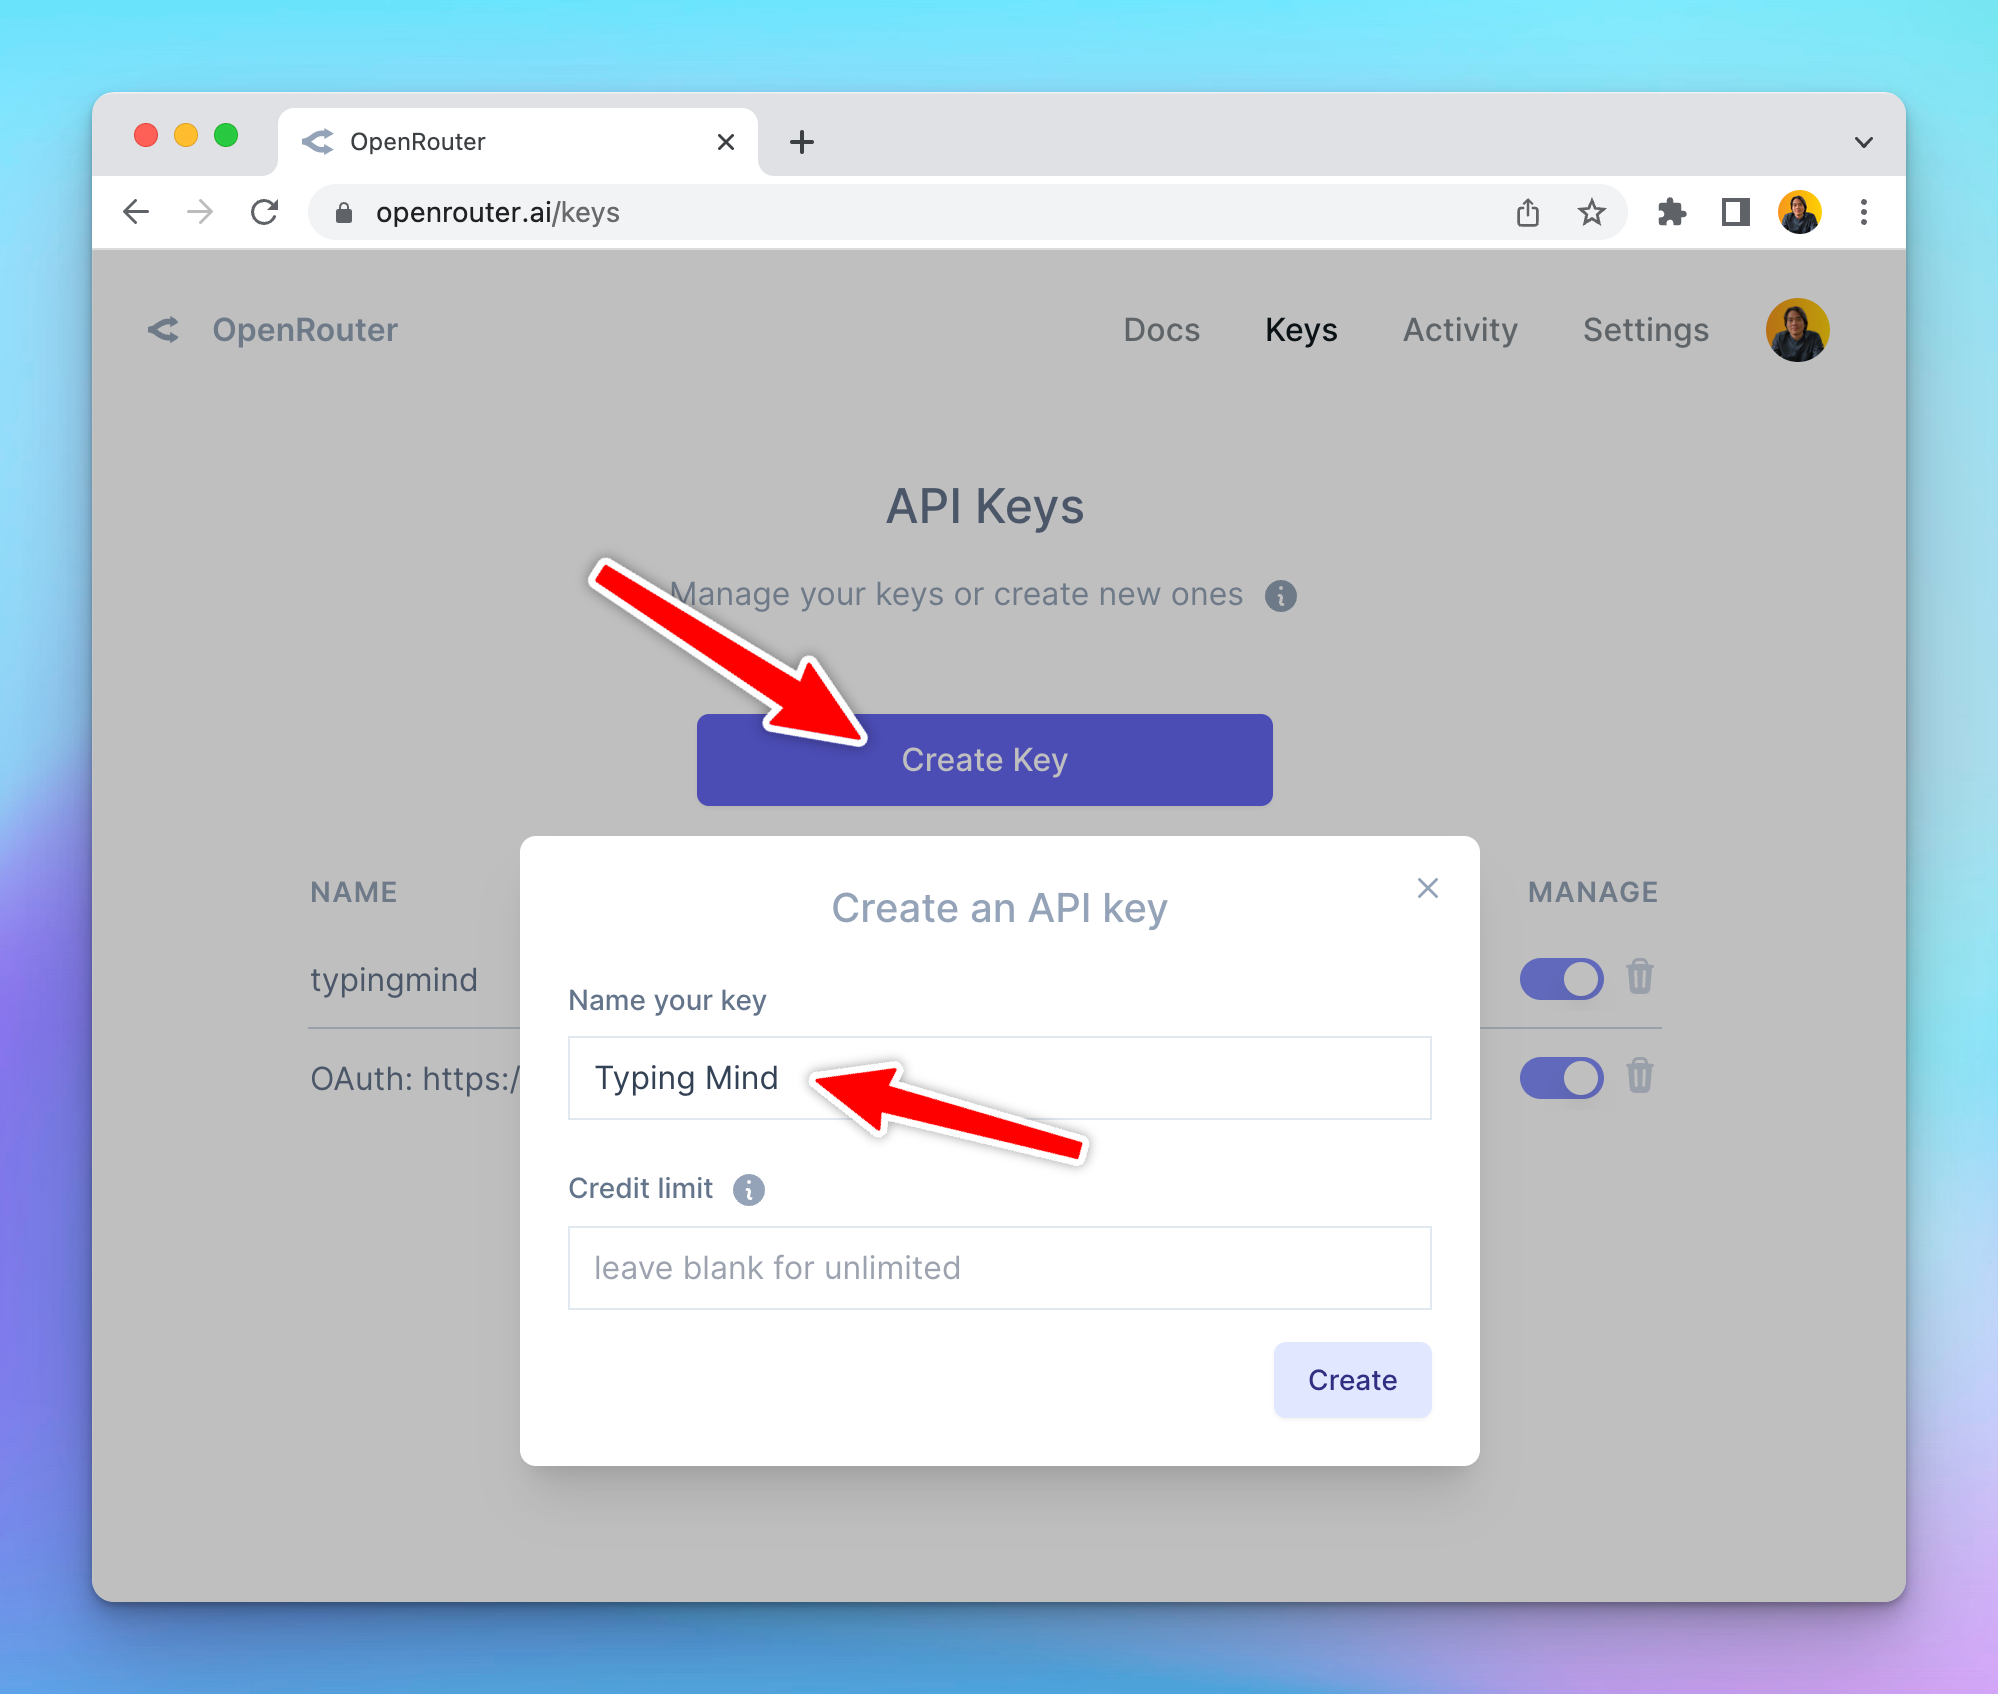
3. Add Credits
Go to Account > Settings, scroll down to the credit section to Add Credits so you can use the generated API keys.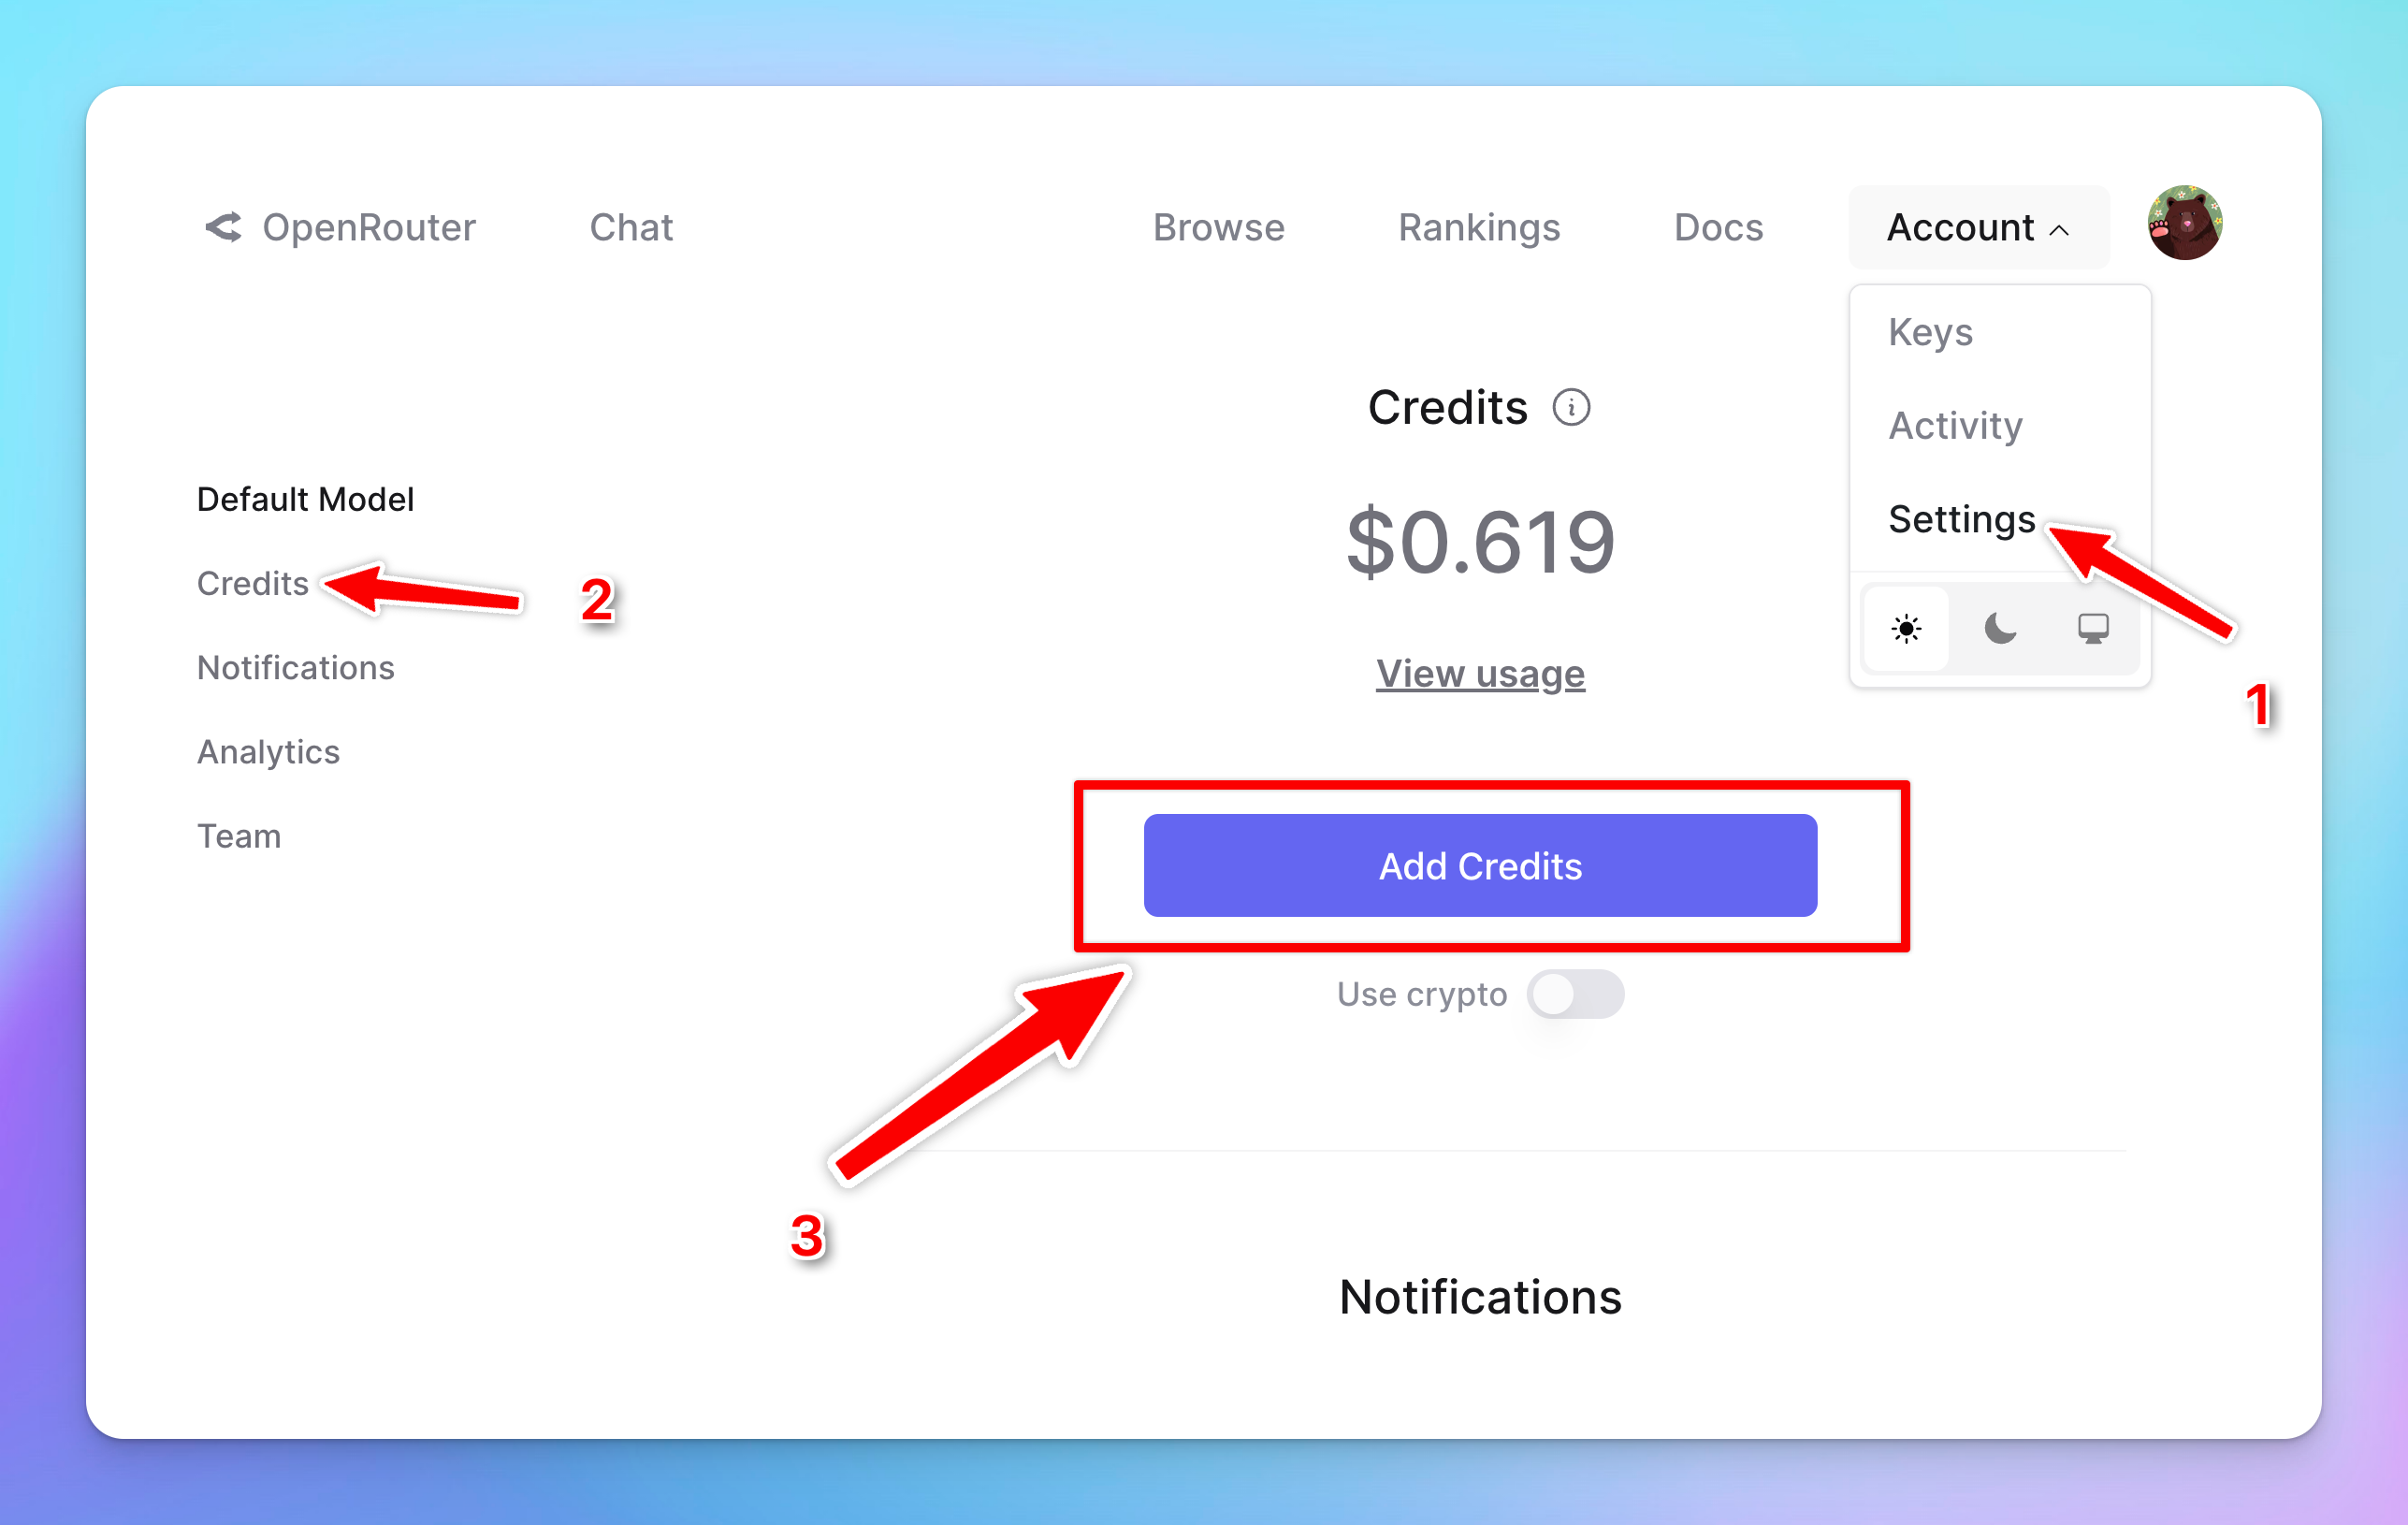
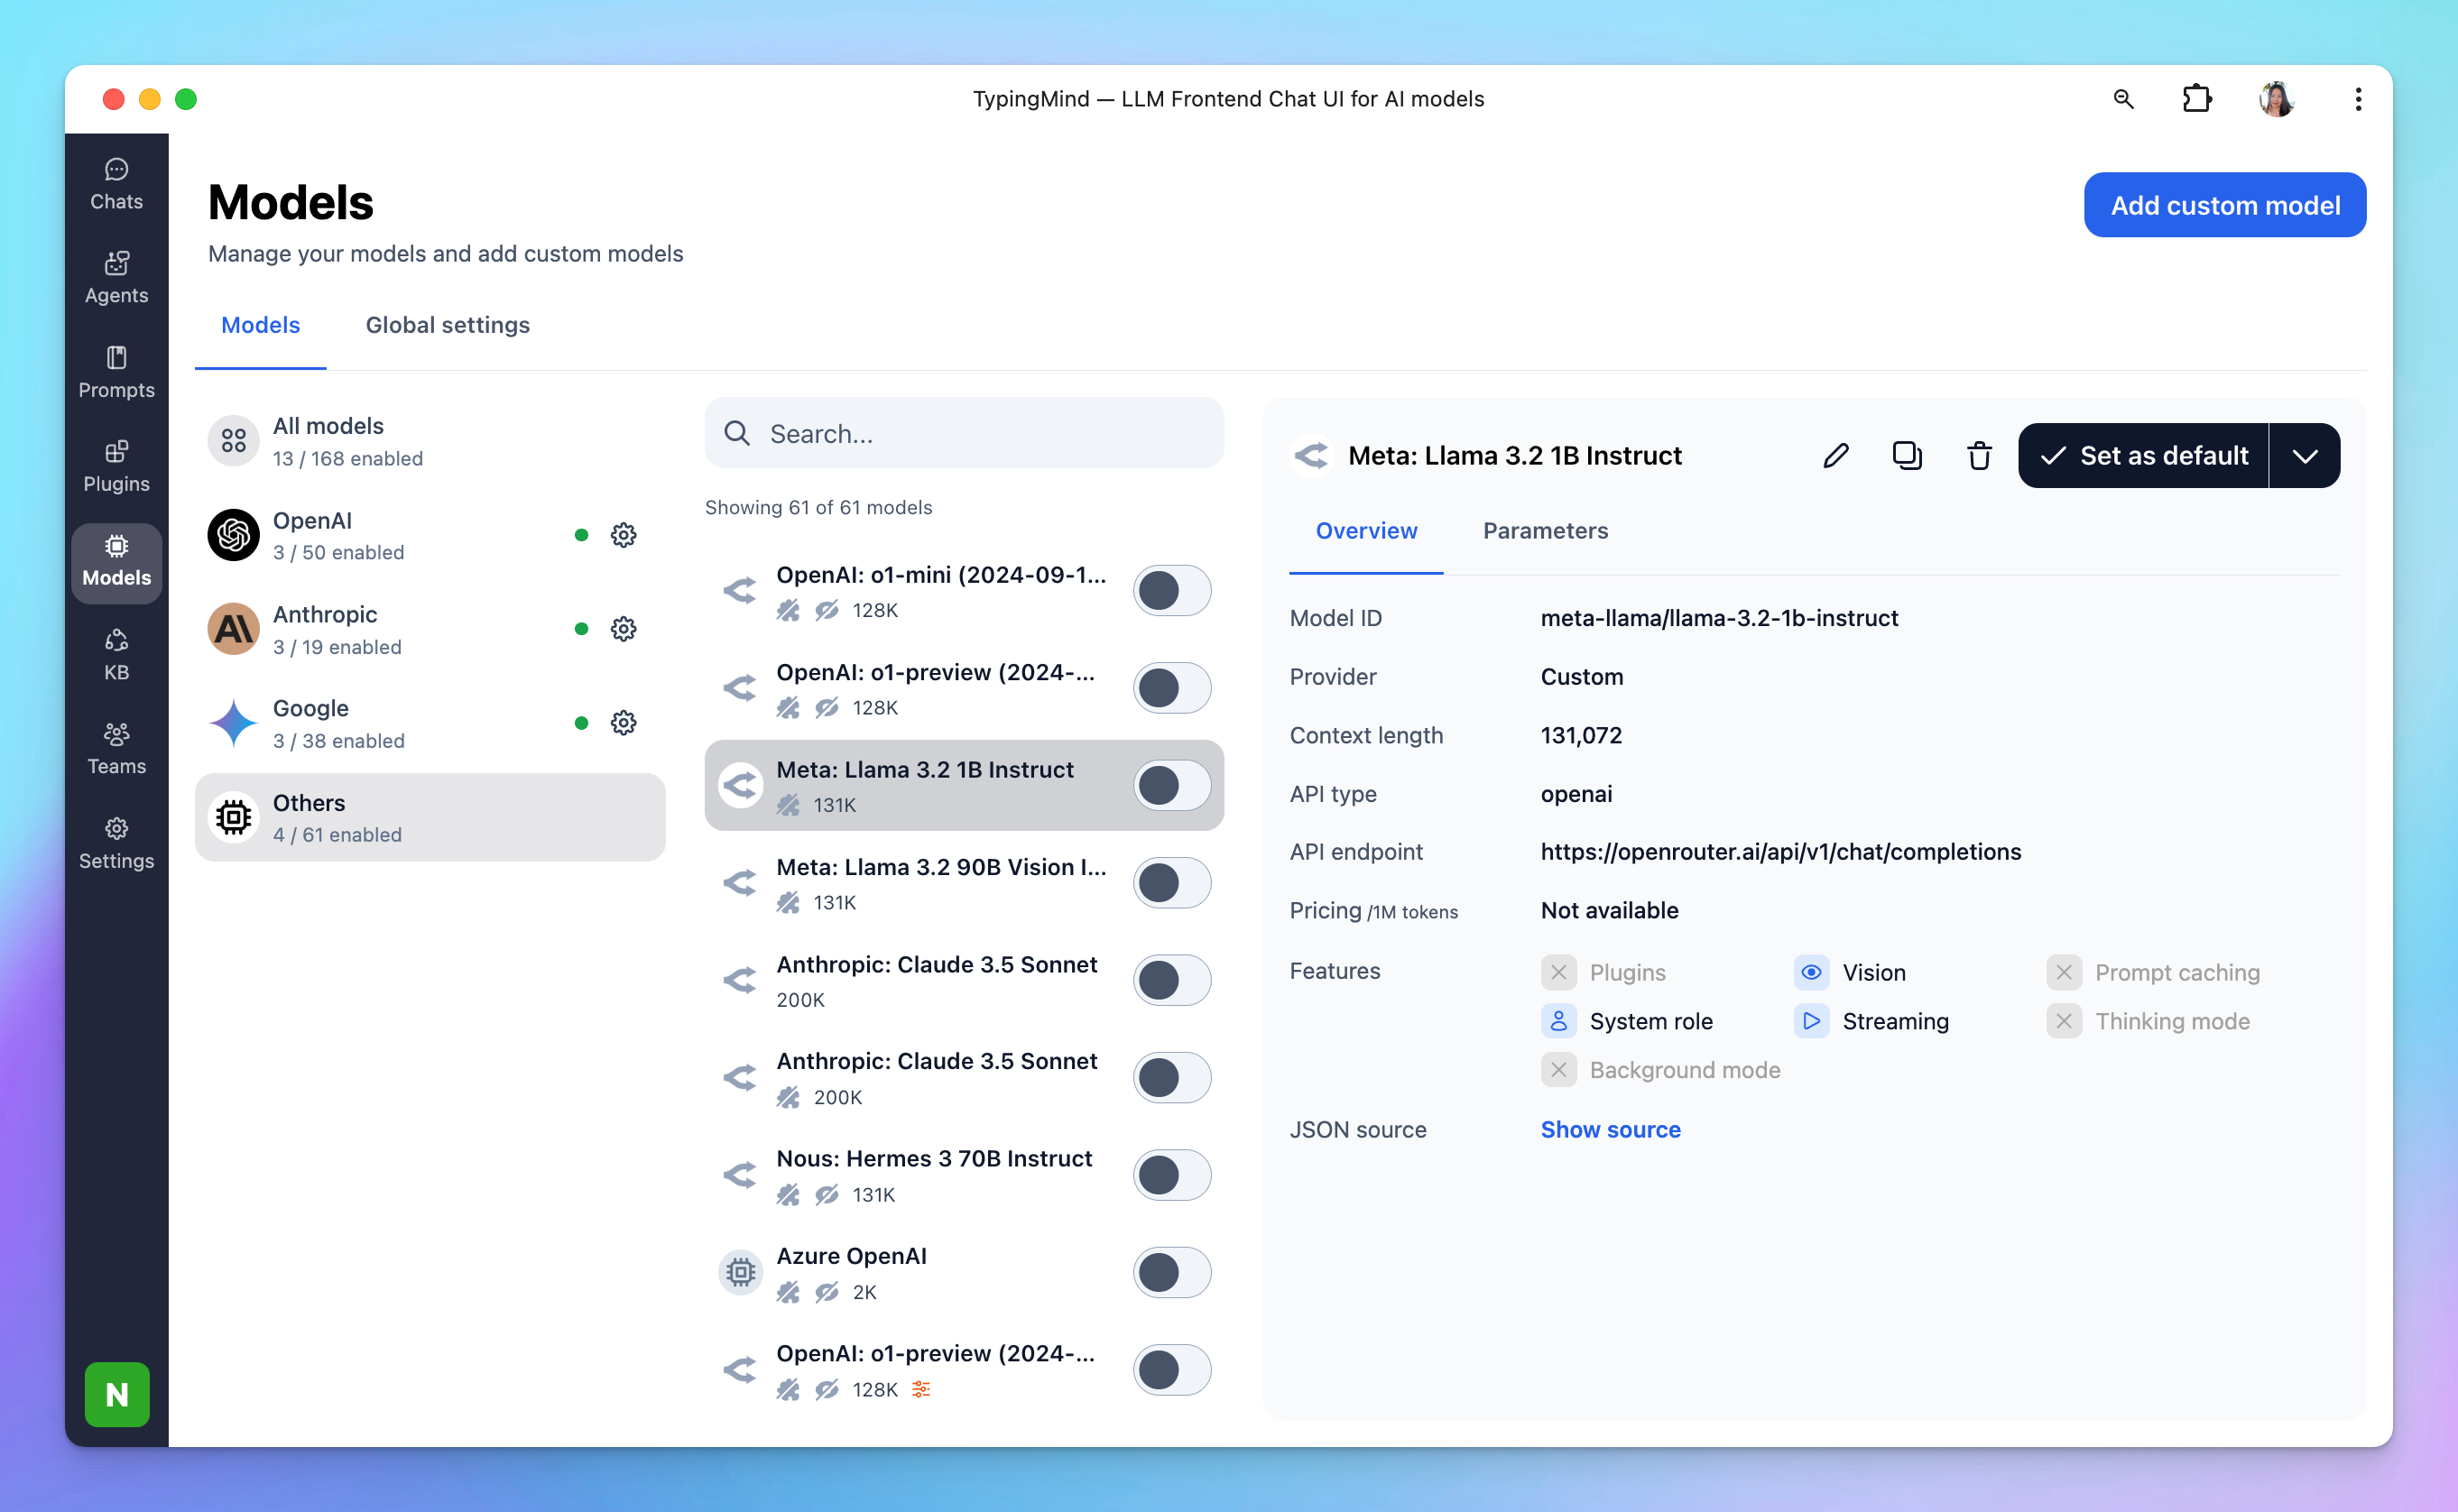
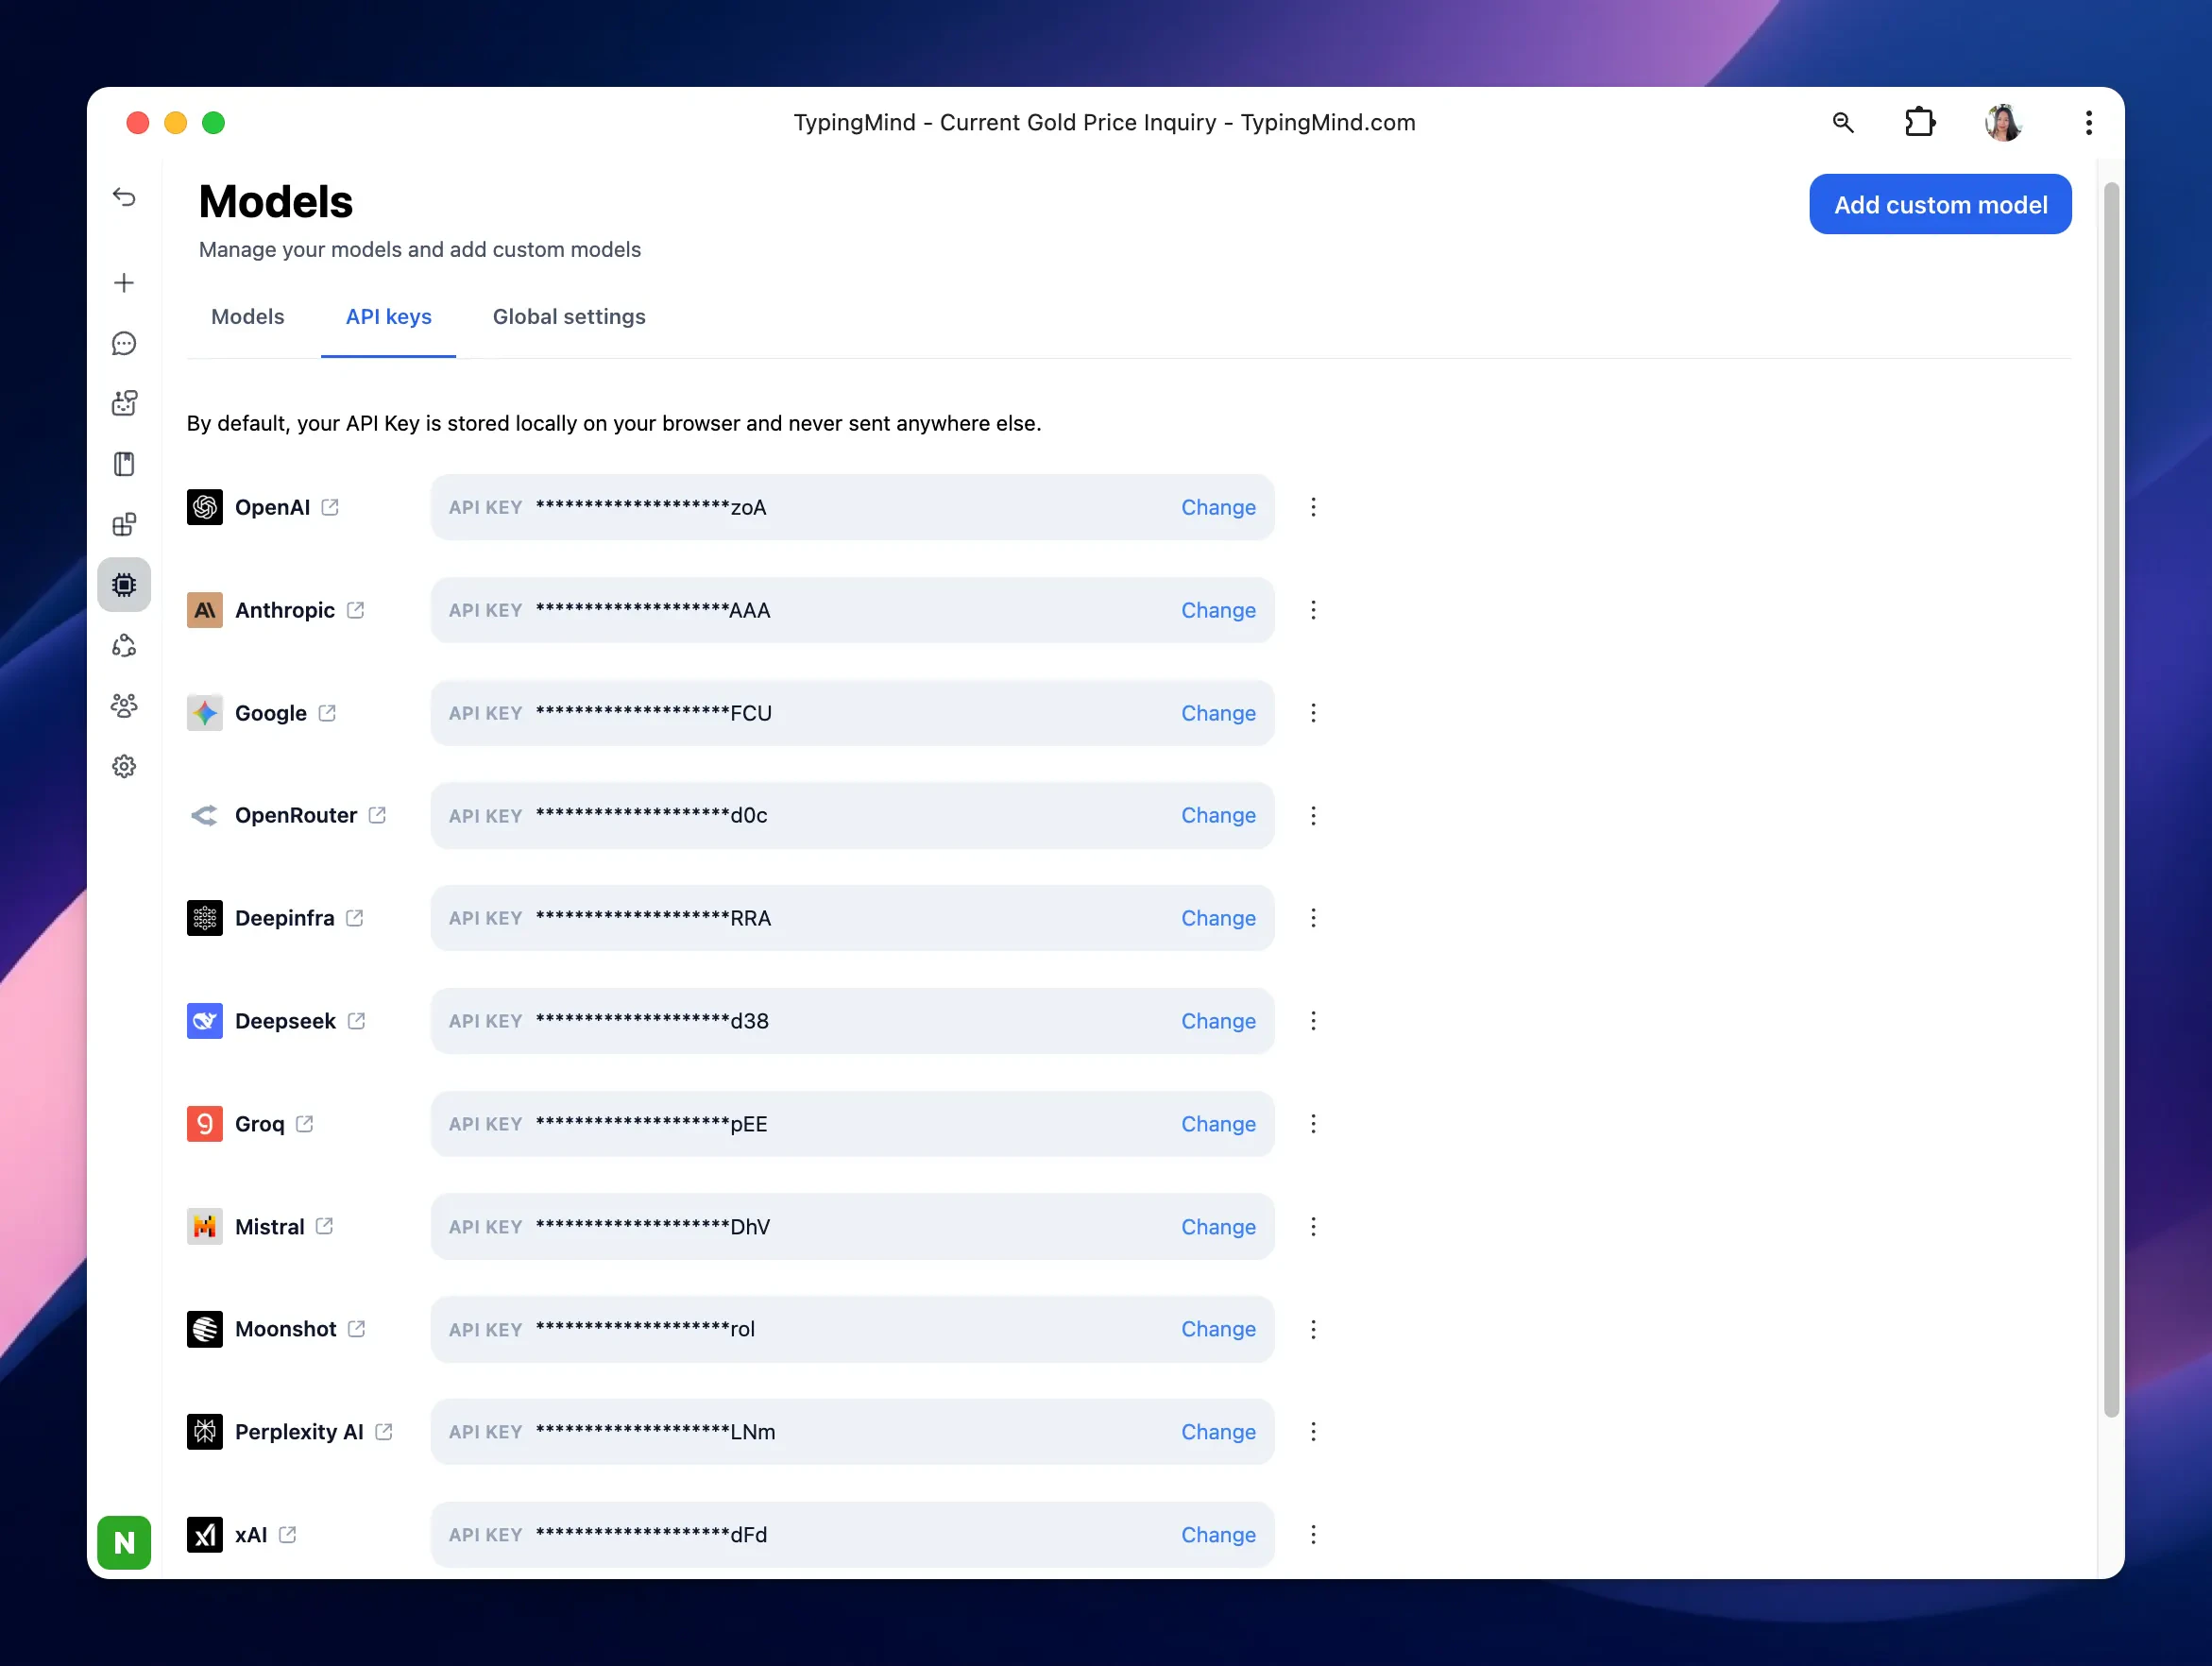
4. Enter OpenRouter API key to TypingMind
- Go to typingmind.com
- Navigate the Models menu on the left sidebar → Switch to API key tab
- Input the copied API key
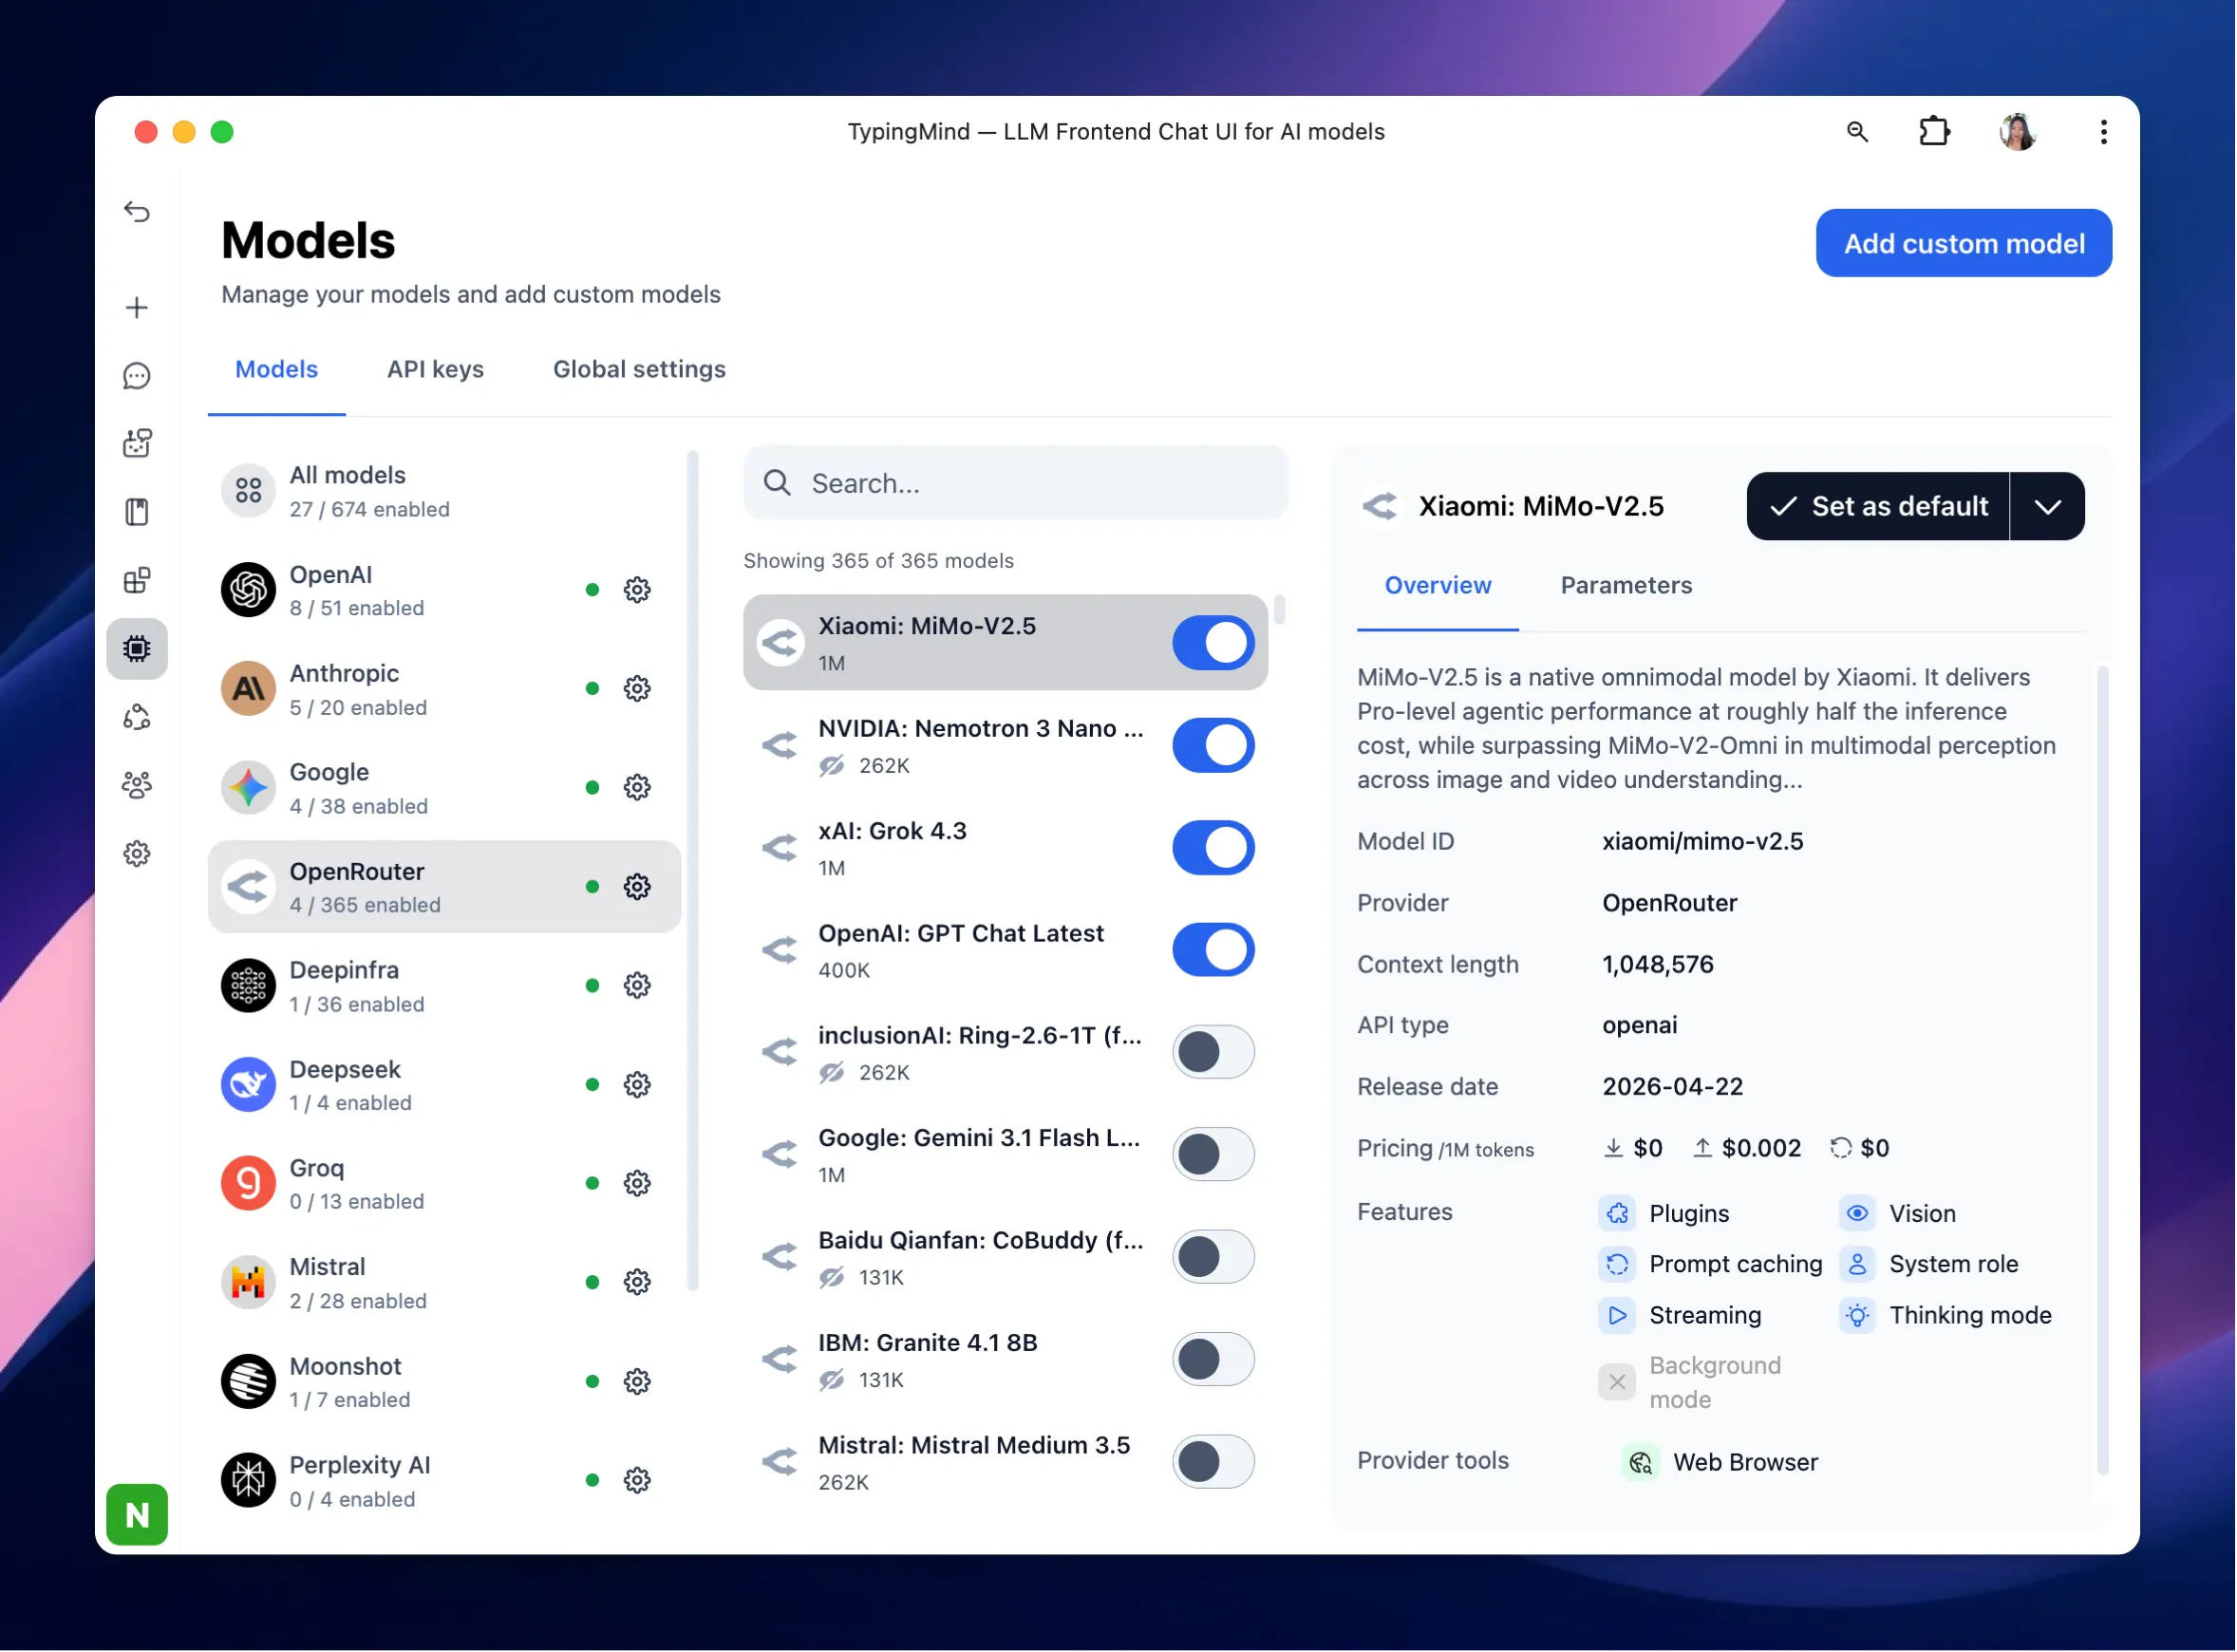
5. Use the model
Now you can select the newly added custom model and start chatting: