To use the ChatGPT models on TypingMind, you will need to have a paid API key from OpenAI.
Follow the steps below to see how to do this.
Step 1: Create an OpenAI accountStep 2: Add API Credit BalanceStep 3: Get your API keyStep 4: Enter your API key to TypingMindAdvanced settings
The ChatGPT Plus subscription is different from the OpenAI API paid account. They are billed separately.
To use TypingMind with your paid API key, you will need to have an OpenAI API paid account, which can be set up at https://platform.openai.com/account/billing/overview
Step 1: Create an OpenAI account
If you don't already have an OpenAI account, first you need to go to https://platform.openai.com/ and click Sign Up or Log in if you already had an account.

Step 2: Add API Credit Balance
After signing up, you will need to top up your credit to use the API key:
- Go to your billing overview in your account settings
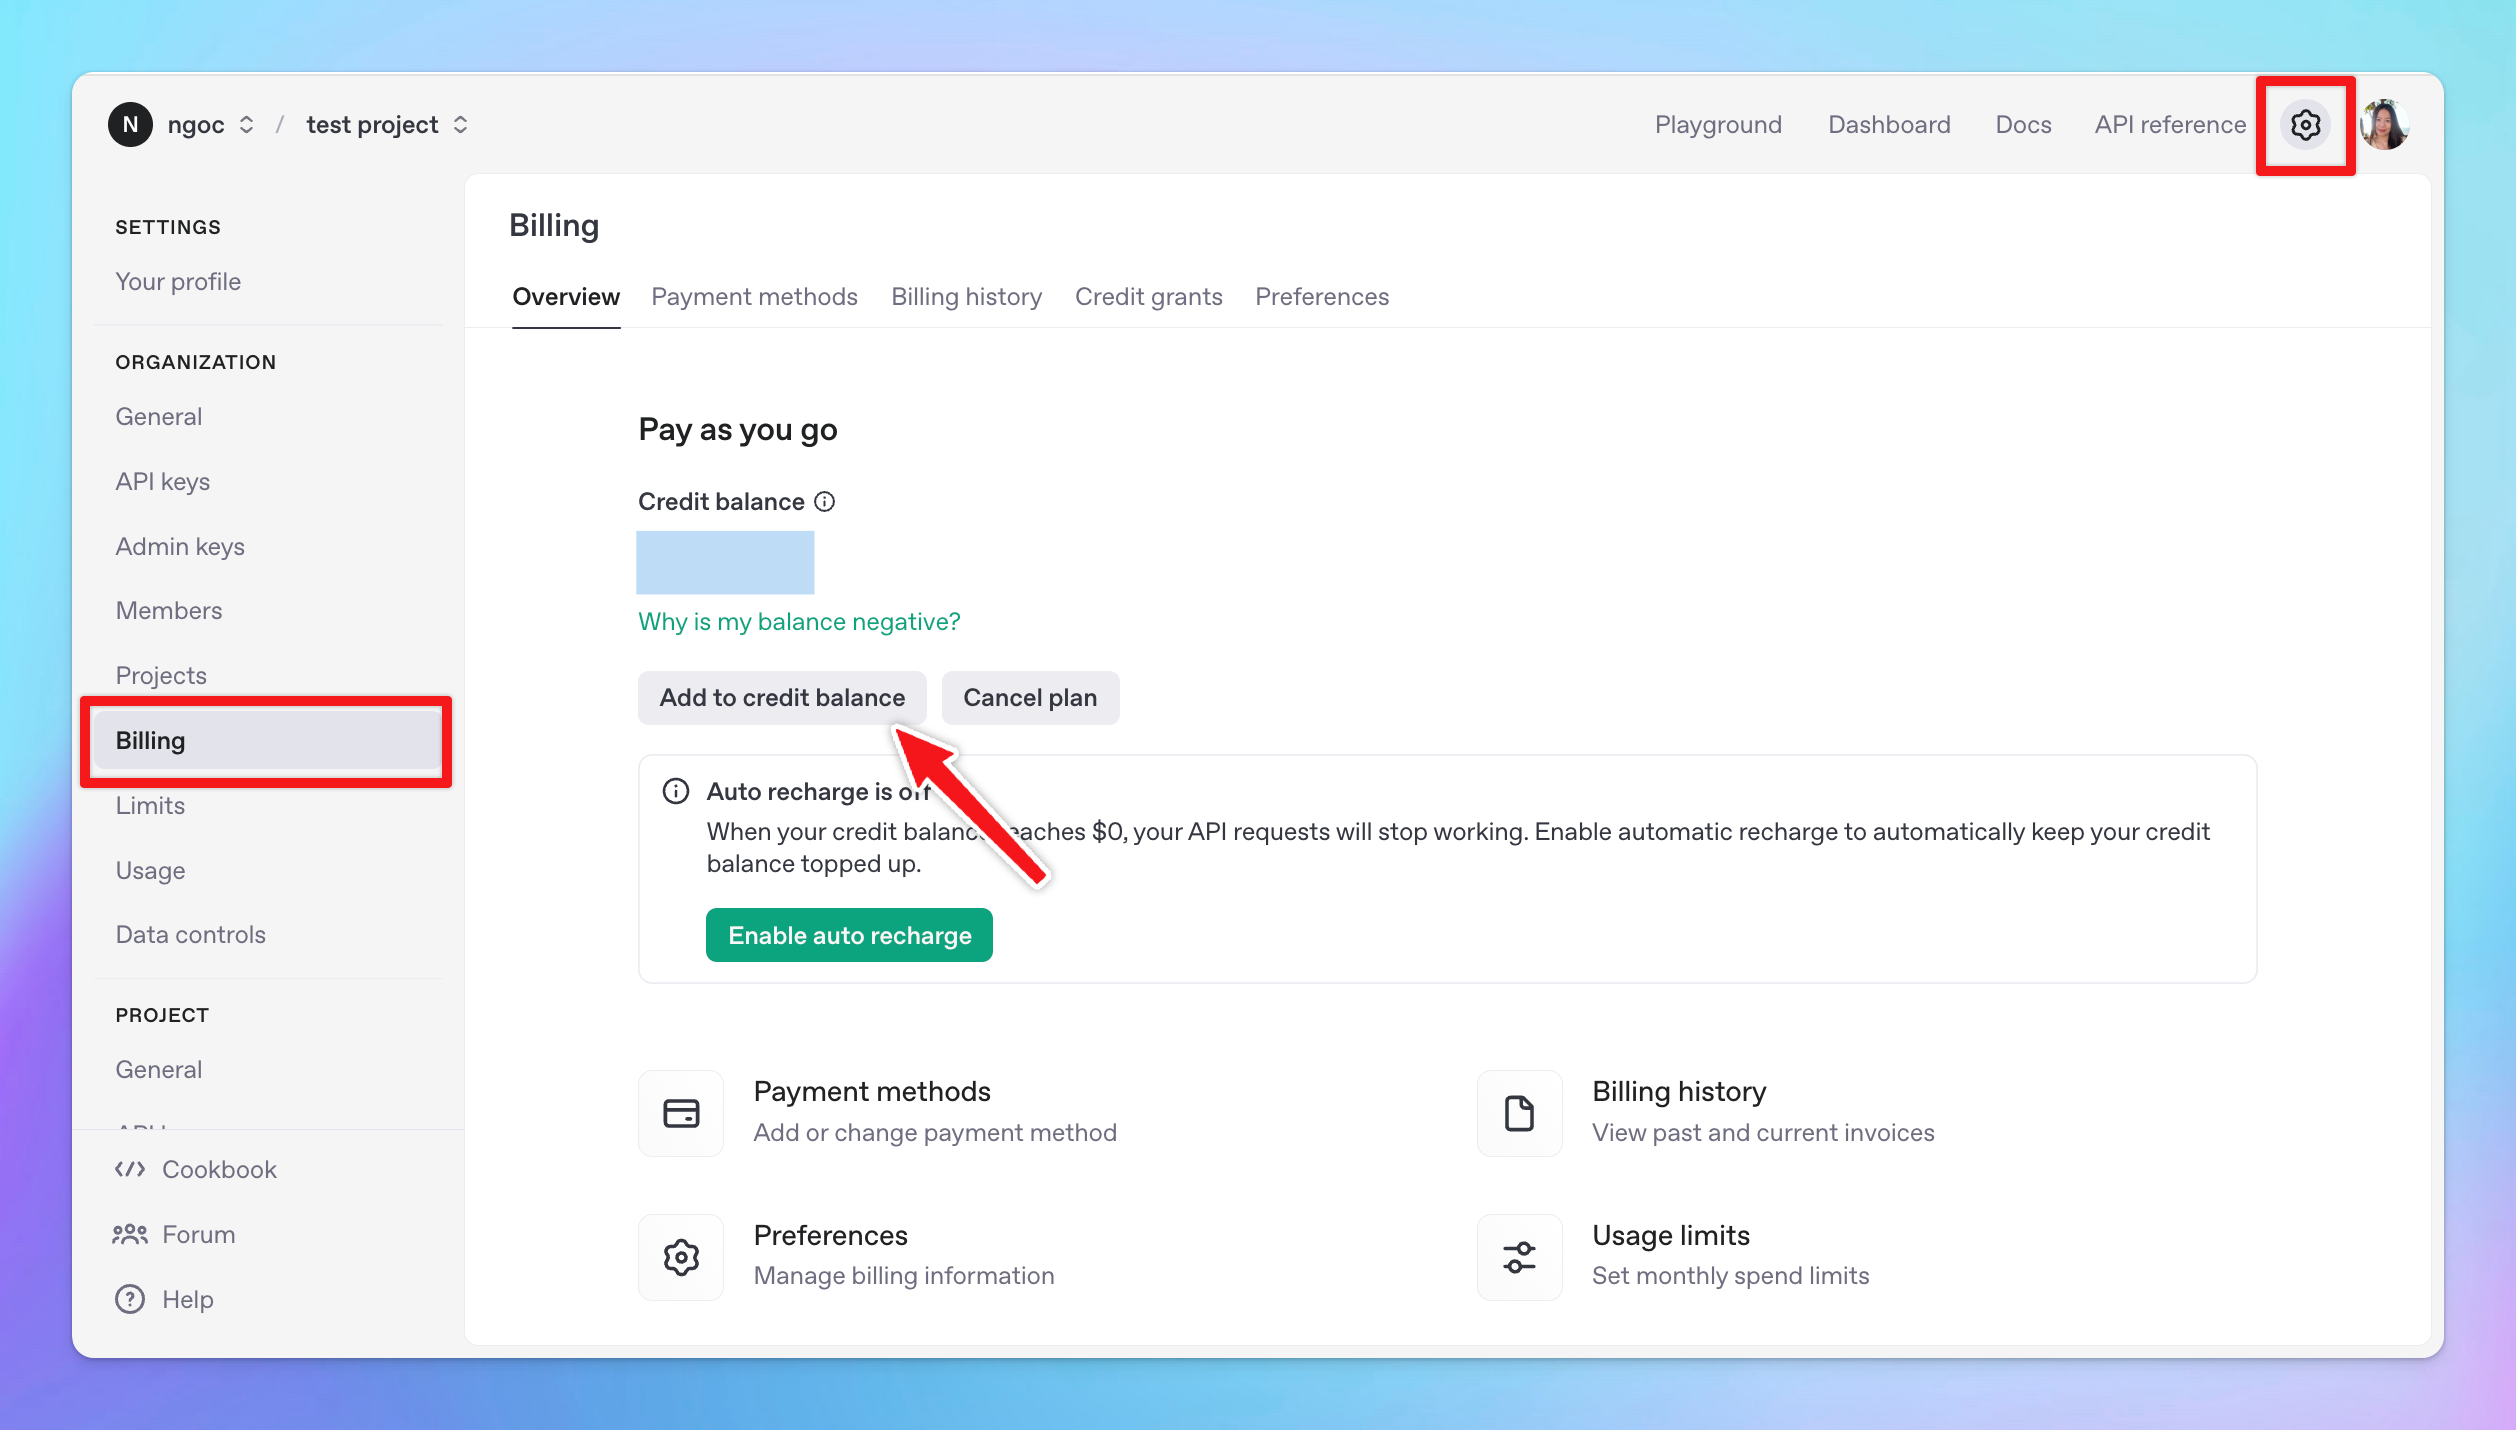
- Click "Add payment details" and enter your payment details
- Choose the initial amount of credits you want to purchase. The minimum purchase is $5.
You can enable the option Automatic recharge so OpenAI can charge you automatically once your credit balance is lower than a specific threshold to keep your workflow going without any interruption.
- Confirm and purchase your initial amount of credits.
Step 3: Get your API key
After successfully setting up your paid account:
- Click on API keys tab to create a new API key
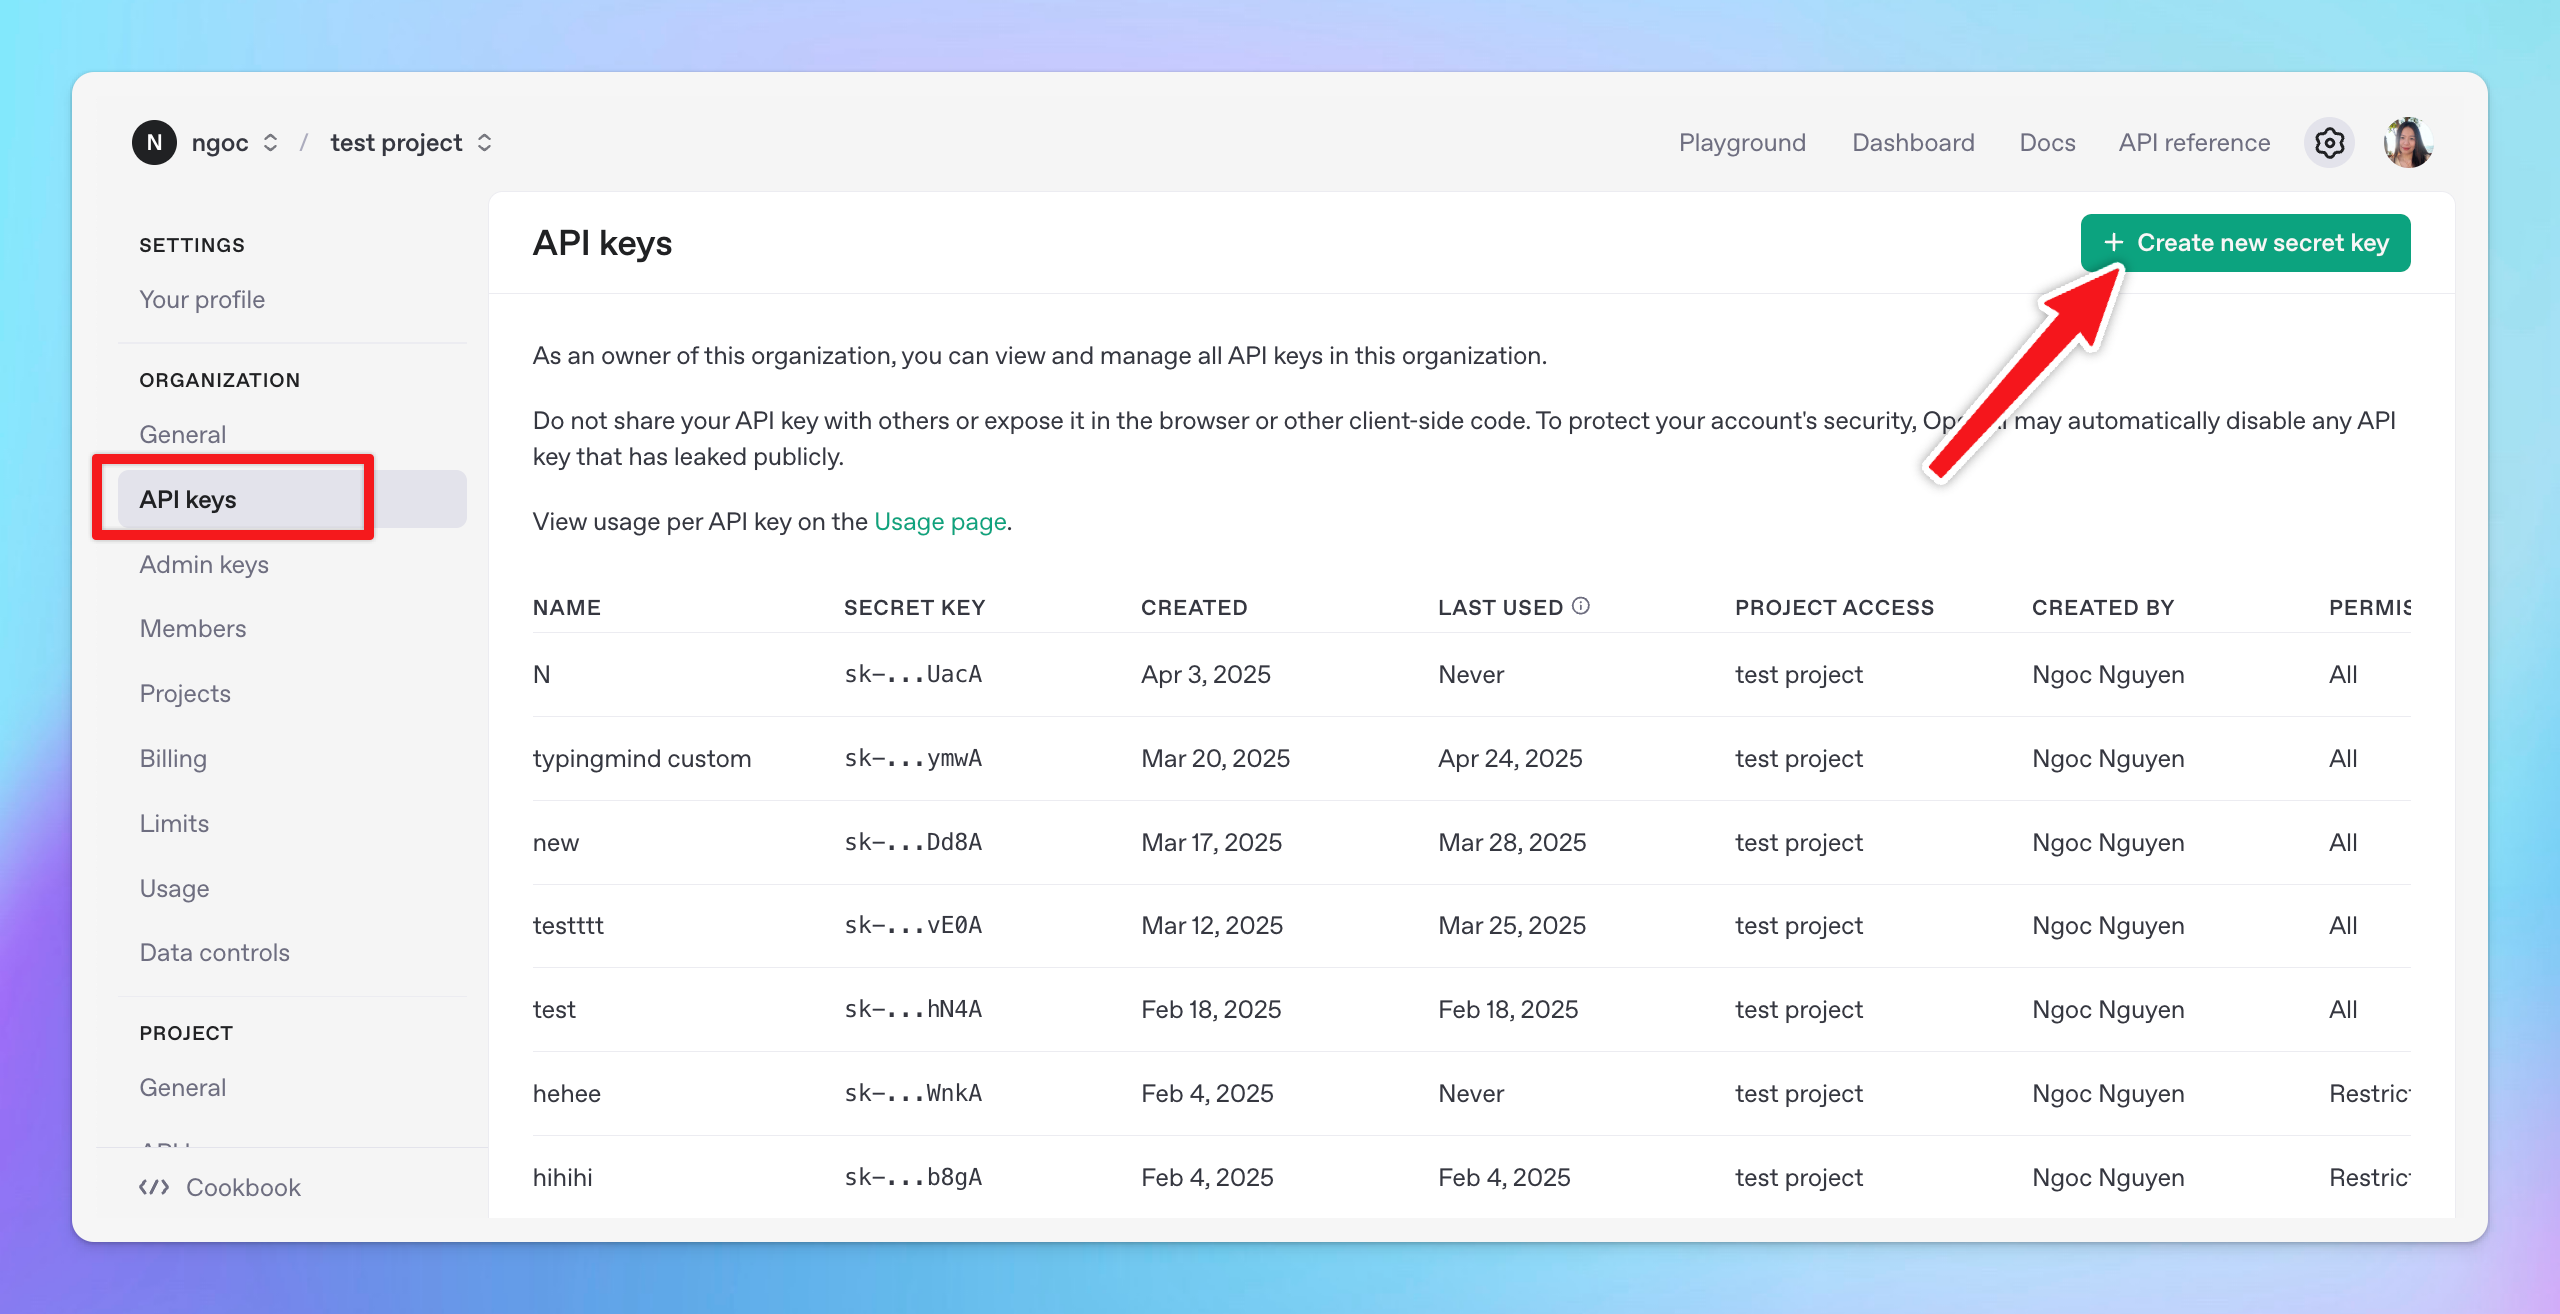
- Click Create a new secret key.
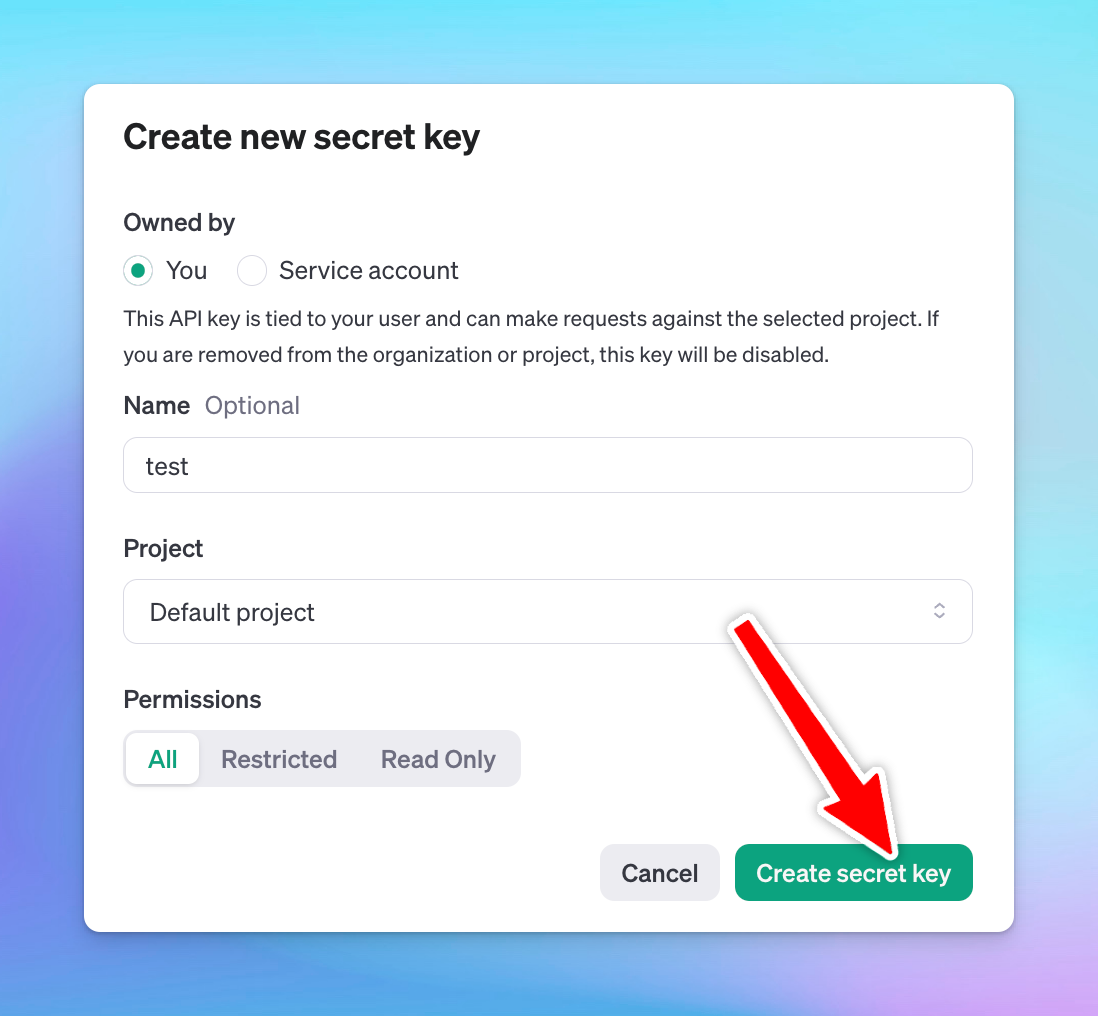
Within the Permissions section, please do not set restrictions for Models and Model Capabilities. Recommend setting the Permissions to All.
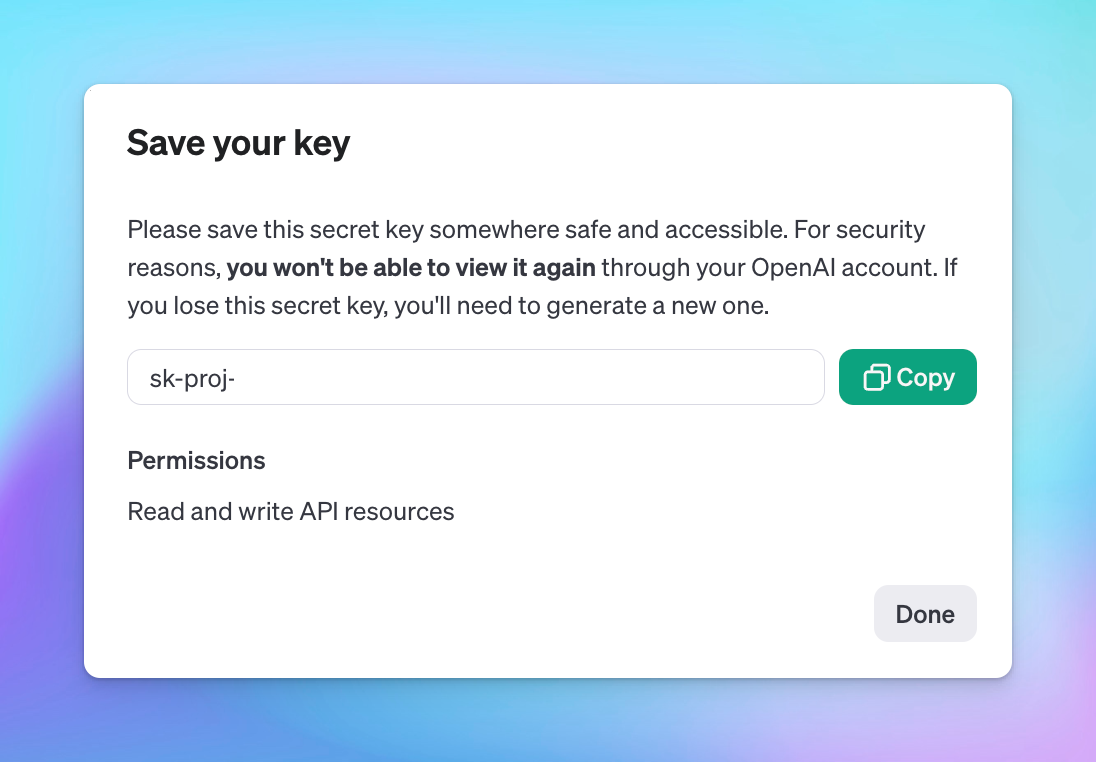
- Give the API key a name and click “Create secret key”
- Copy your API key to a safe place
Step 4: Enter your API key to TypingMind
- Go to typingmind.com
- Navigate the Settings menu → API key section
- Input the copied API key
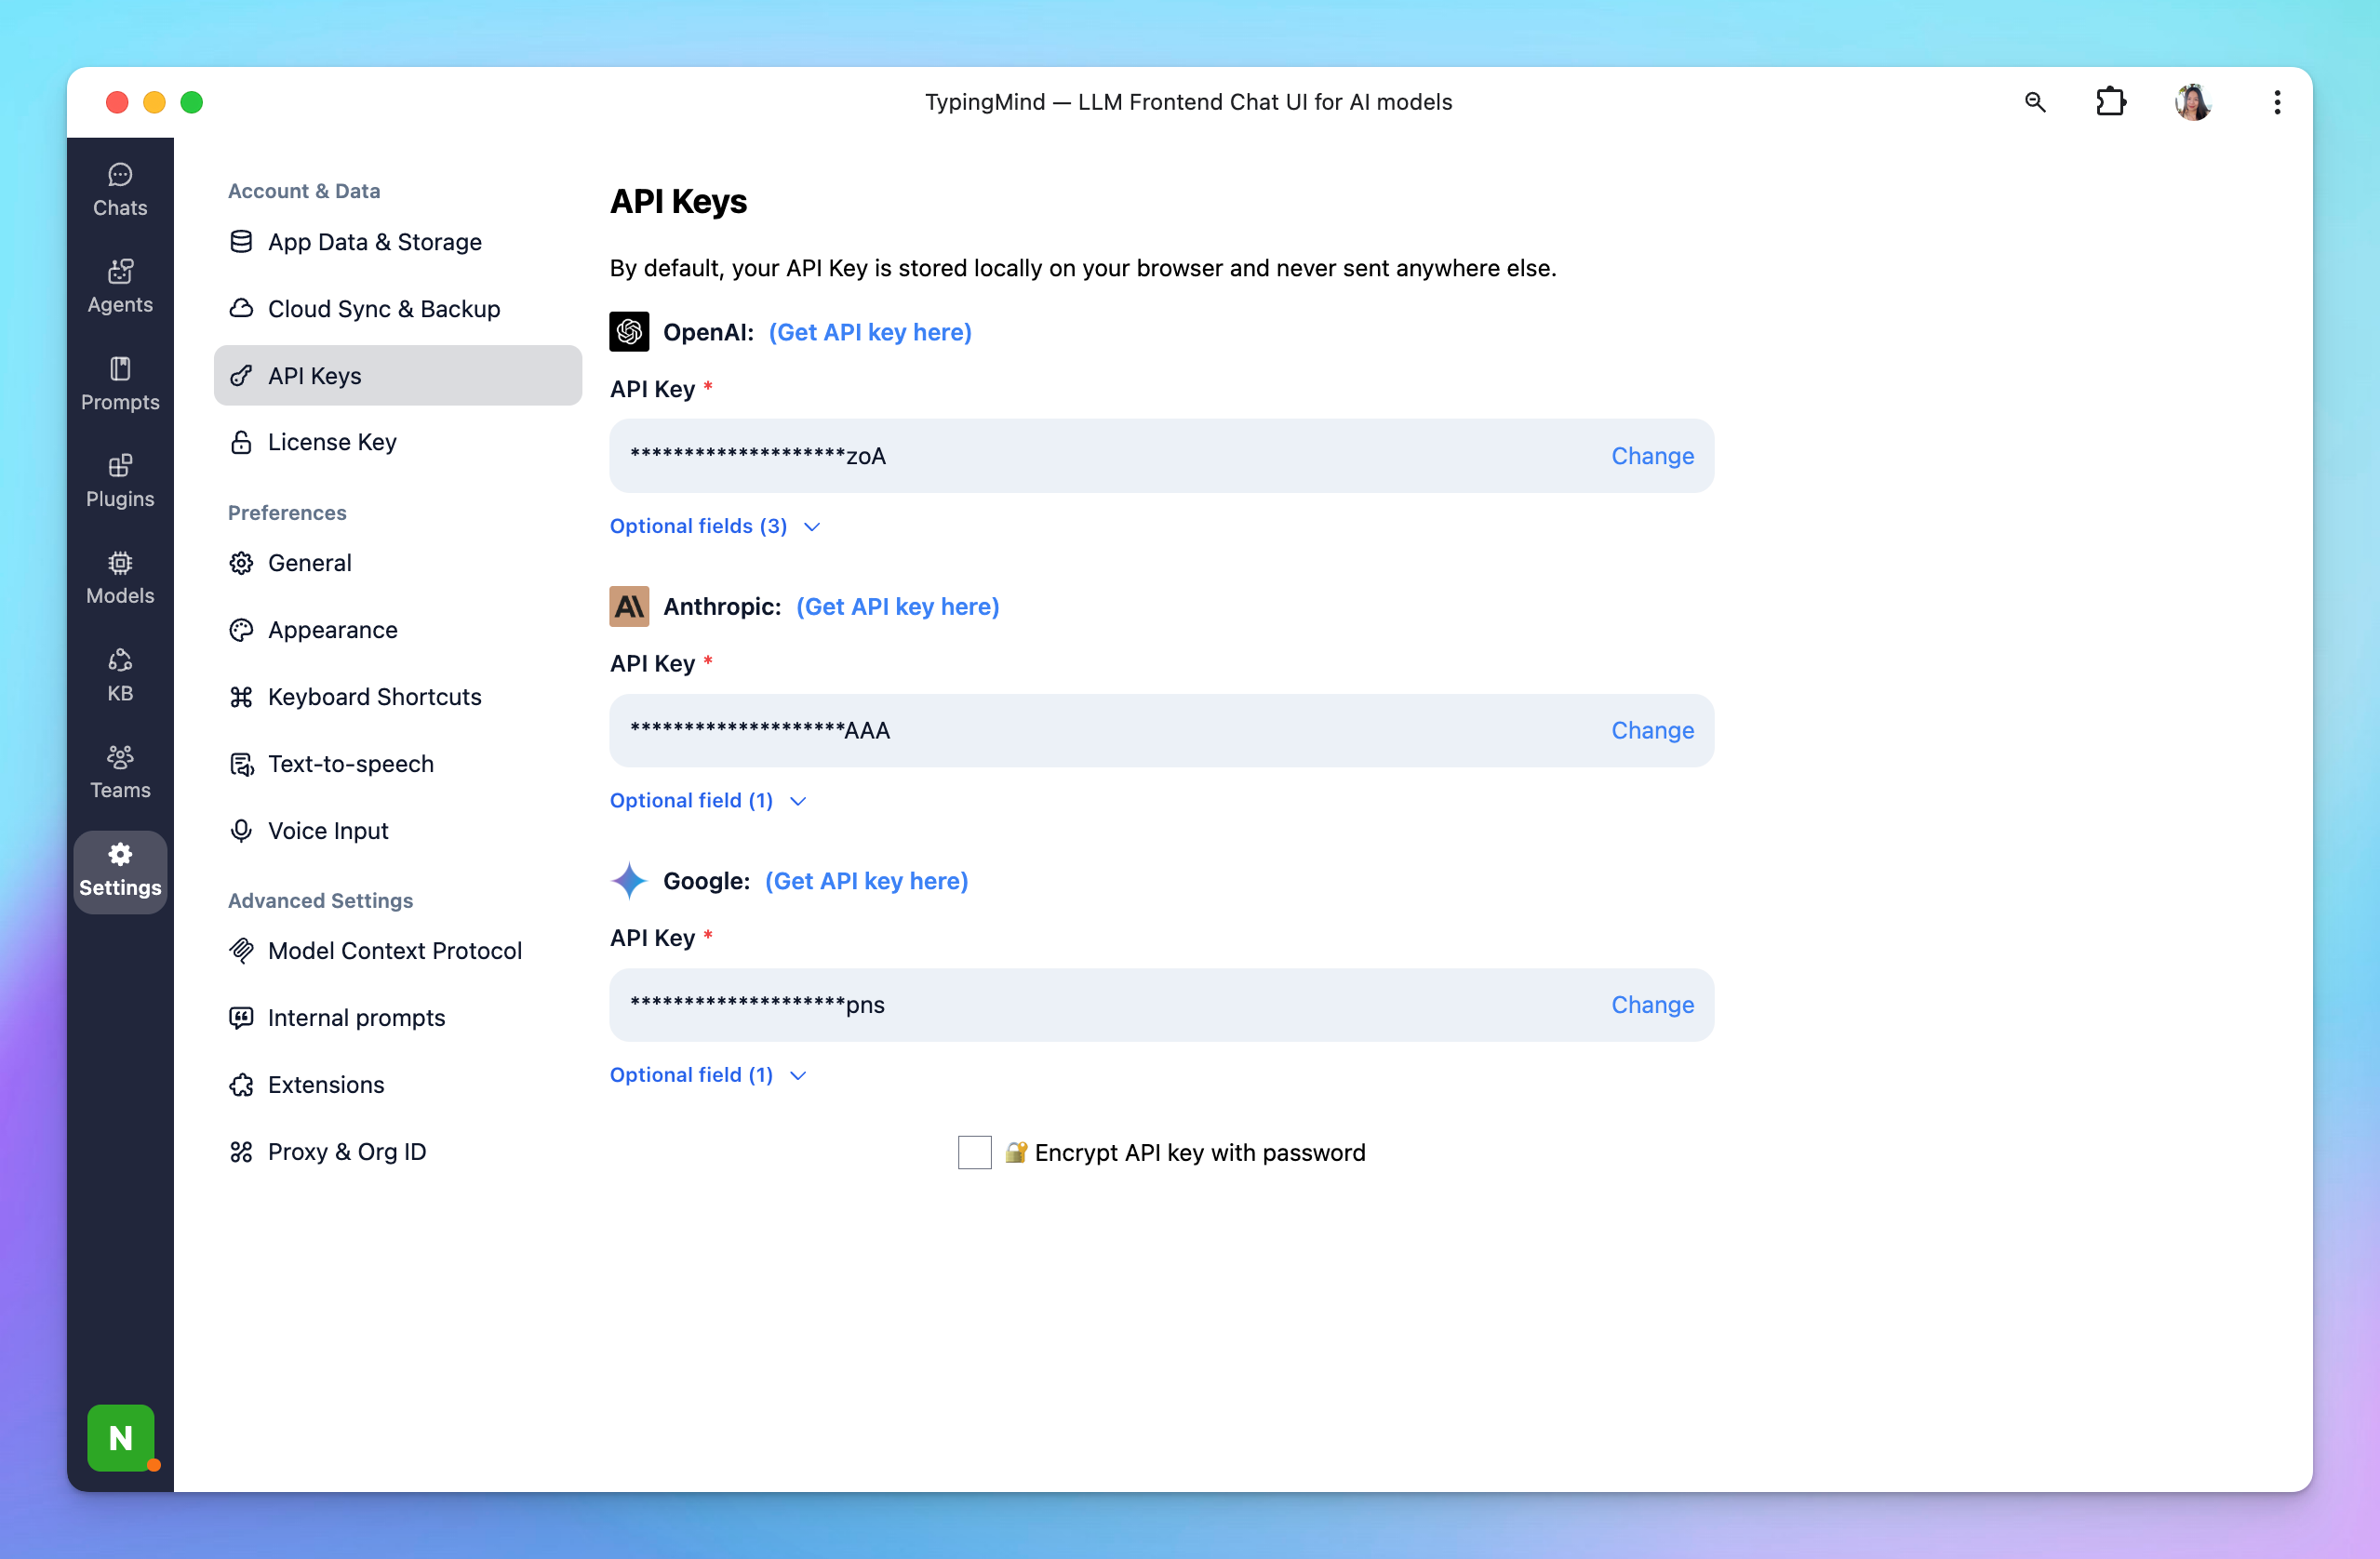
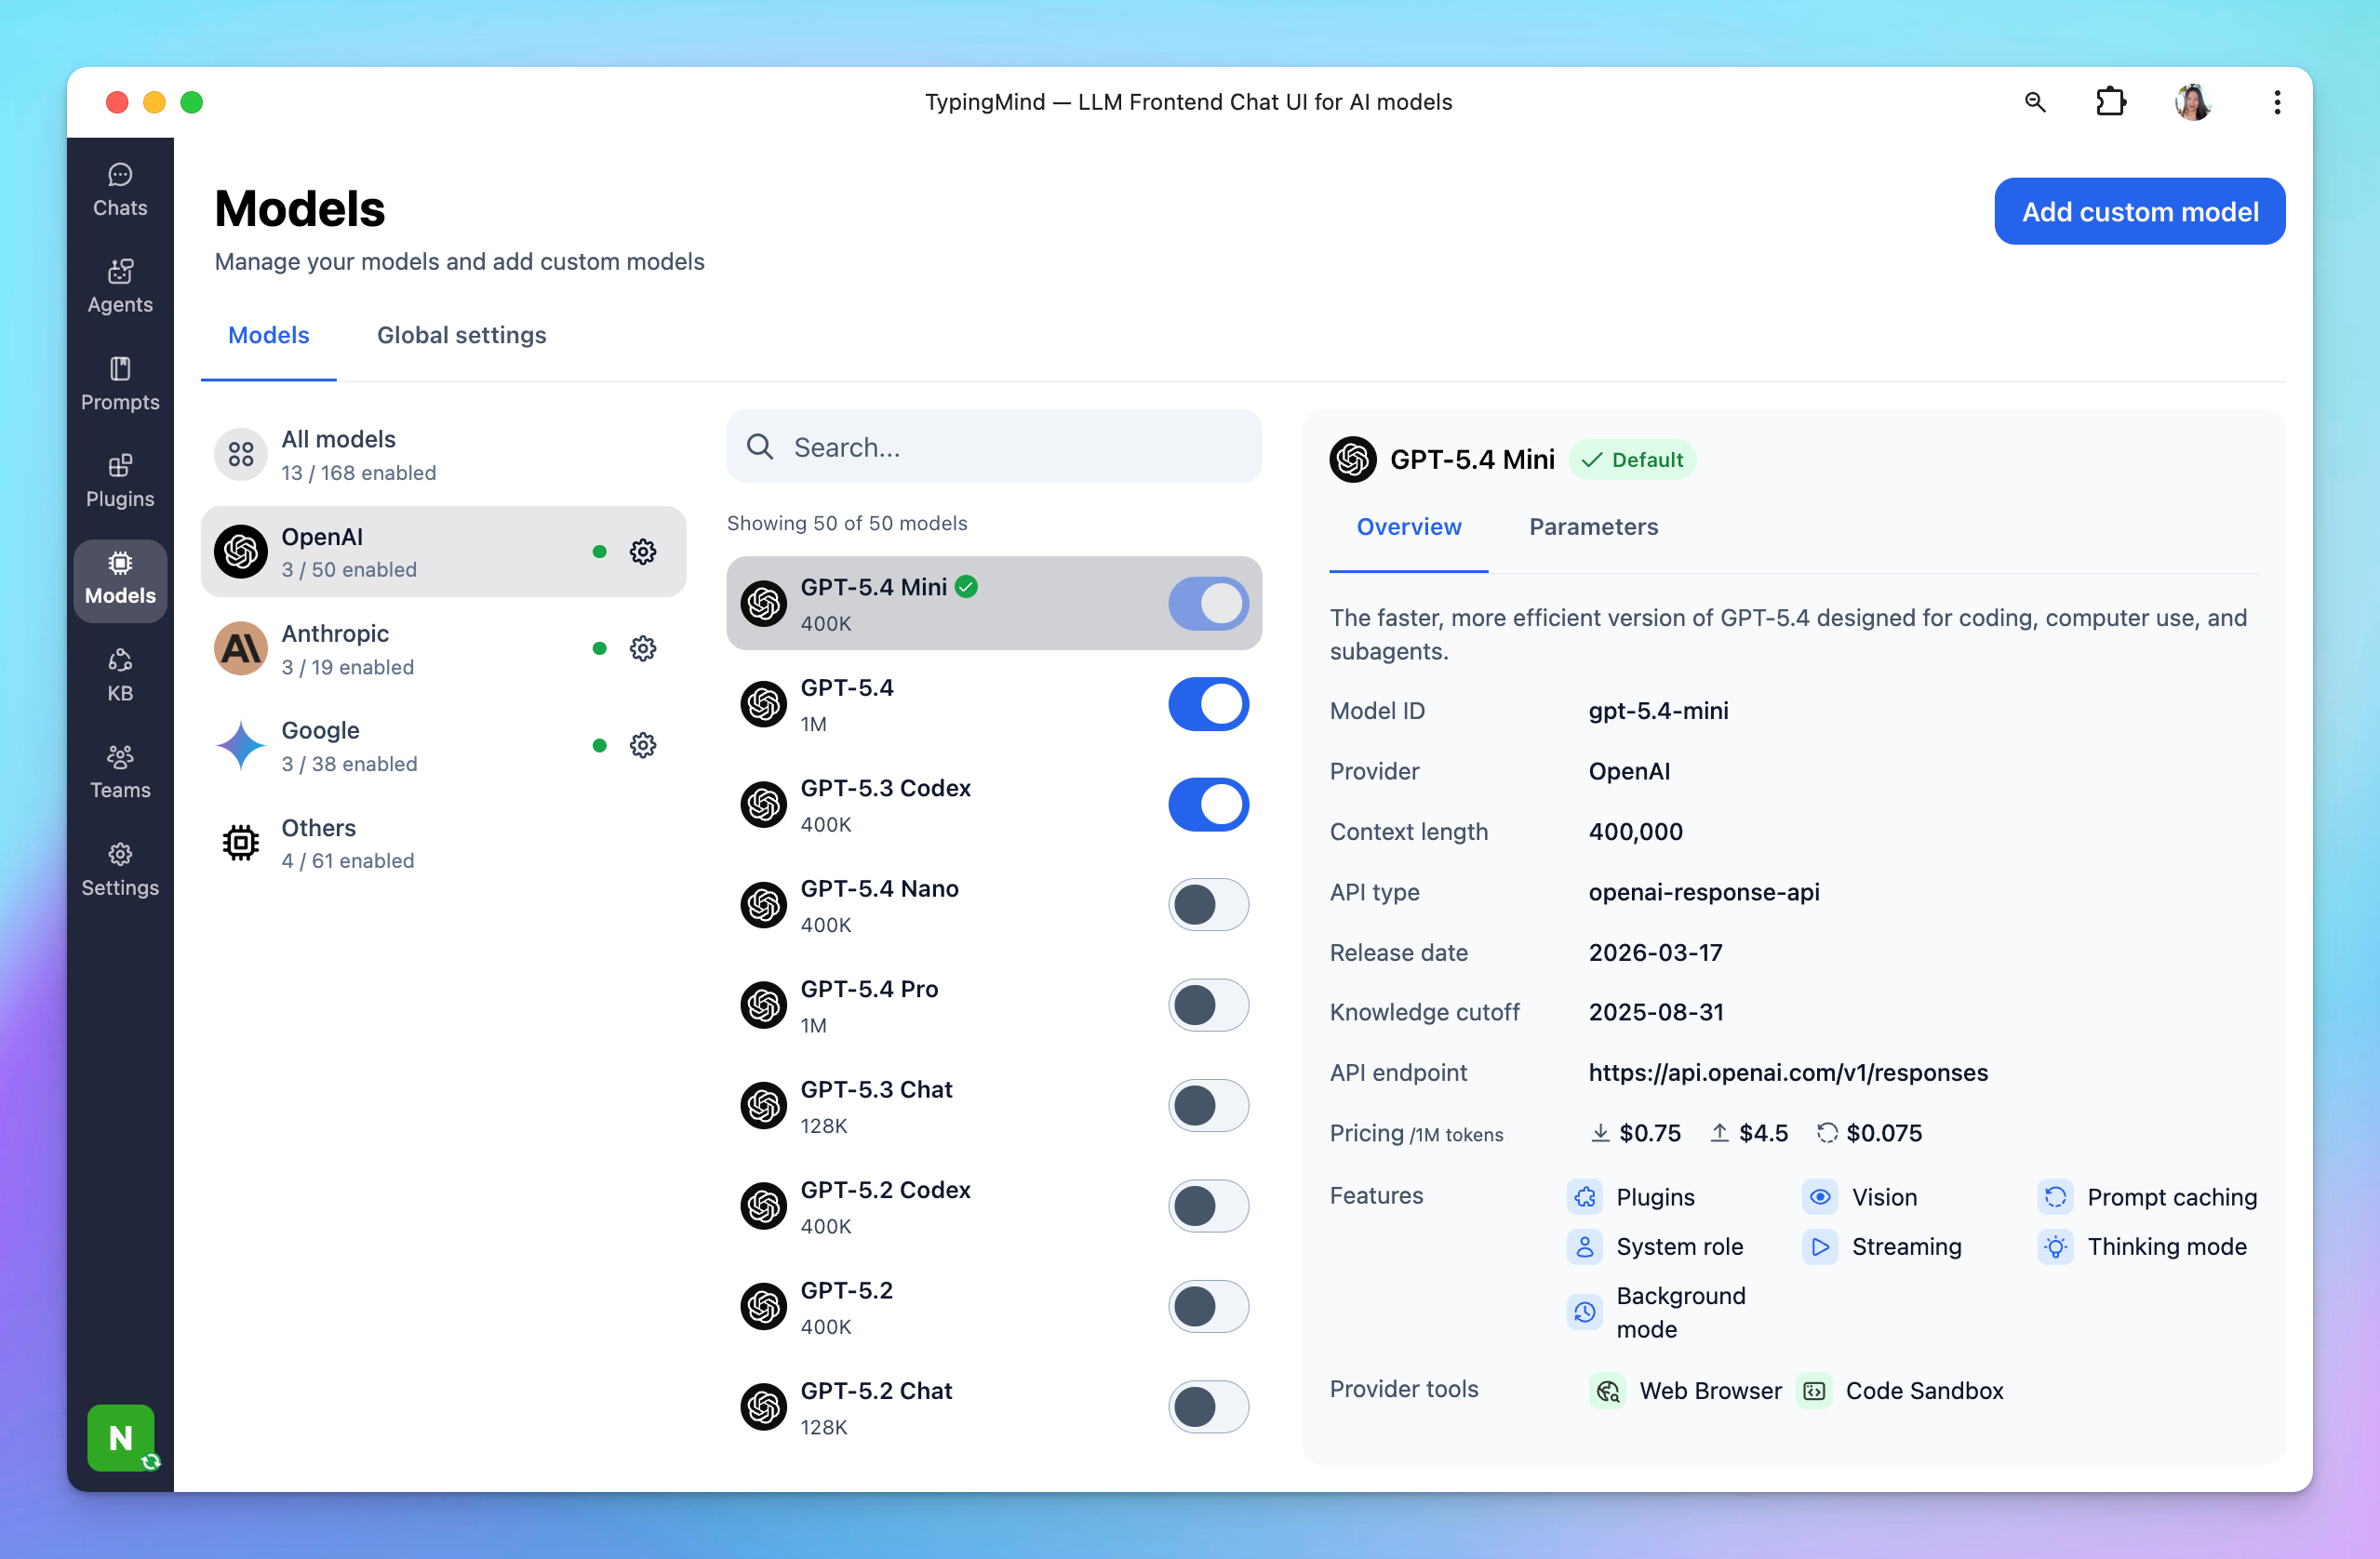
- Now you can use the available OpenAI models on TypingMind (GPT-5.4, Codex, GPT-5)
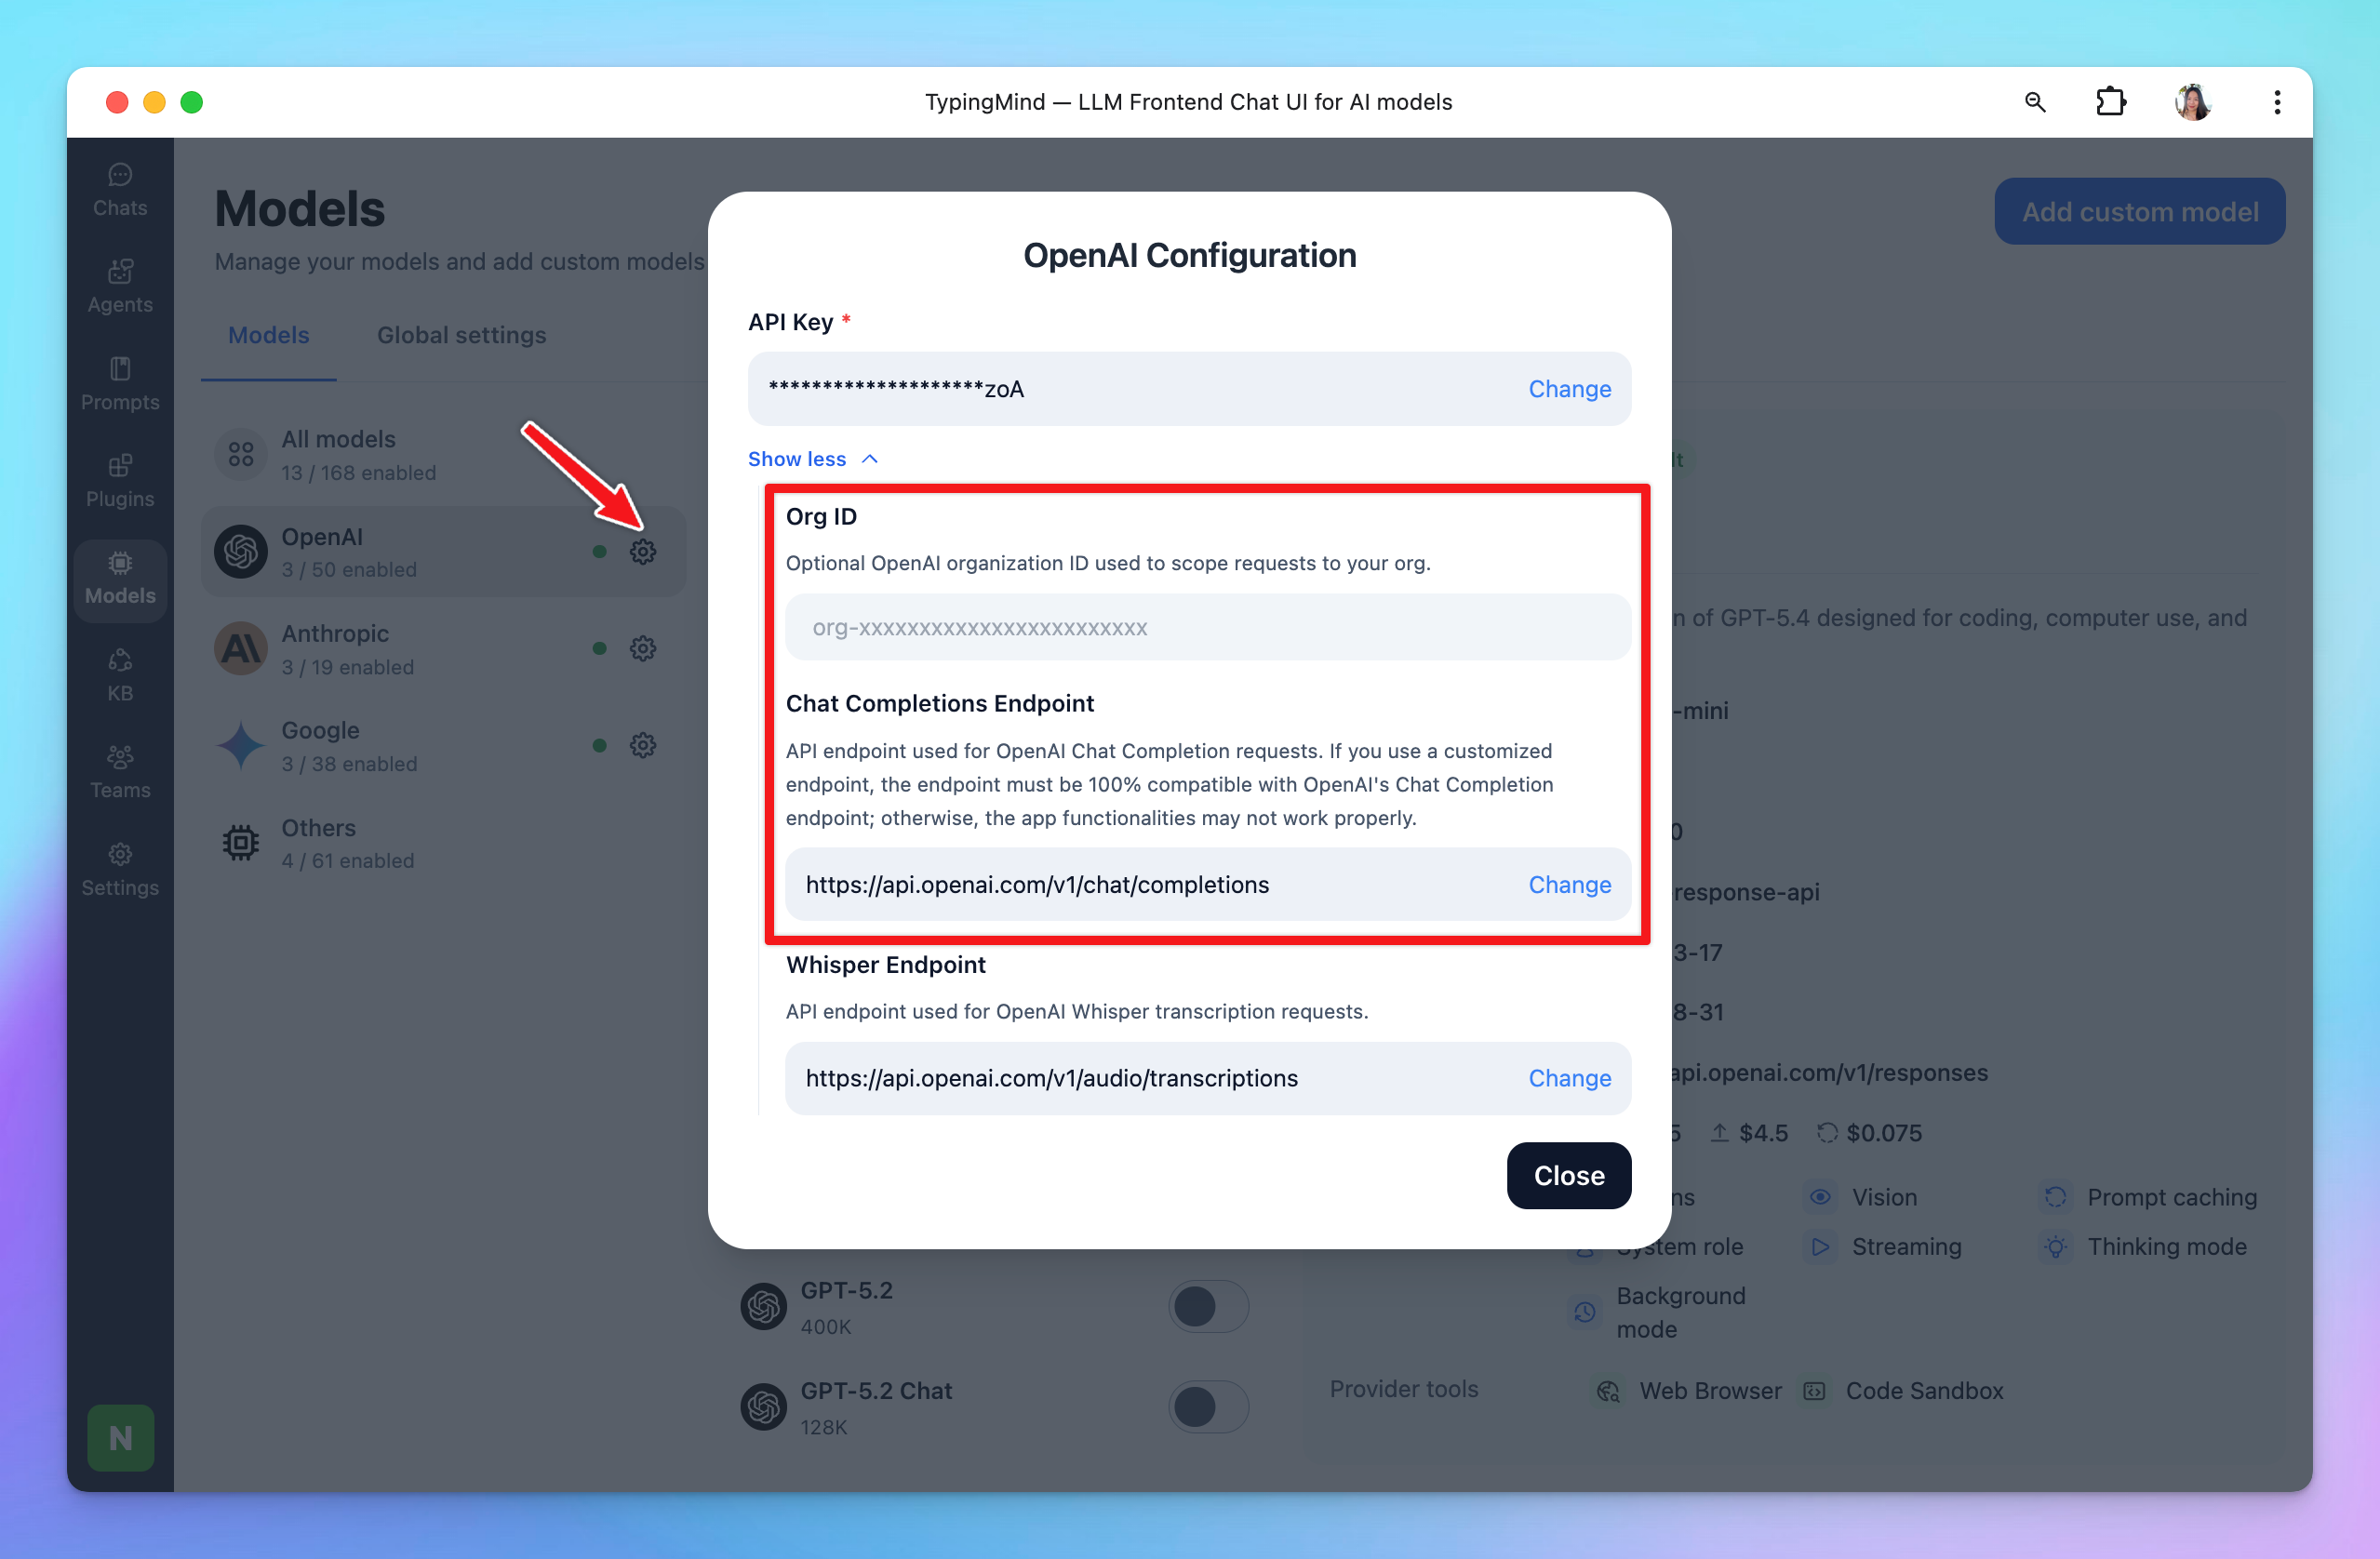
Advanced settings
- Org ID: Specify your OpenAI Organization ID to scope request to your org
- Custom endpoint: Use the direct endpoint
https://api.openai.com/v1/chat/completionsor configure your own custom chat completions endpoint.
If you use a customized endpoint, the endpoint must be 100% compatible with OpenAI's Chat Completion endpoint; otherwise, the app functionalities may not work properly.