
TypingMind allows you to set up semi-public access for your chatbot, which provides you with additional controls for Public Mode when you open Public Access for your chatbot.
In this type of access, your chatbot will work in two different types of interaction:
- Public interaction: your chatbot is accessible to everyone without login requirements. You can restrict them to do some general interactions and use some specific resources only.
- Sign-in required interaction: for certain user groups, you can mandate login to provide more personalized or advanced resources.
This semi-public setup allows your chatbot to reach to a larger audience while also offering personalized interactions to specific user groups.
Let’s see how to do that!
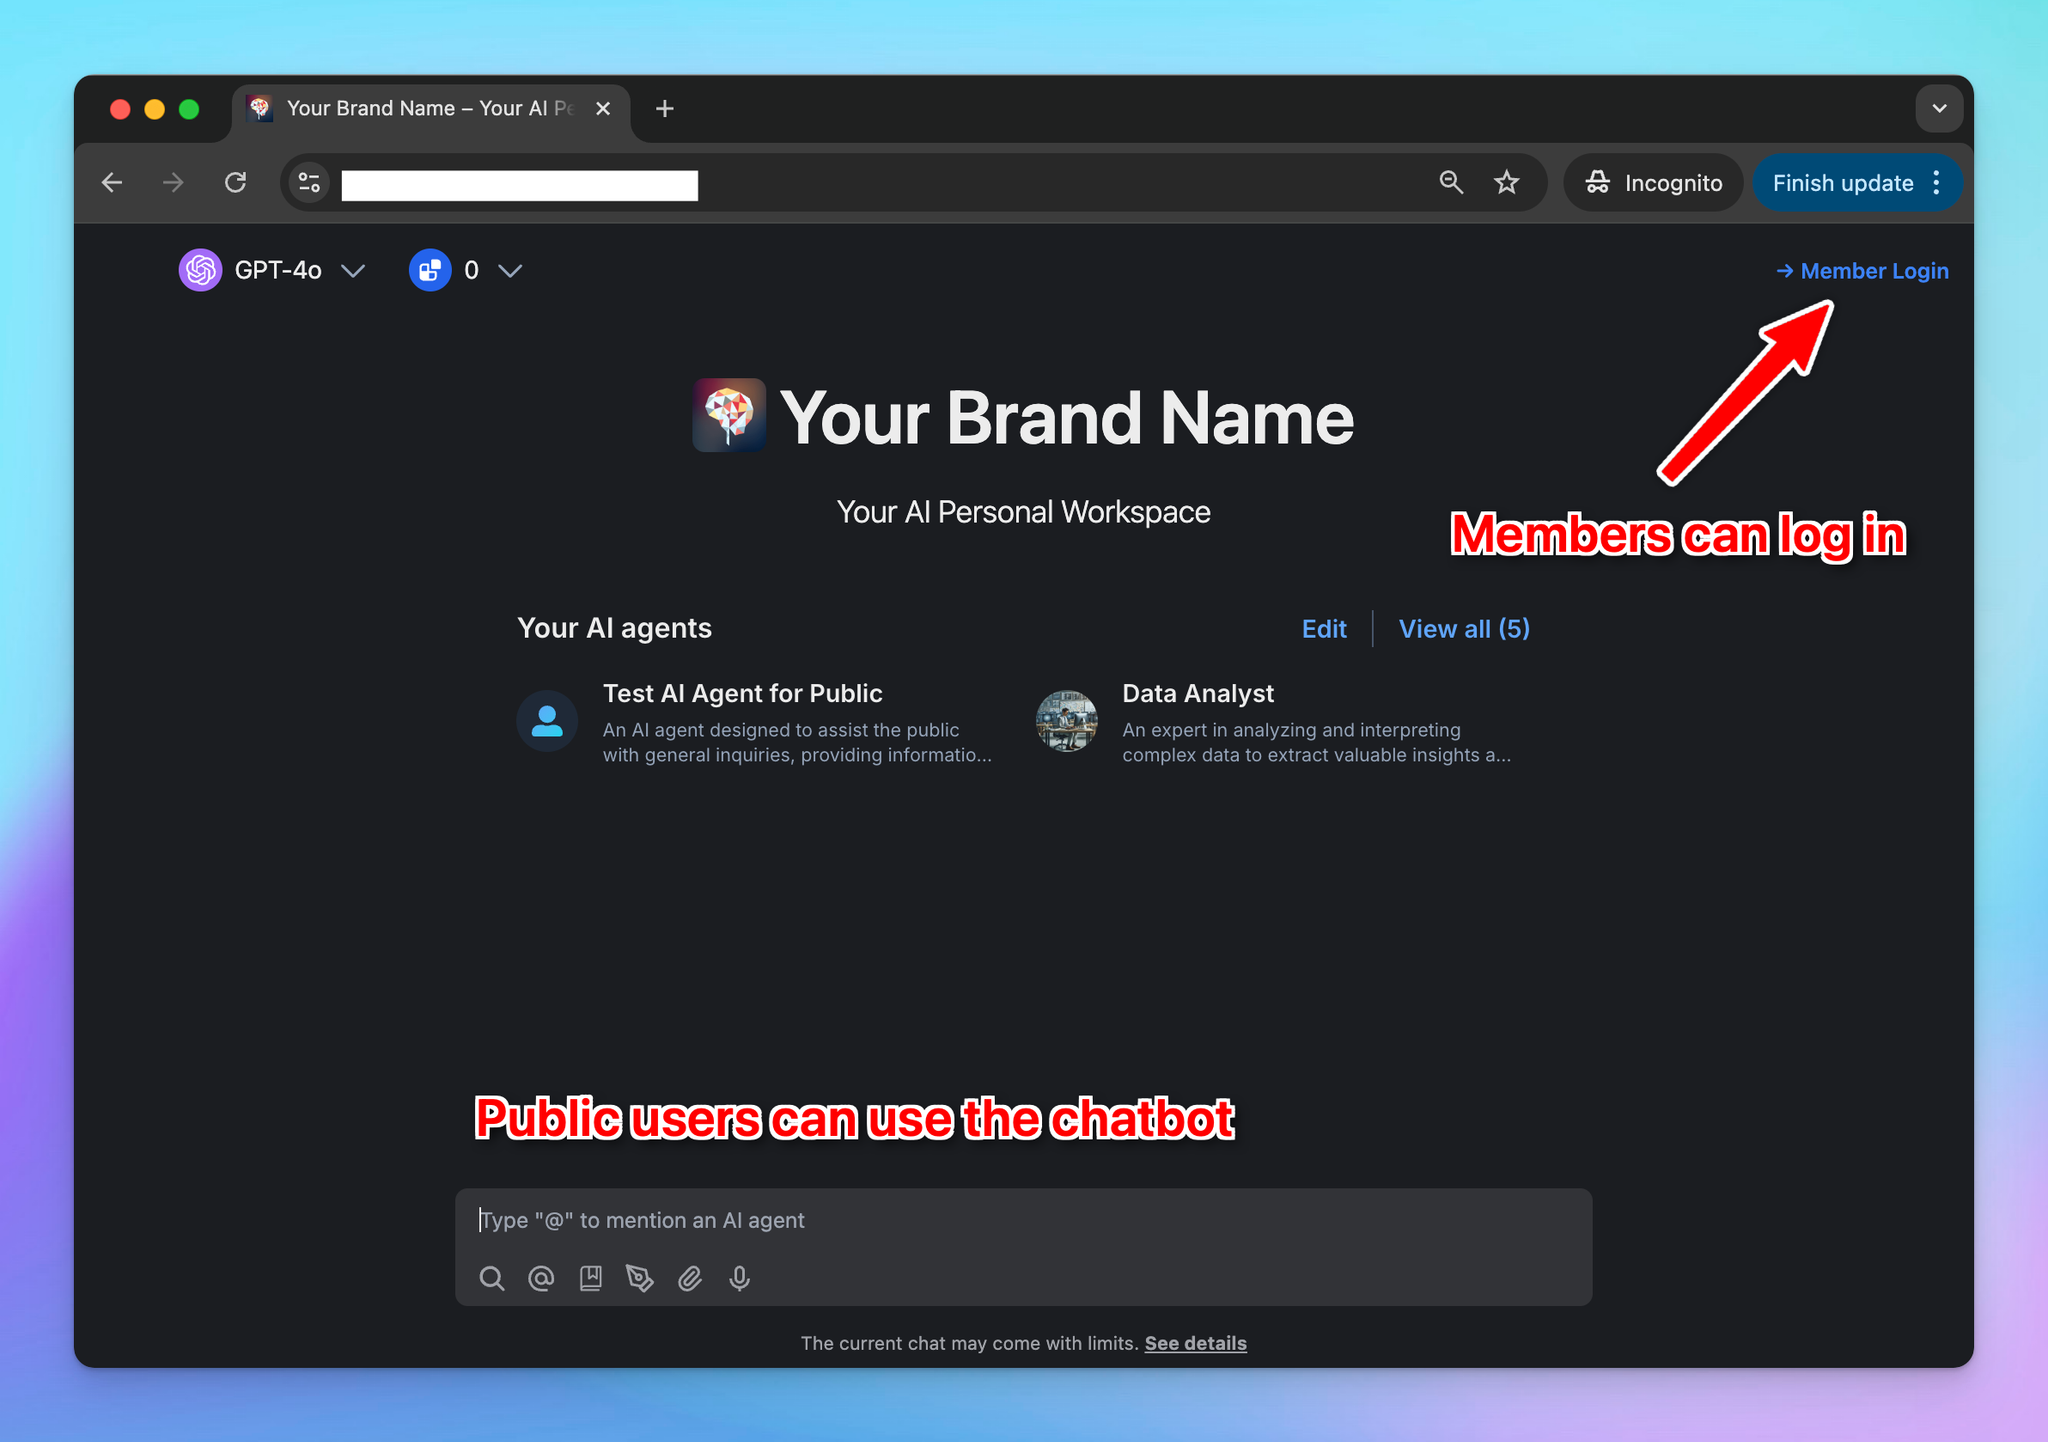
Step 1: Enable Public Mode
- Go to Access Control under the Access & Limit section
- Switch the Instance Mode to Public Mode
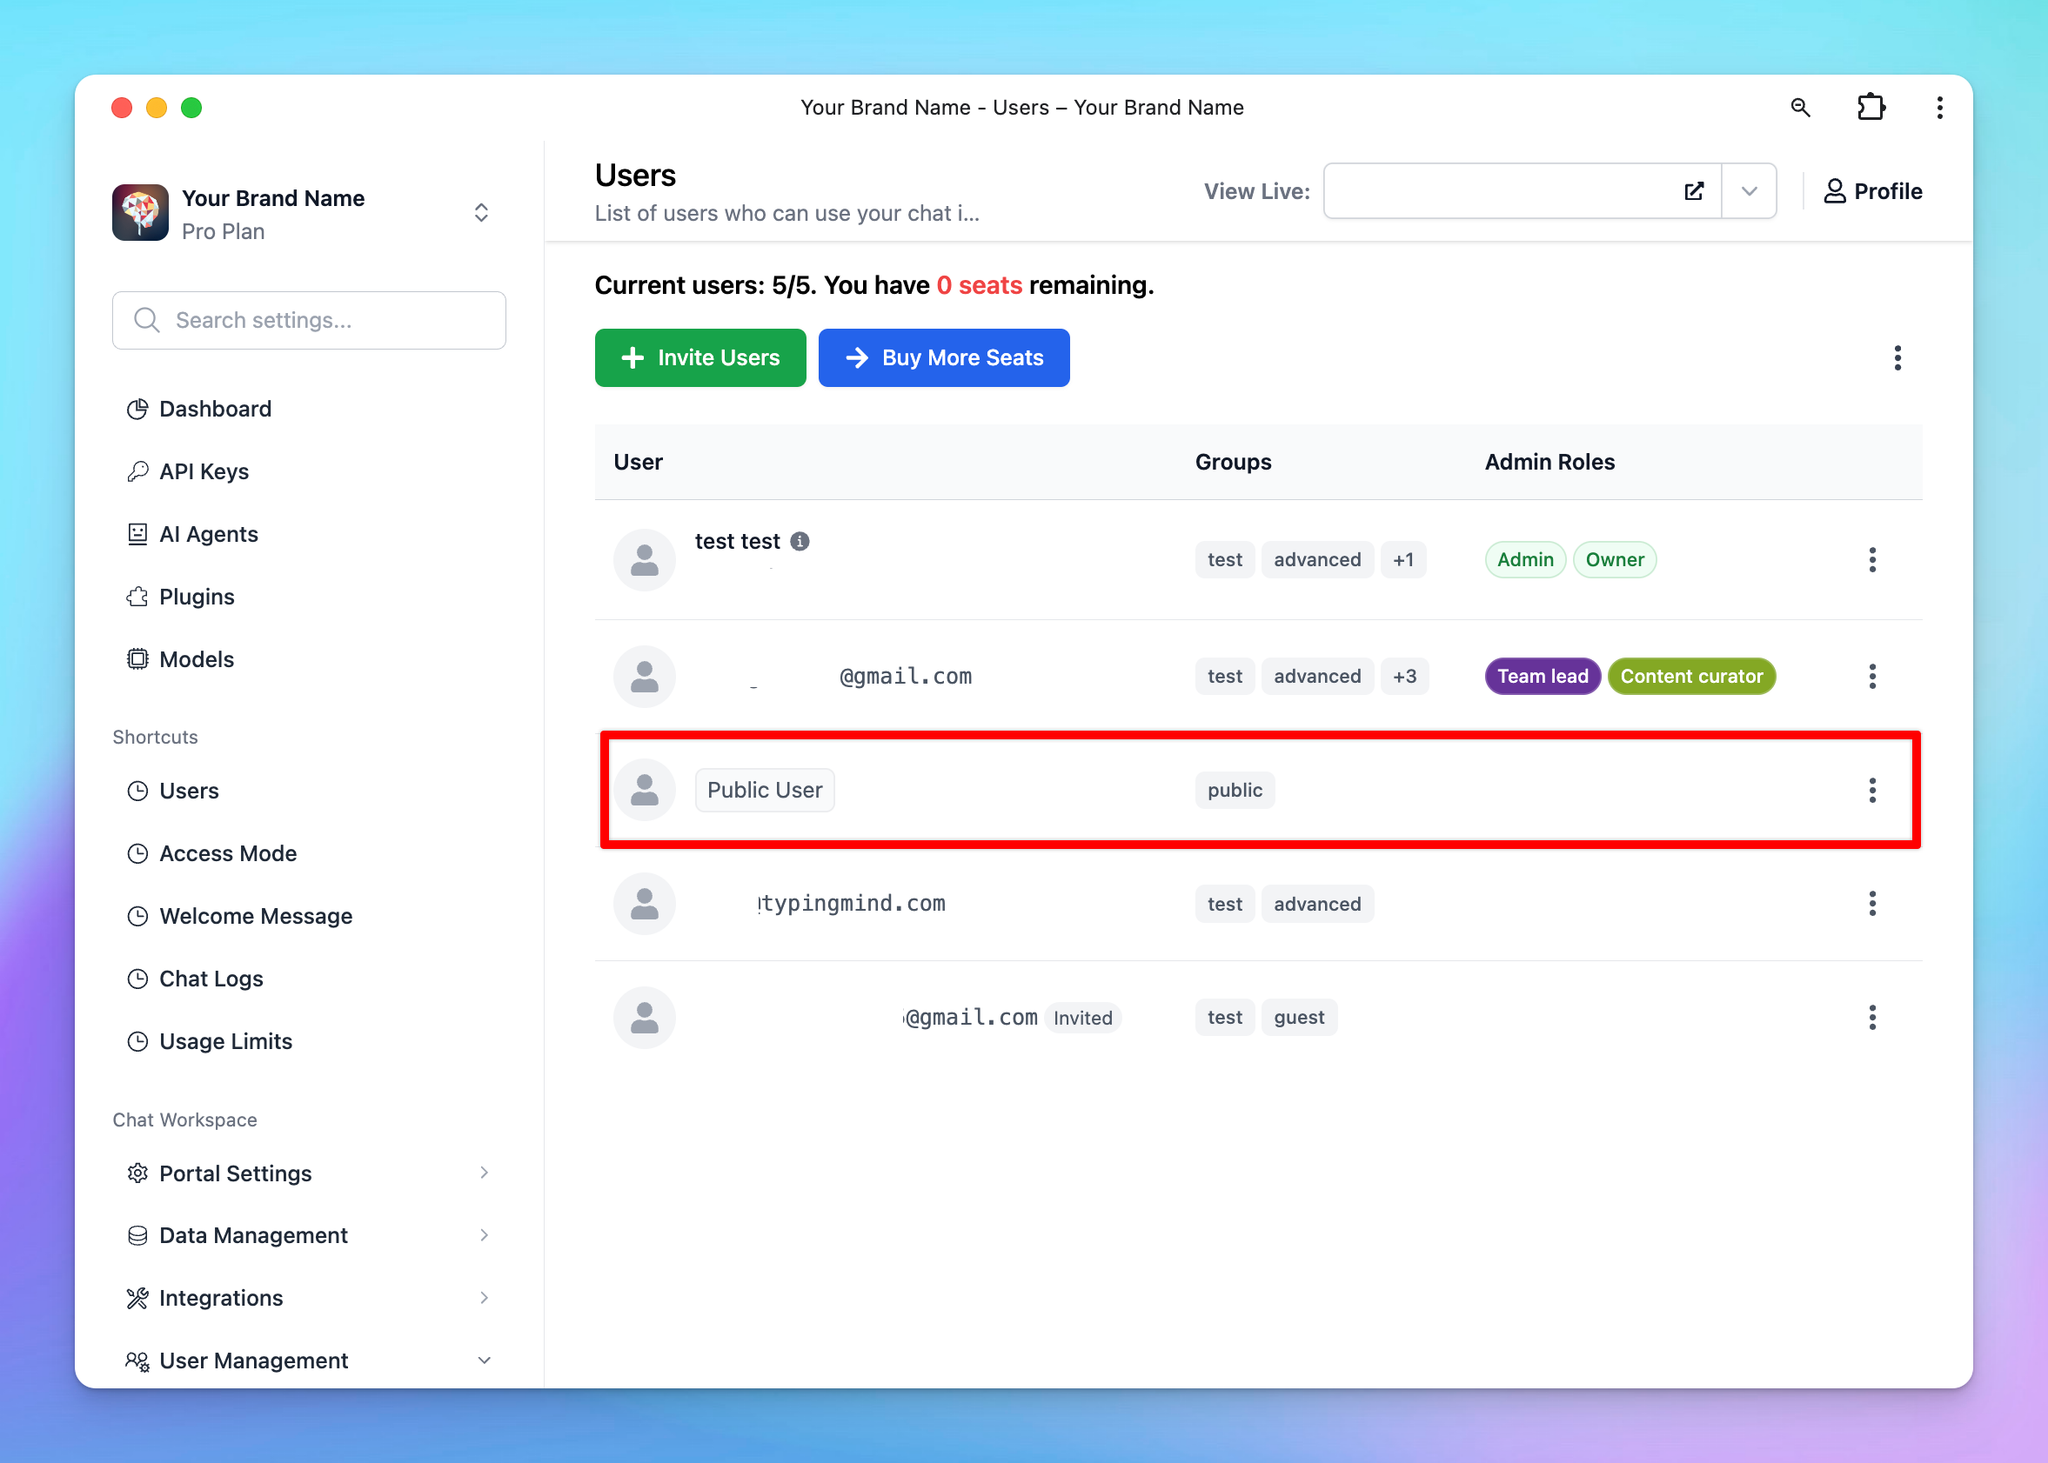
Once you enable Public Mode, the system will automatically add a member “Public User” in your User list so you can manage their access to some specific resources at Step 3.
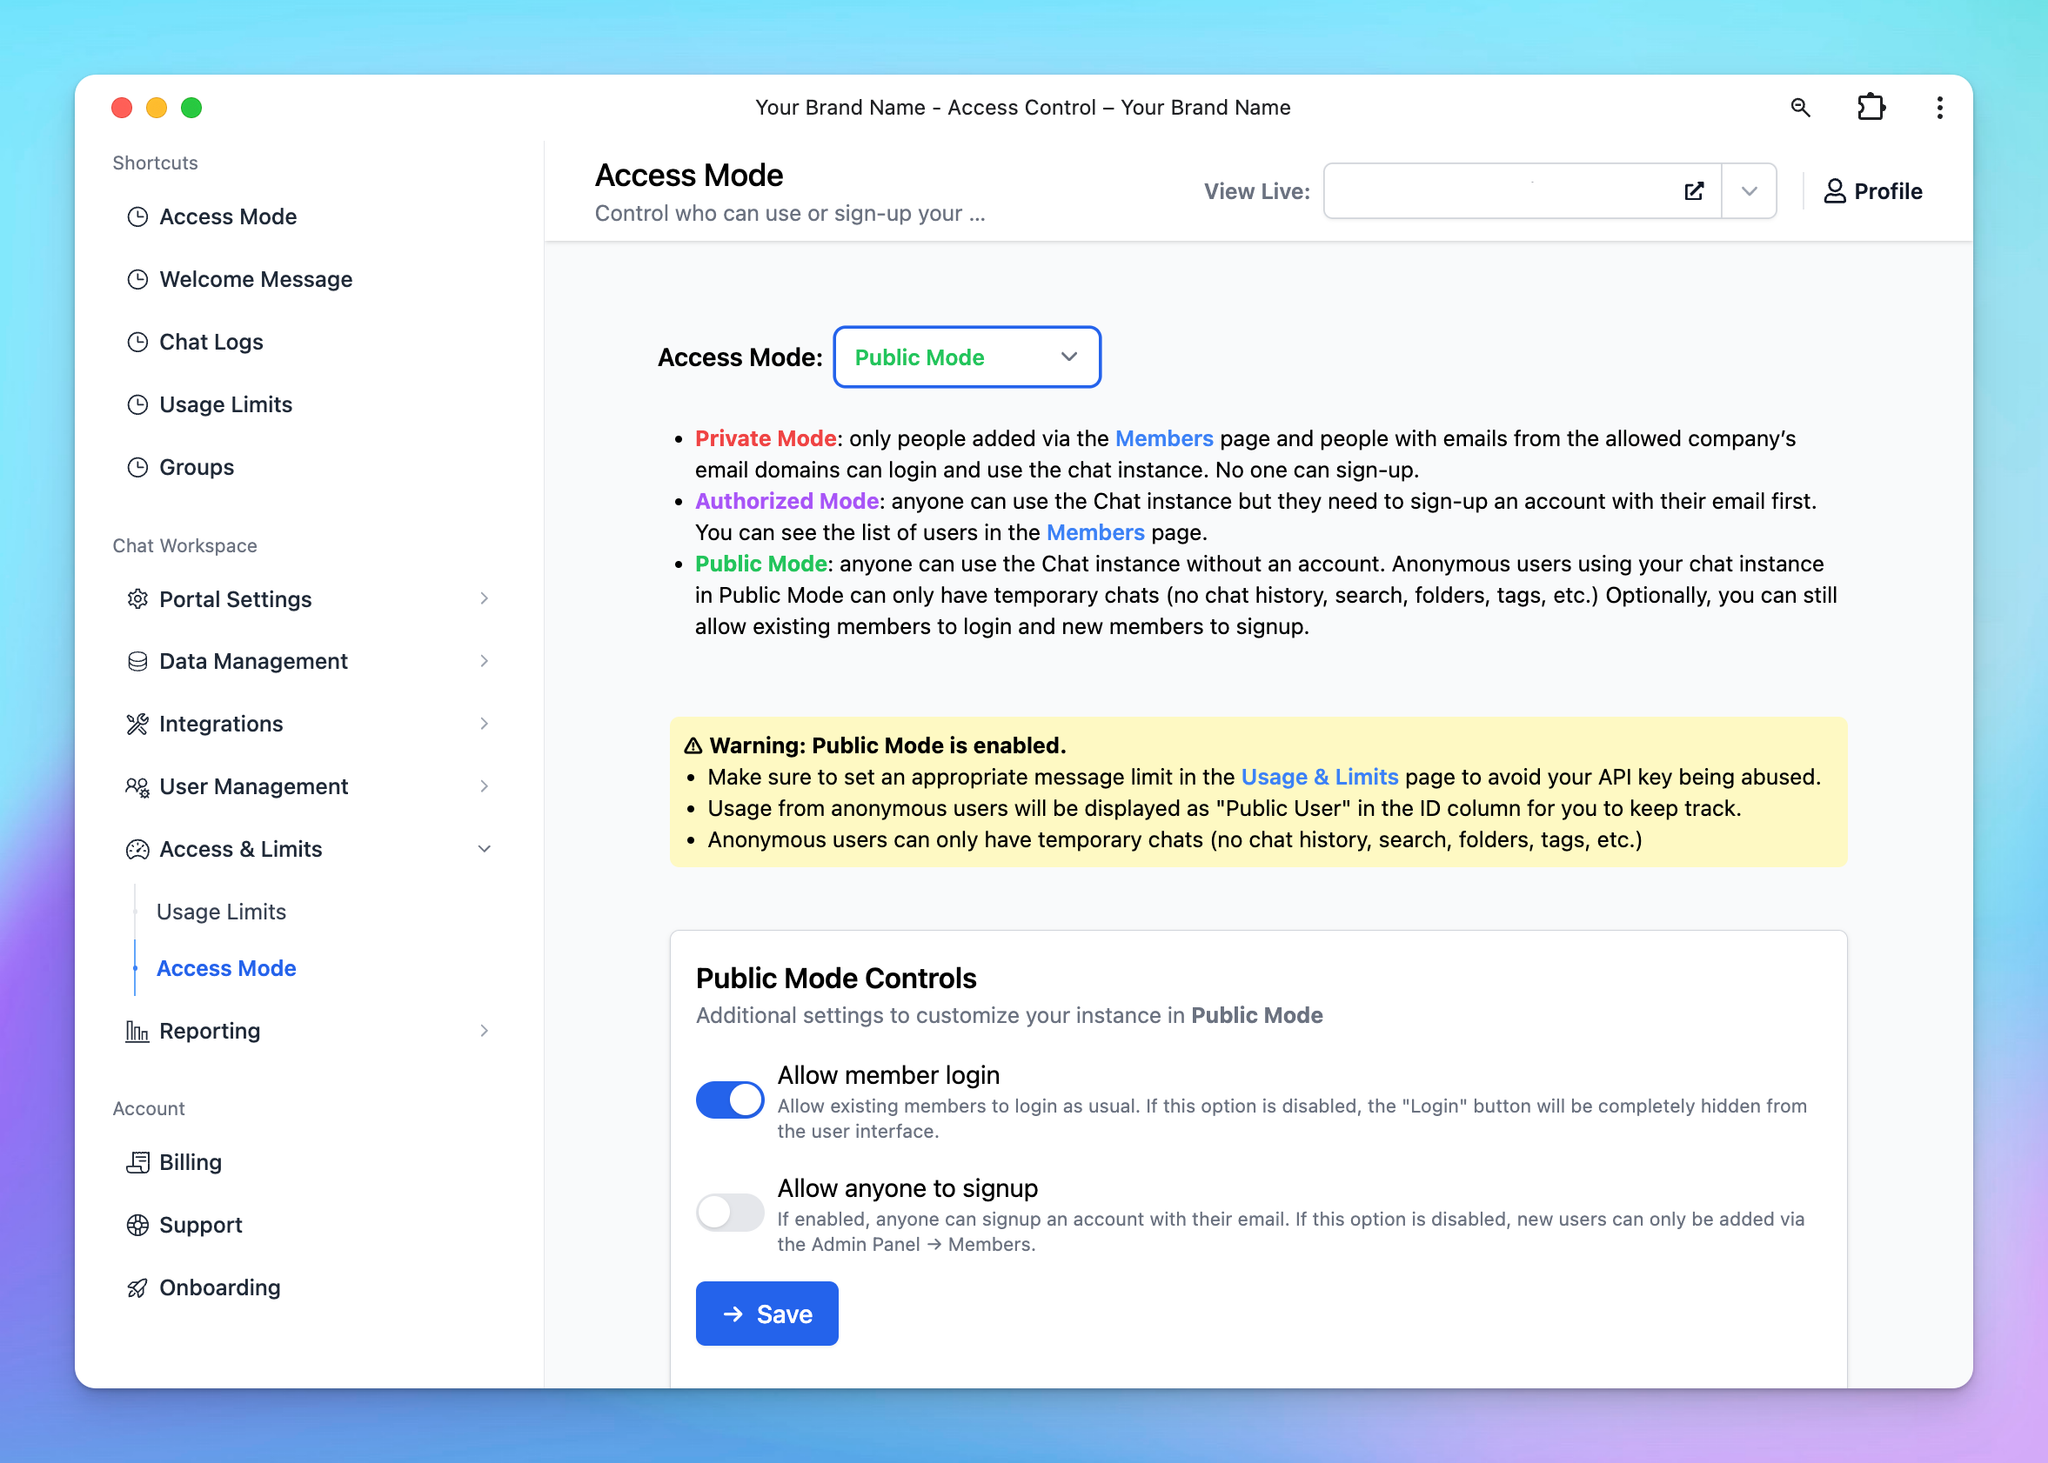
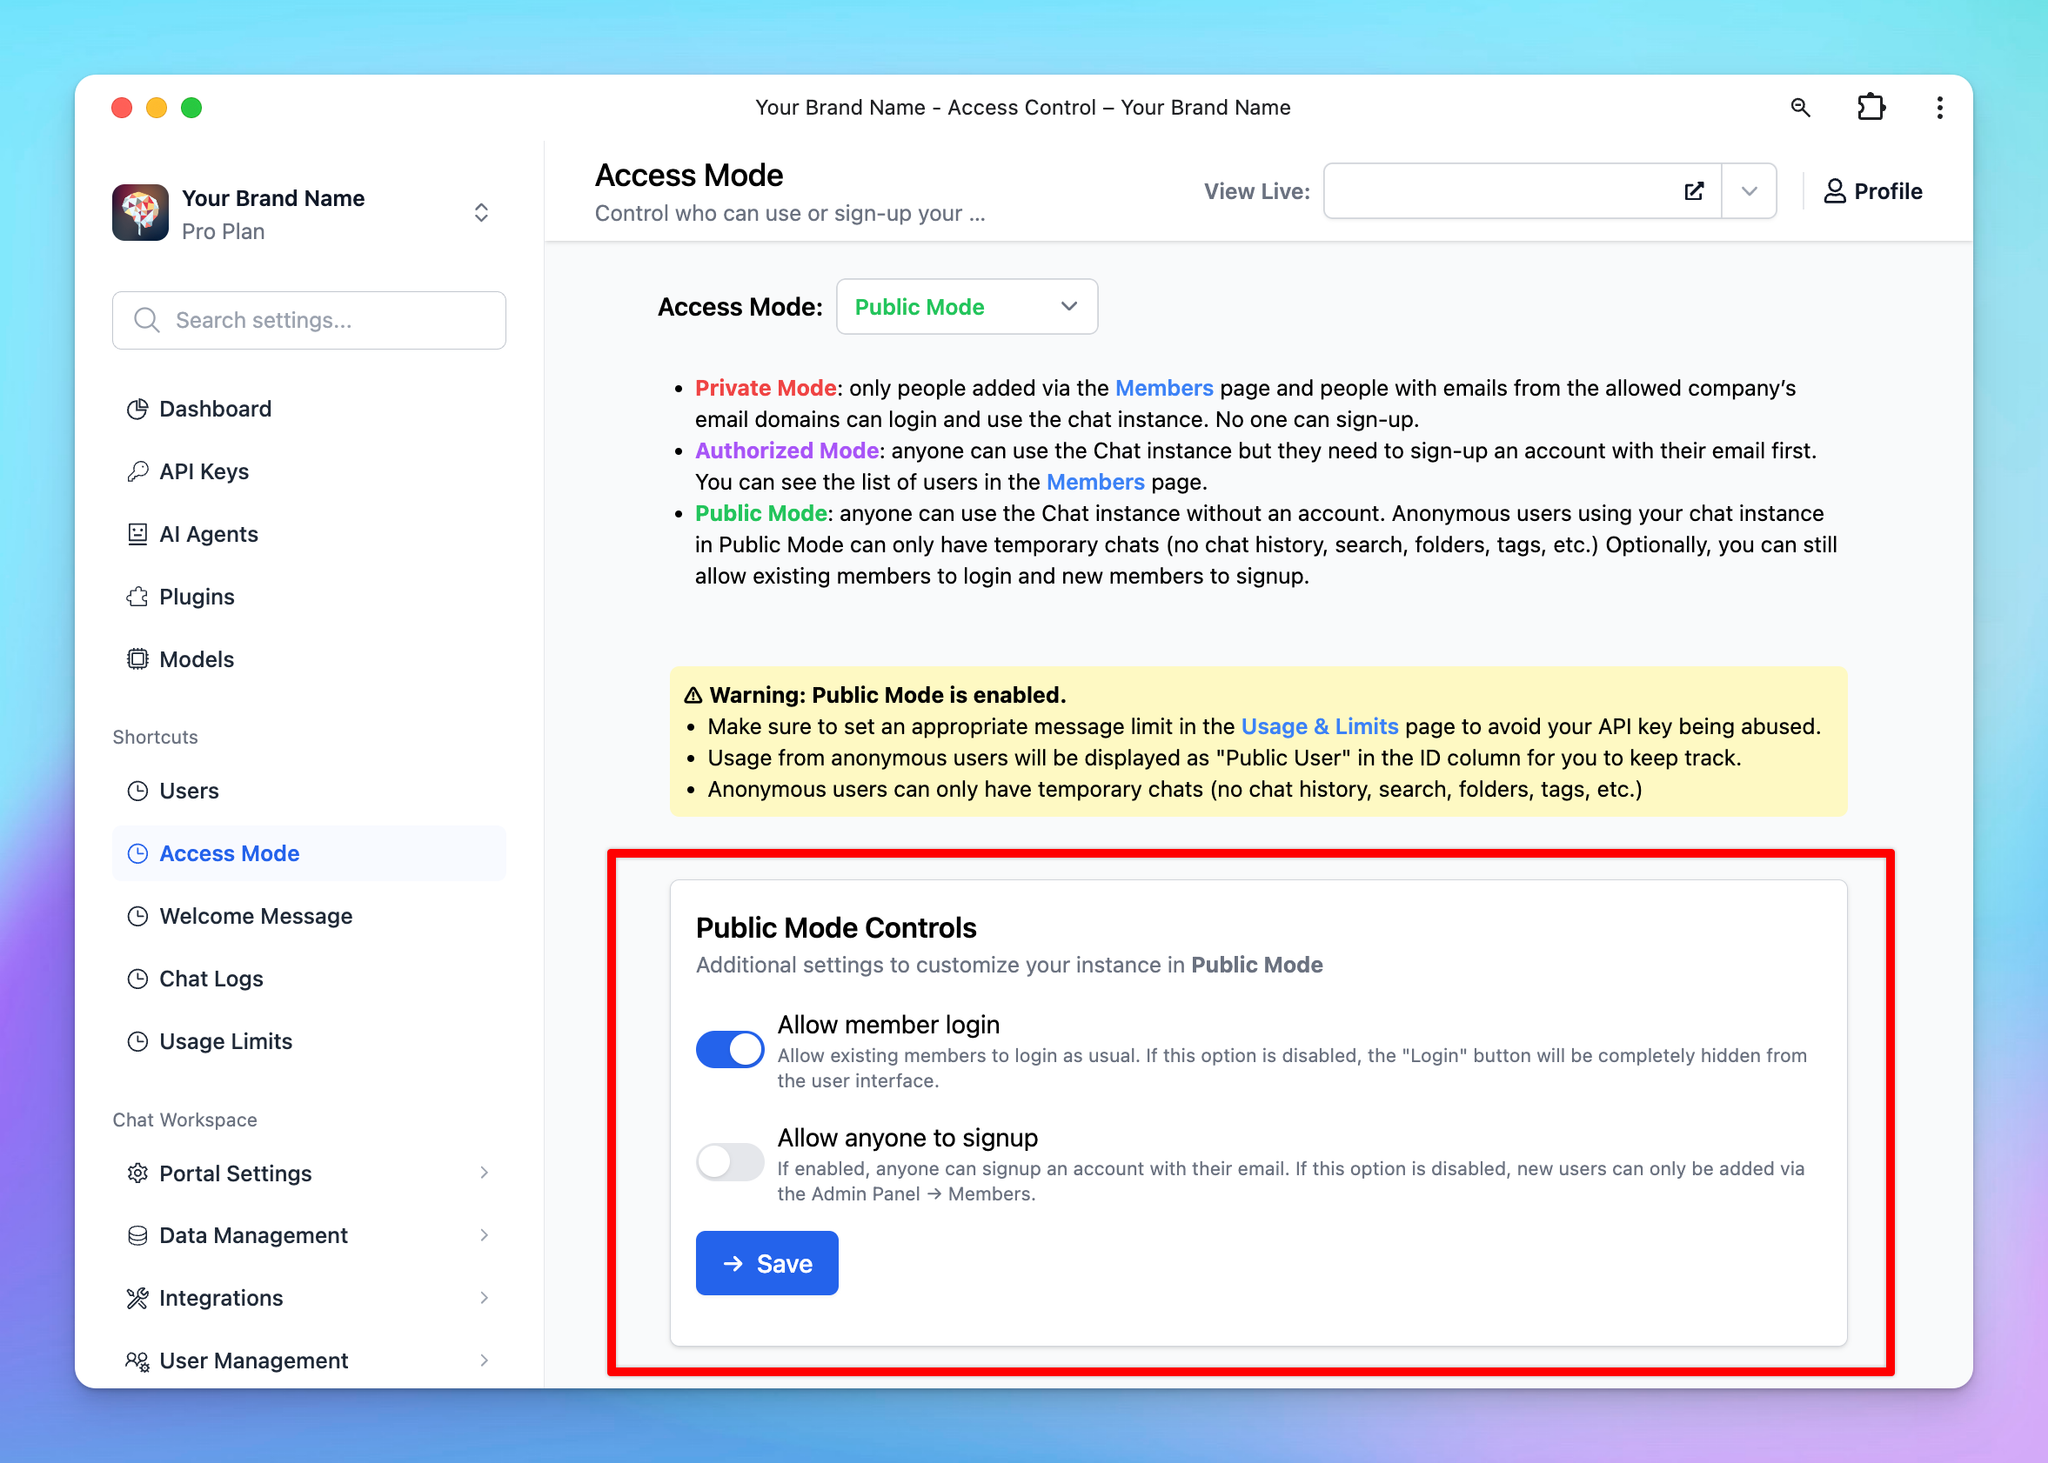
Step 2: Control your Public instance
This step allows you to open a Login or Sign-up option for your users in Public Mode.
In the Access Control settings, scroll down to Public Mode Controls section, there will be two log-in options available:
- Allow Member Login: when you enable this option, only invited members are allowed to use the "Log-in" option of your chat instance.
- Allow Anyone to Signup: when you enable this option, anyone can sign up to your chatbot without the need for your invitation, they just need to provide their email and verify their credentials.
Step 3: Restrict access to models and resources for Public and logged-in users
At this step, you can create different user groups, grant different levels of access to:
- Plugin (soon)
Based on different purposes, you can grant log-in members and public users access to different resources.
For example, you can set up your chatbot in such a way that:
- “Public User” can be added to the Public group or Guest use group, limiting their access to only the GPT-3.5 model.


- For signed-in users or invited members, adding them into Advanced group to provide access to more personalized or advanced AI Agents as below.
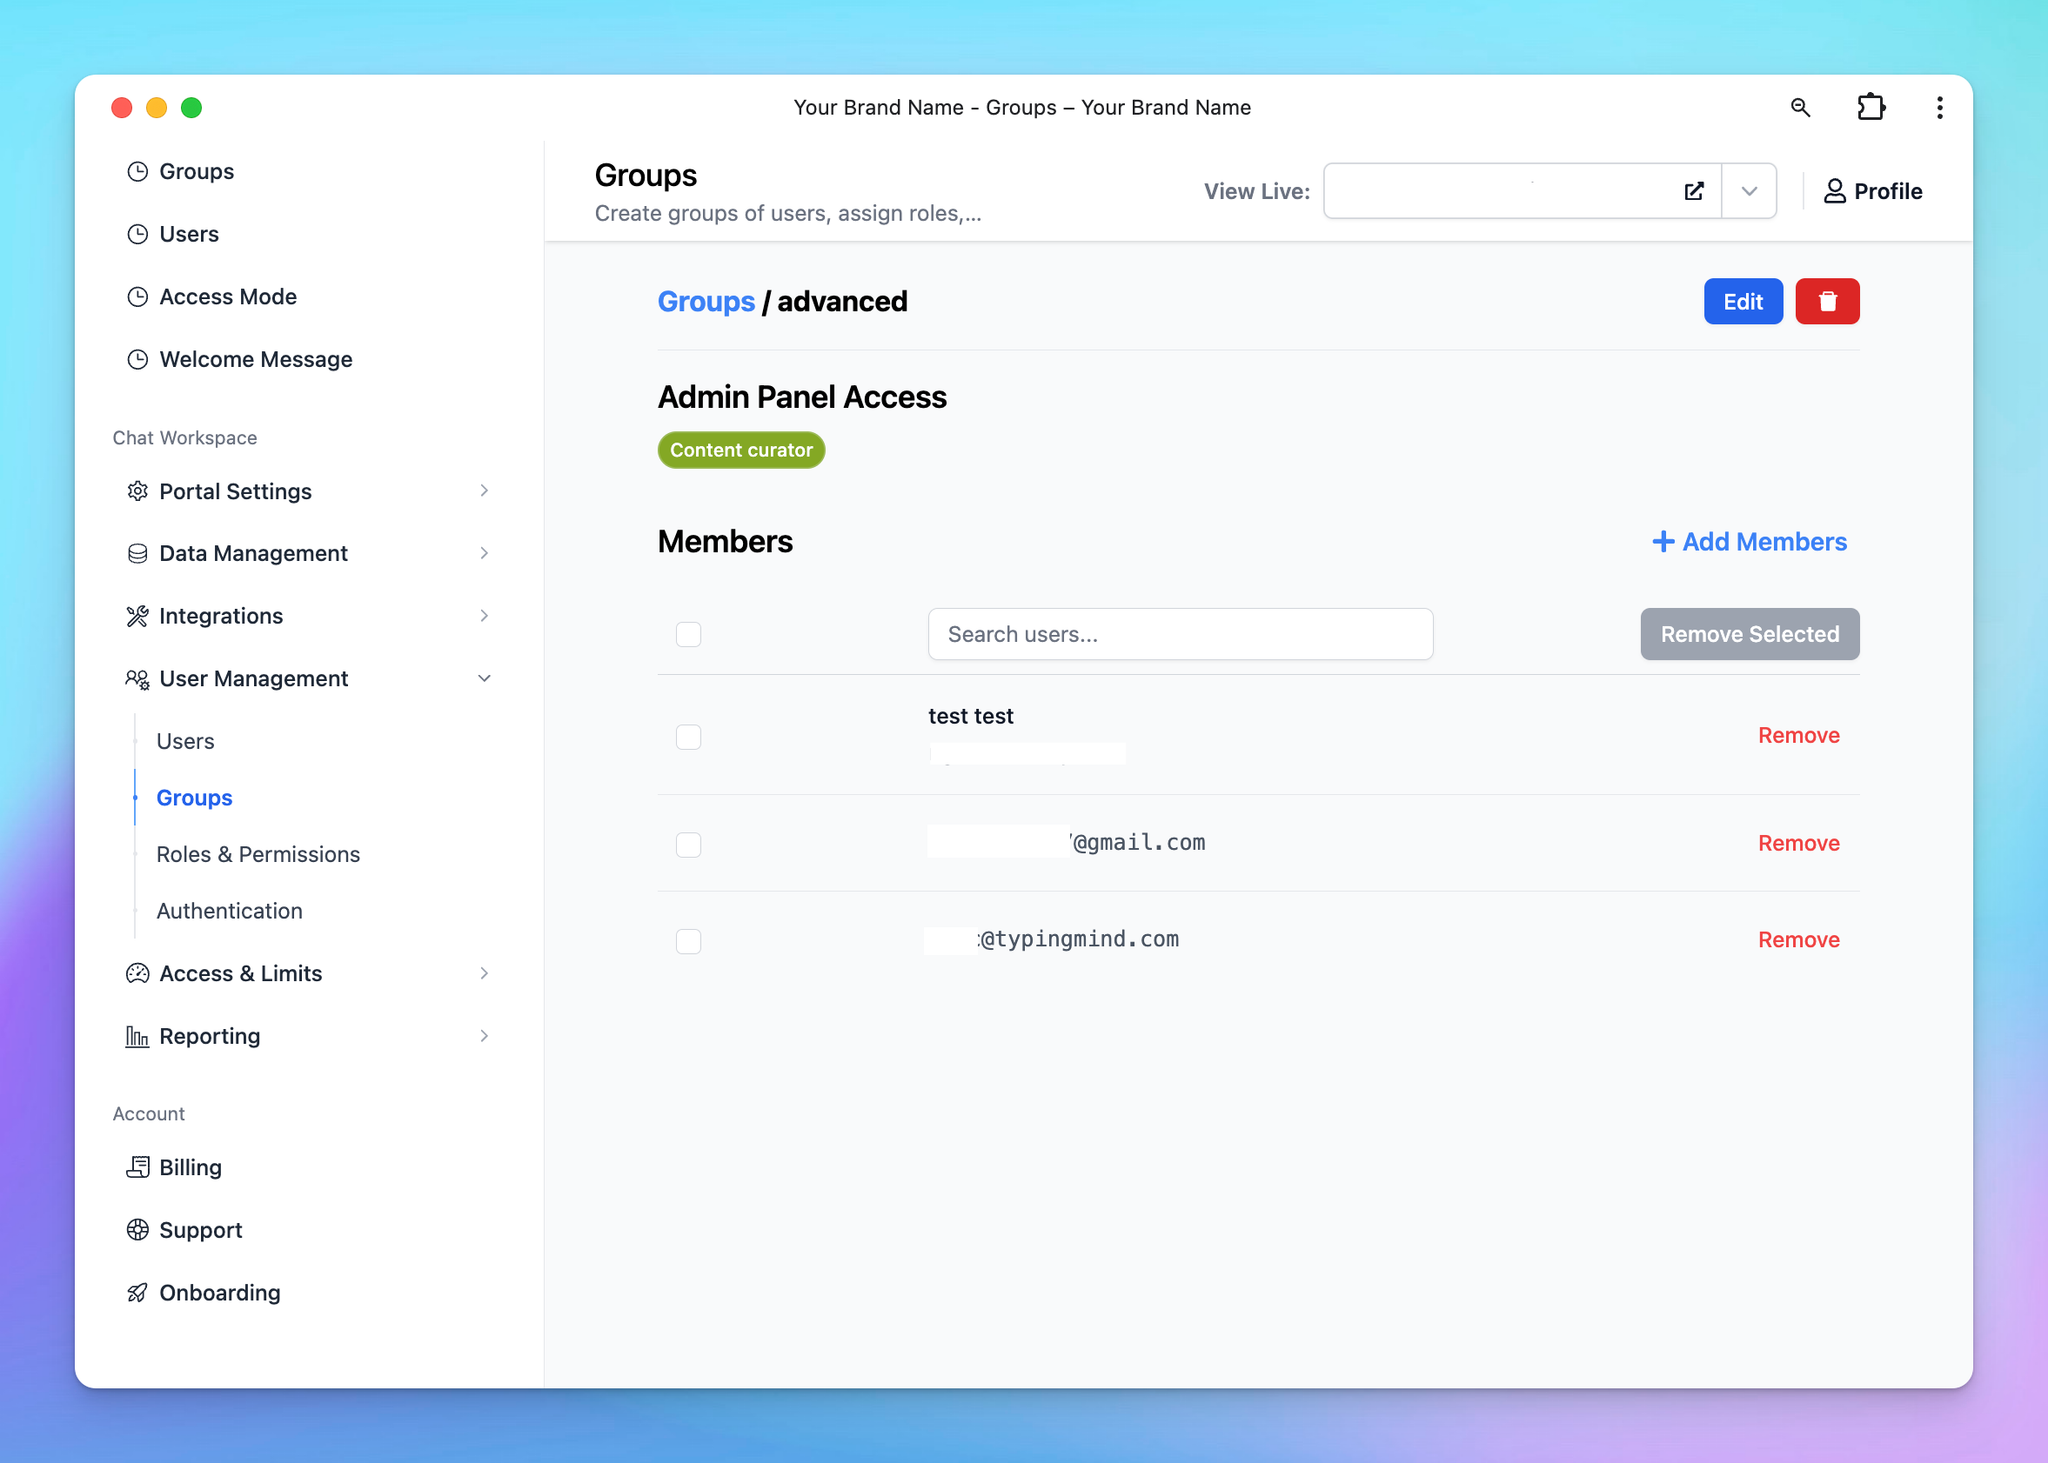
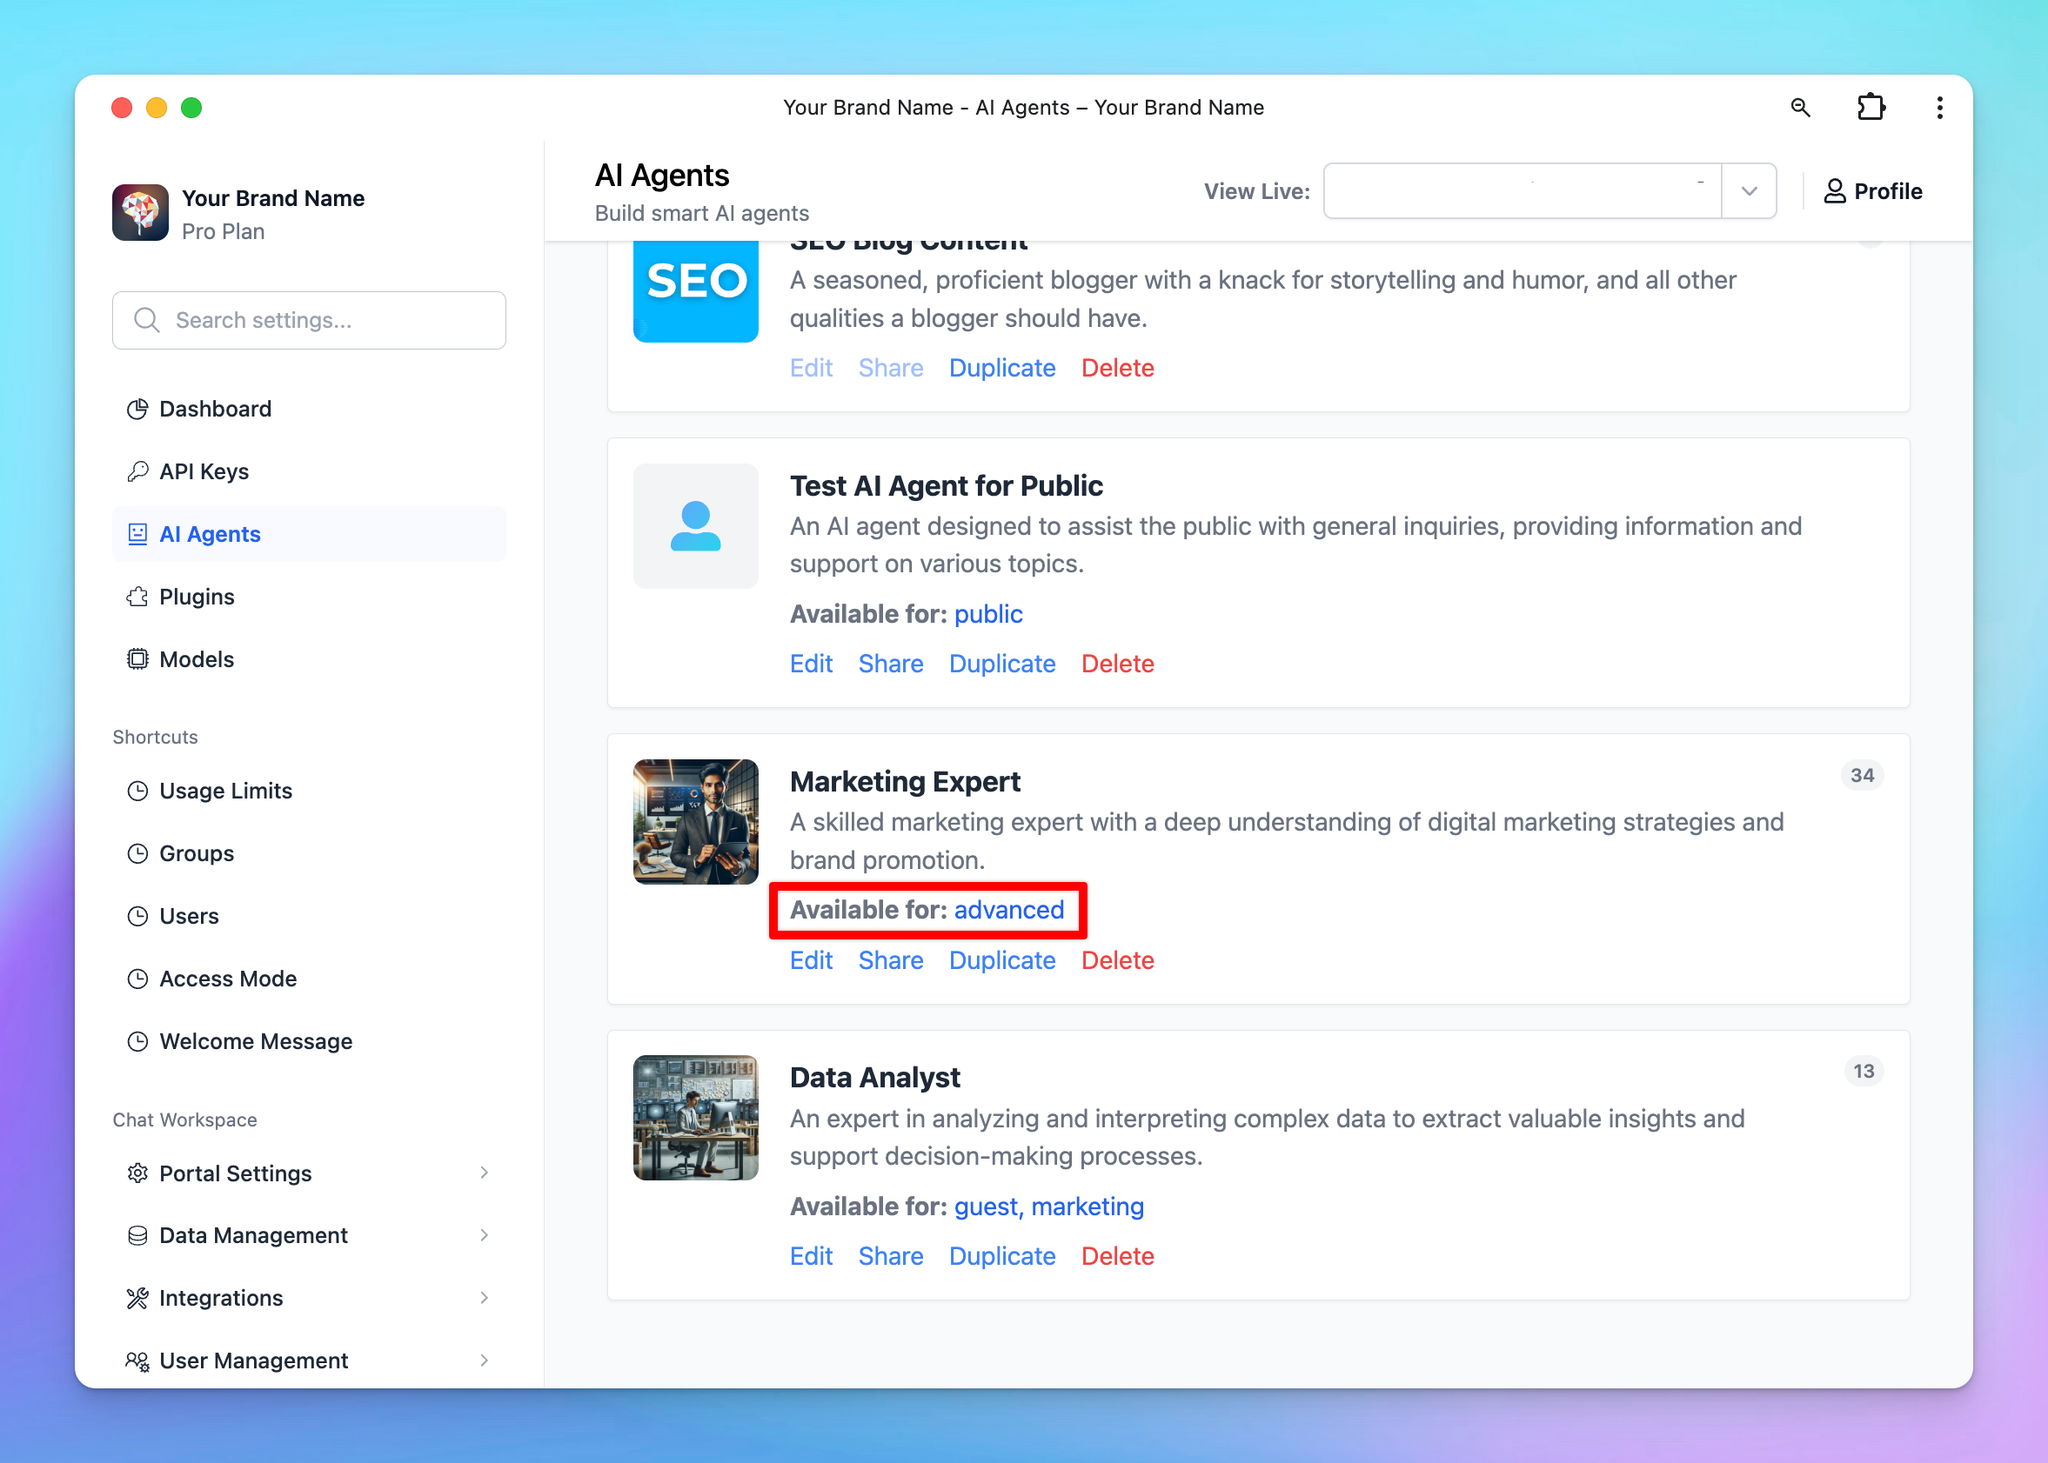
By creating these user groups, you can easily control the user experience and resource availability for different types of user groups.
Use cases
In general, the Semi-public option provides you with the ability to set up different user tiers for your chatbot. Below is some common use cases:
Implement a Customer Support Chatbot along with your Team Chatbot
Allow interactions for:
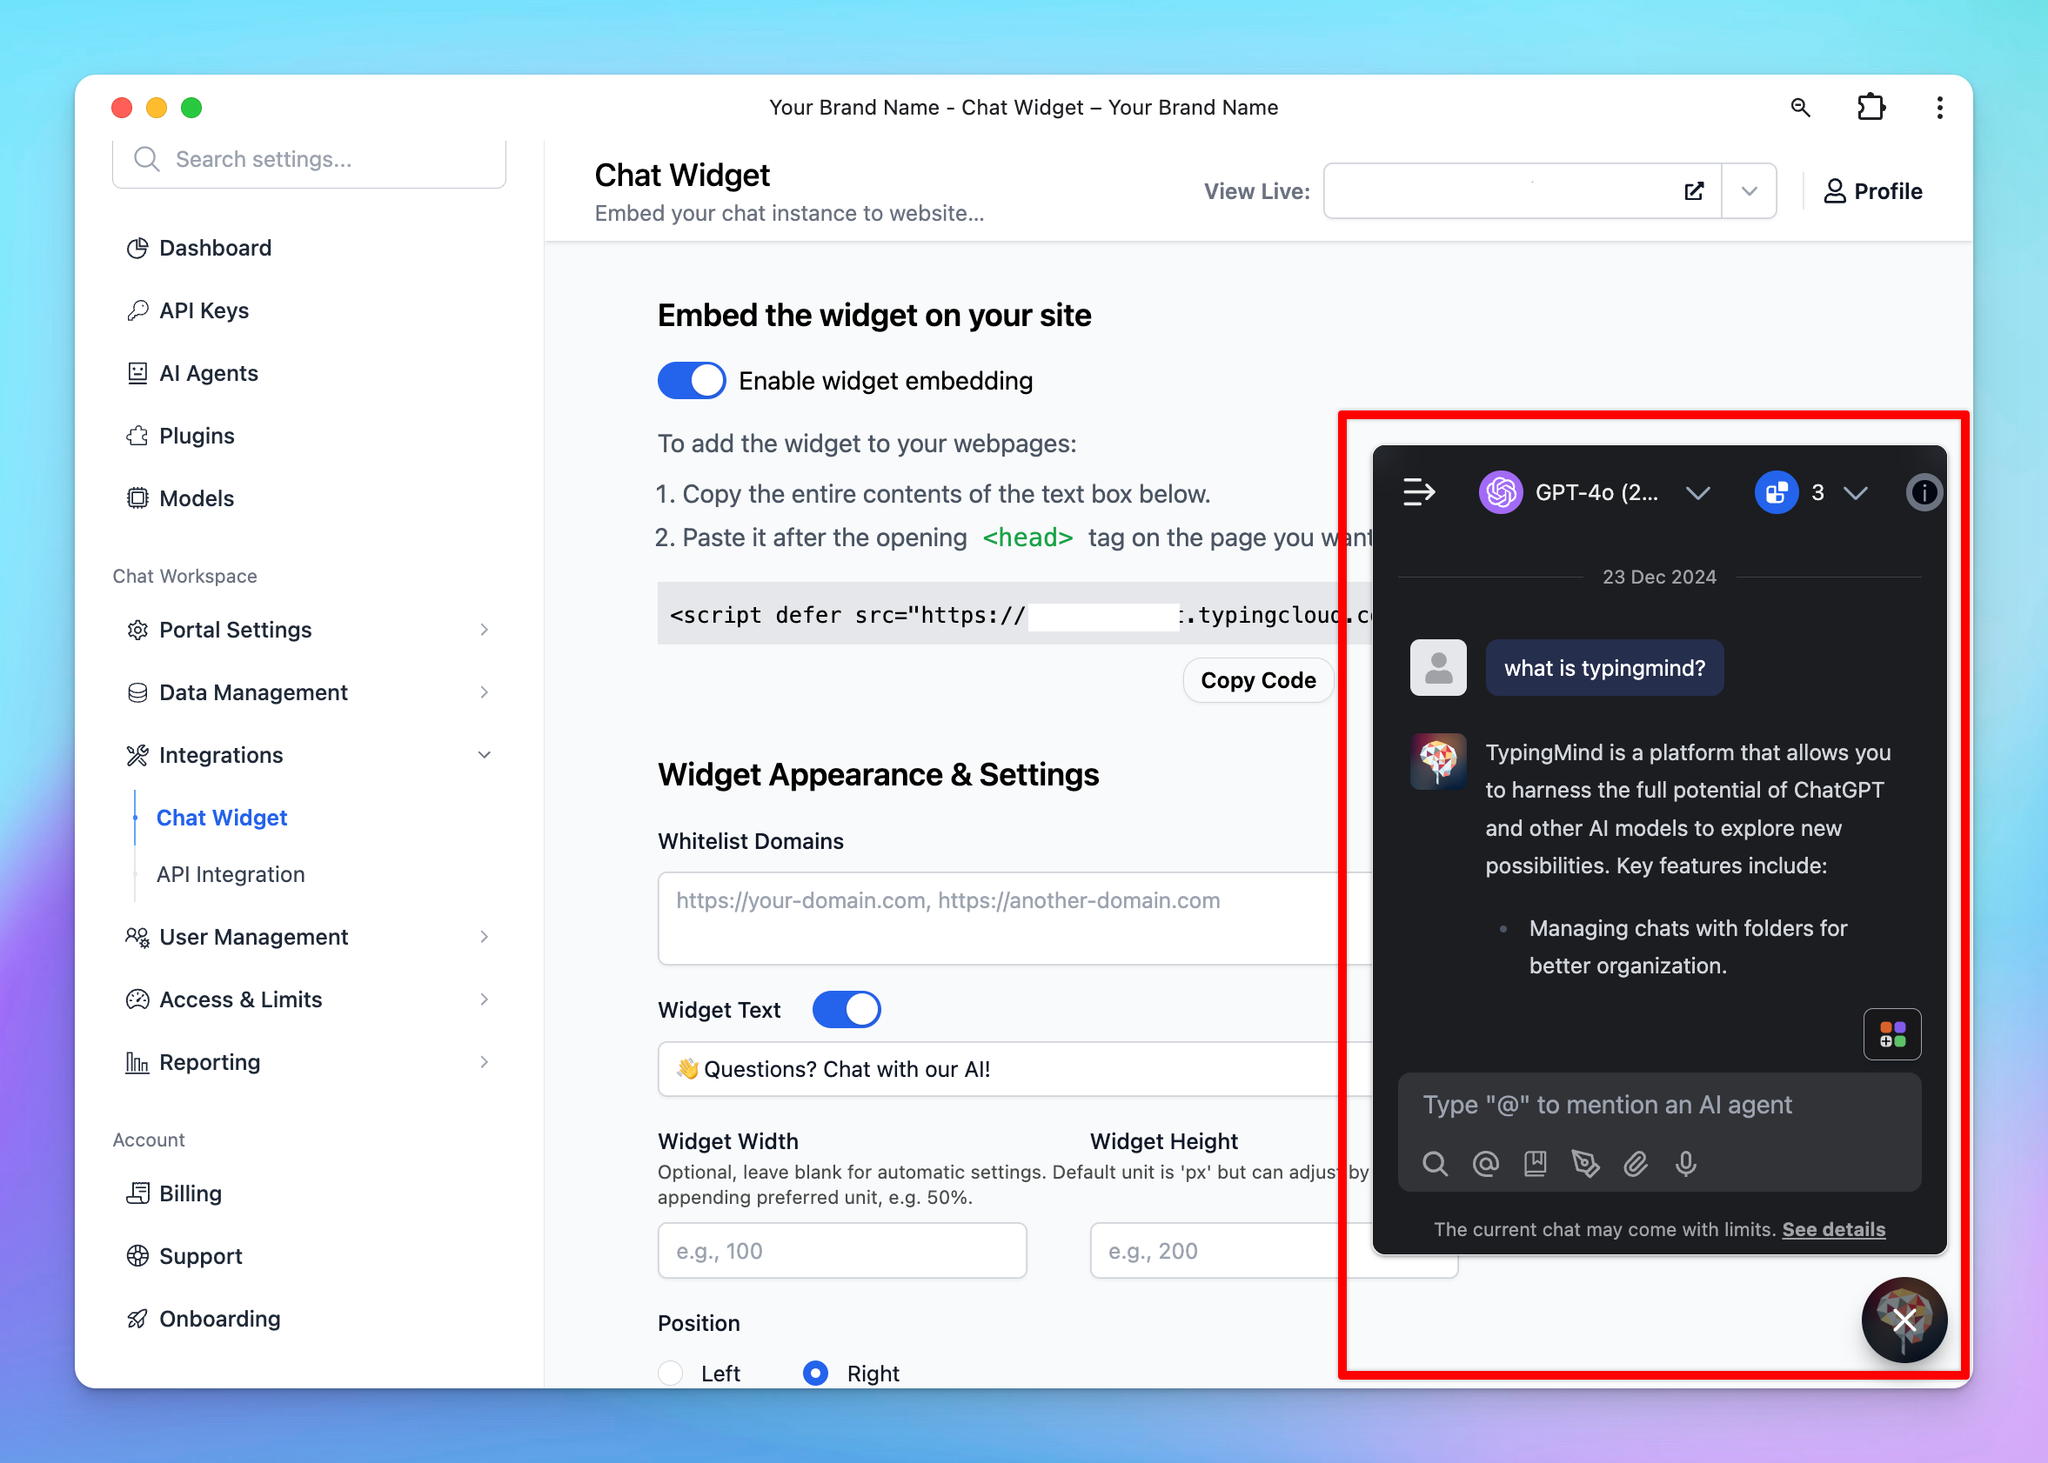
- Your customers: they can use your chatbot as a widget on your website to get immediate responses to their inquiries.
- Your team members: they can log into the chatbot and make use of built-in resources that you have created for your team.
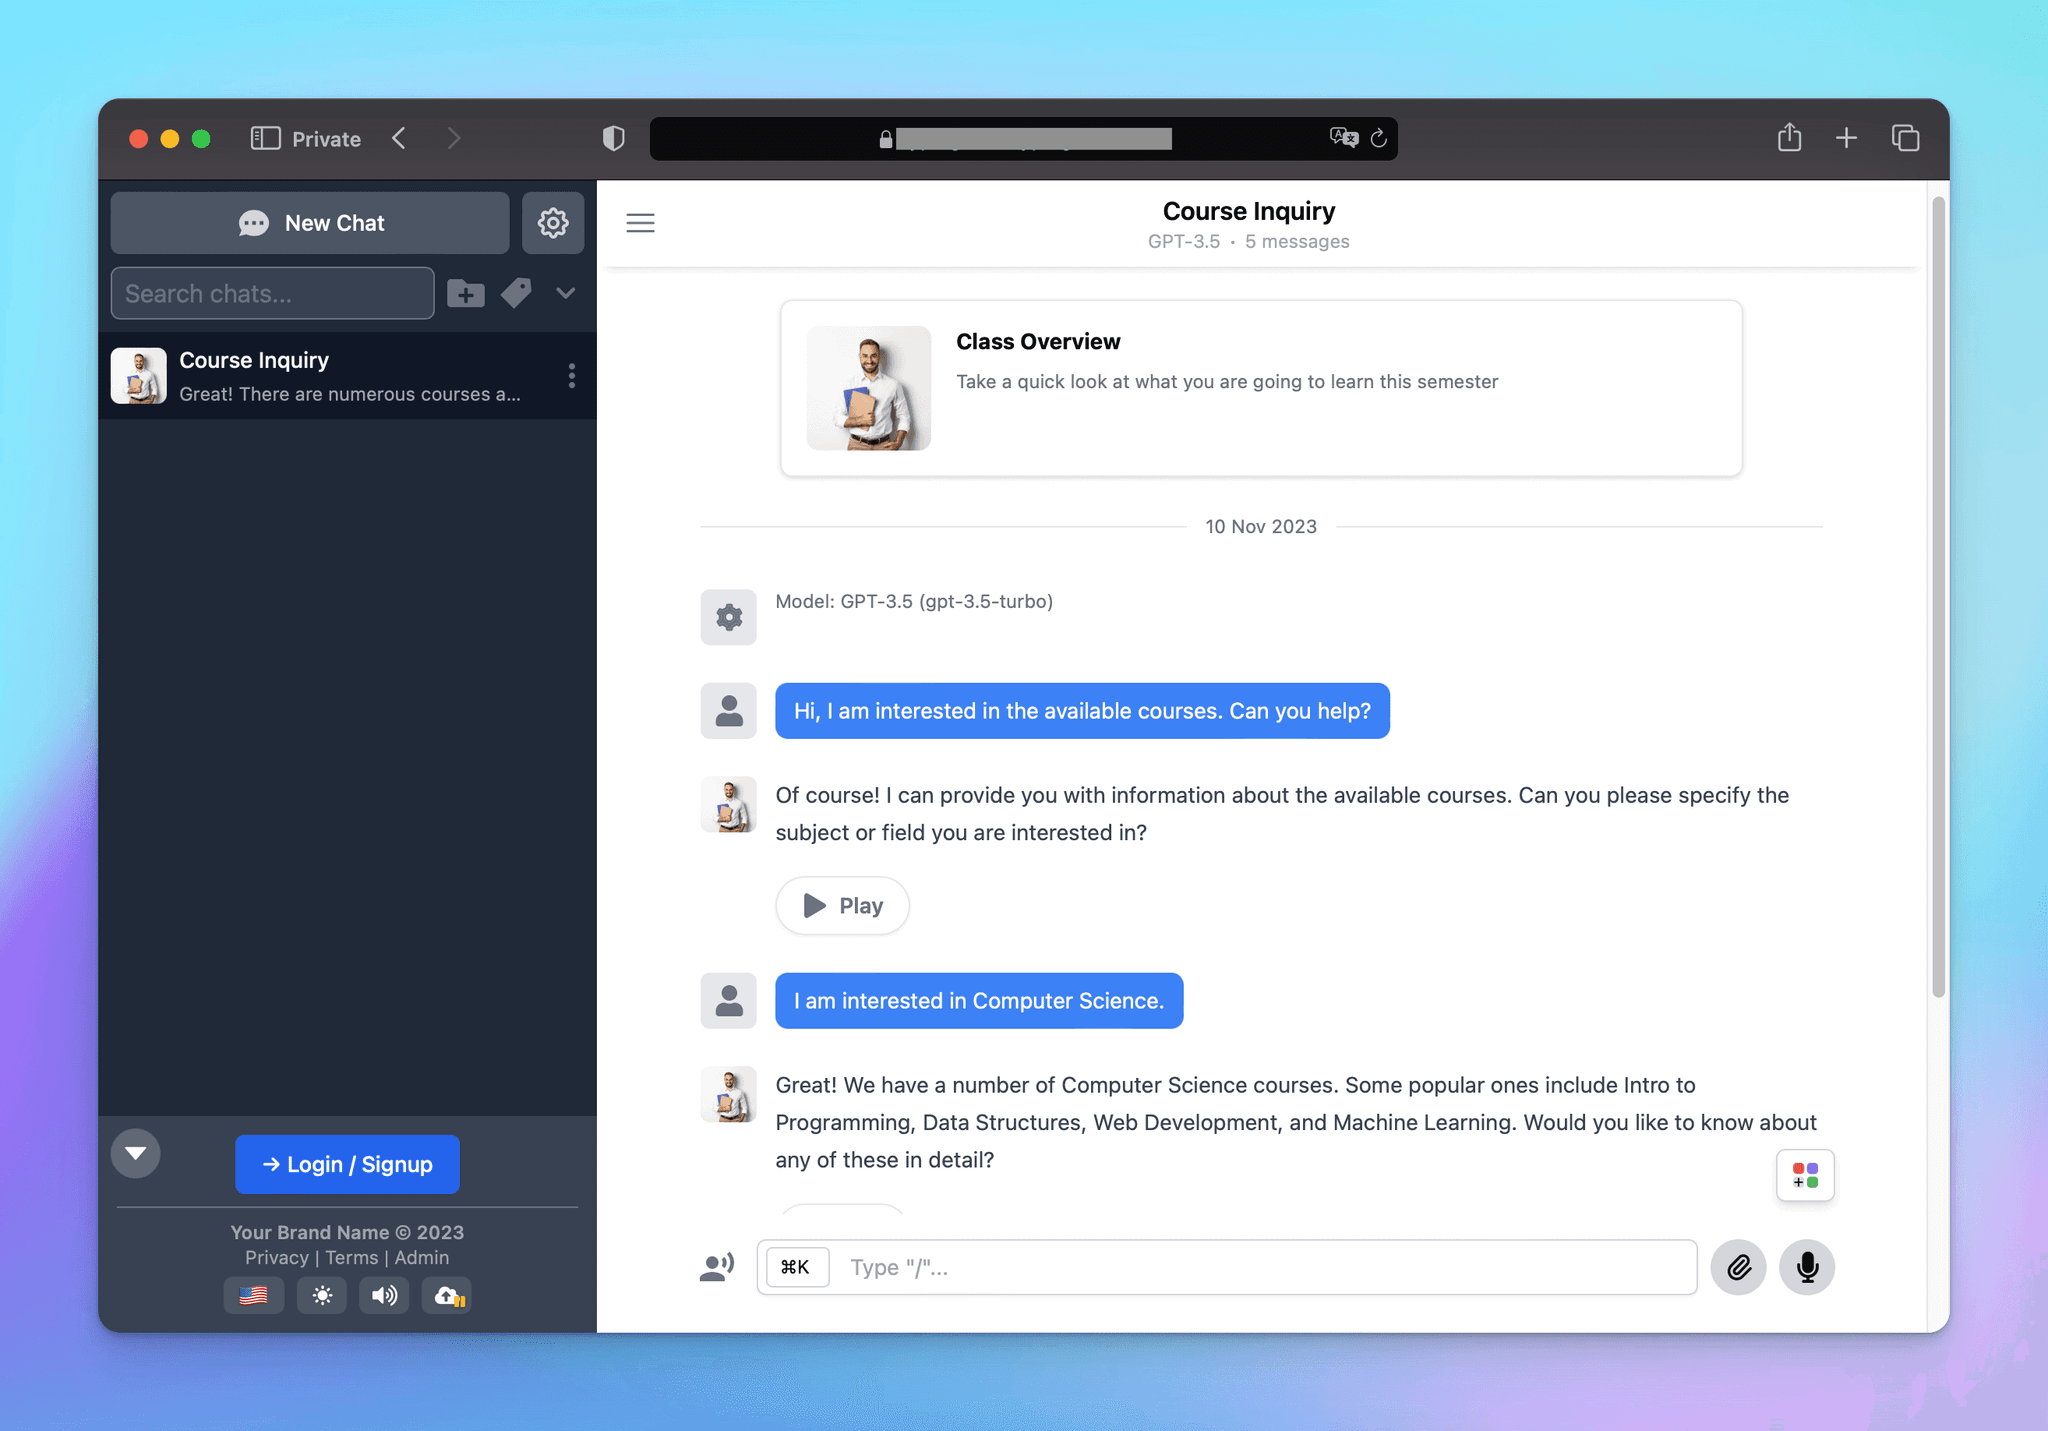
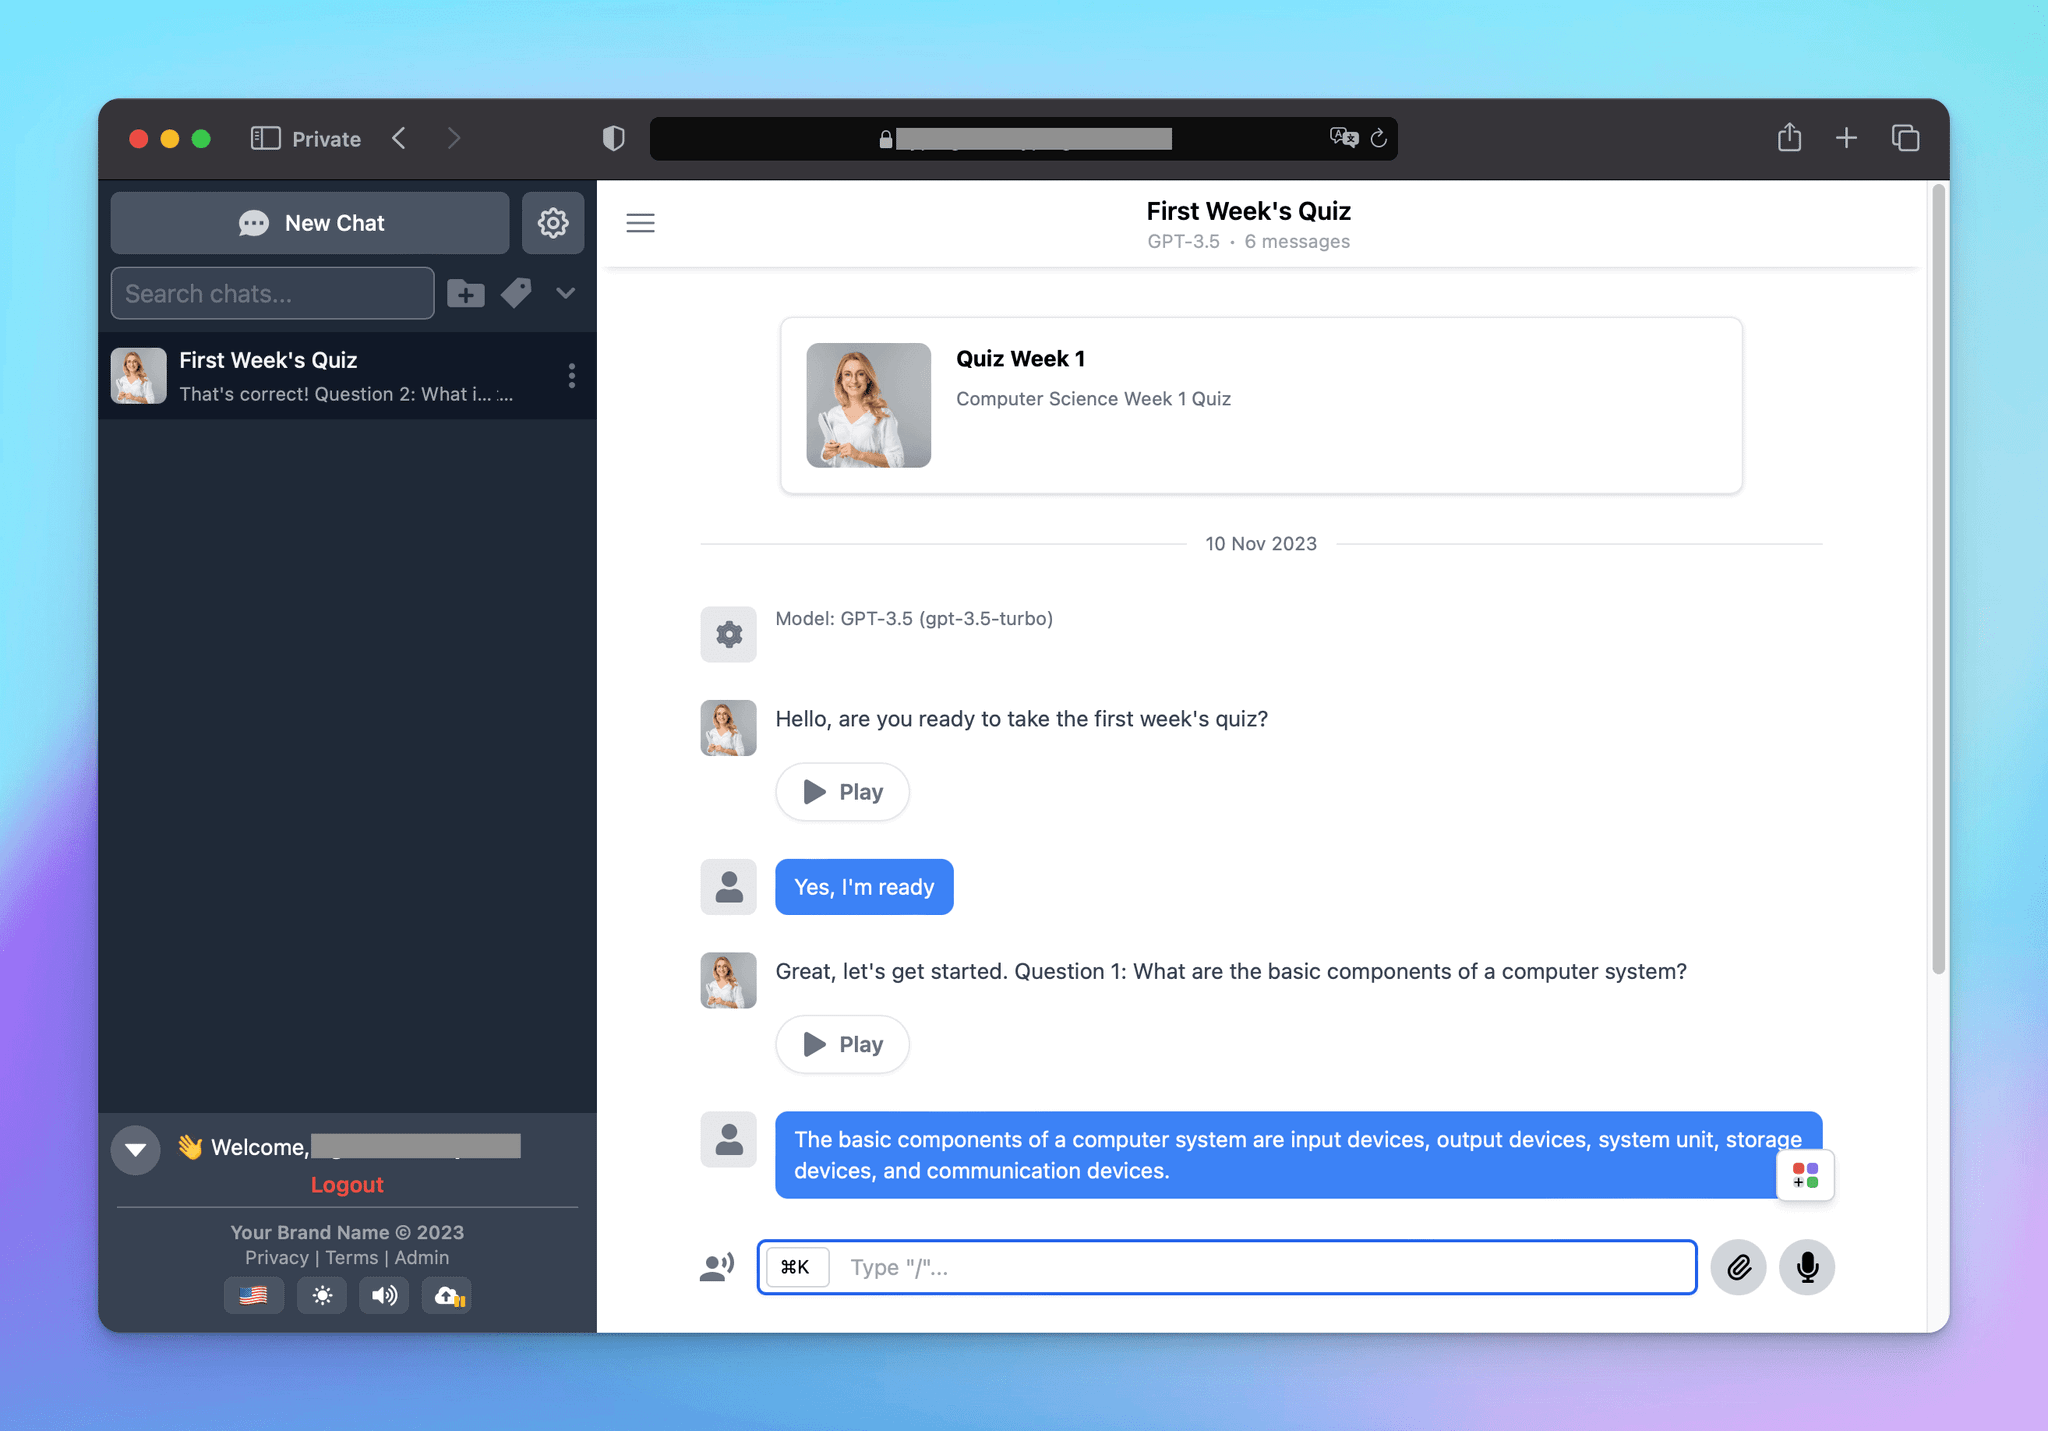
Education Applications
When it comes to education:
- Parents and students interacting with the chatbot in public mode could pull up general information – course offerings, faculty details, admission guidelines, campus events, etc.
- For registered students who log in, there could be personalized, course-specific bots that provide them with homework deadlines, assignments, resources for study, reminders for due dates, or even AI tutoring for difficult topics.
Some Important Notes
- Once you enable Public Mode, the “Public user” will be automatically added to your Member list and counted as one seat - for unlimited access.