
This guide will help you set up the Make MCP server, enabling your AI assistant in TypingMind to connect with Make to connect with thousands apps and run automation workflows.
What is Make MCP?
Make MCP (Model Context Protocol) server acts as a bridge between TypingMind and Make.com.
With it, TypingMind can:
- Run your Make scenarios as tools
- Trigger actions across thousands apps (Slack, Gmail, Notion, Google Sheets, CRMs, etc.)
- Automate real workflows directly from chat
Step-by-step to install Make.com on TypingMind
Step 1: Set up MCP Connectors
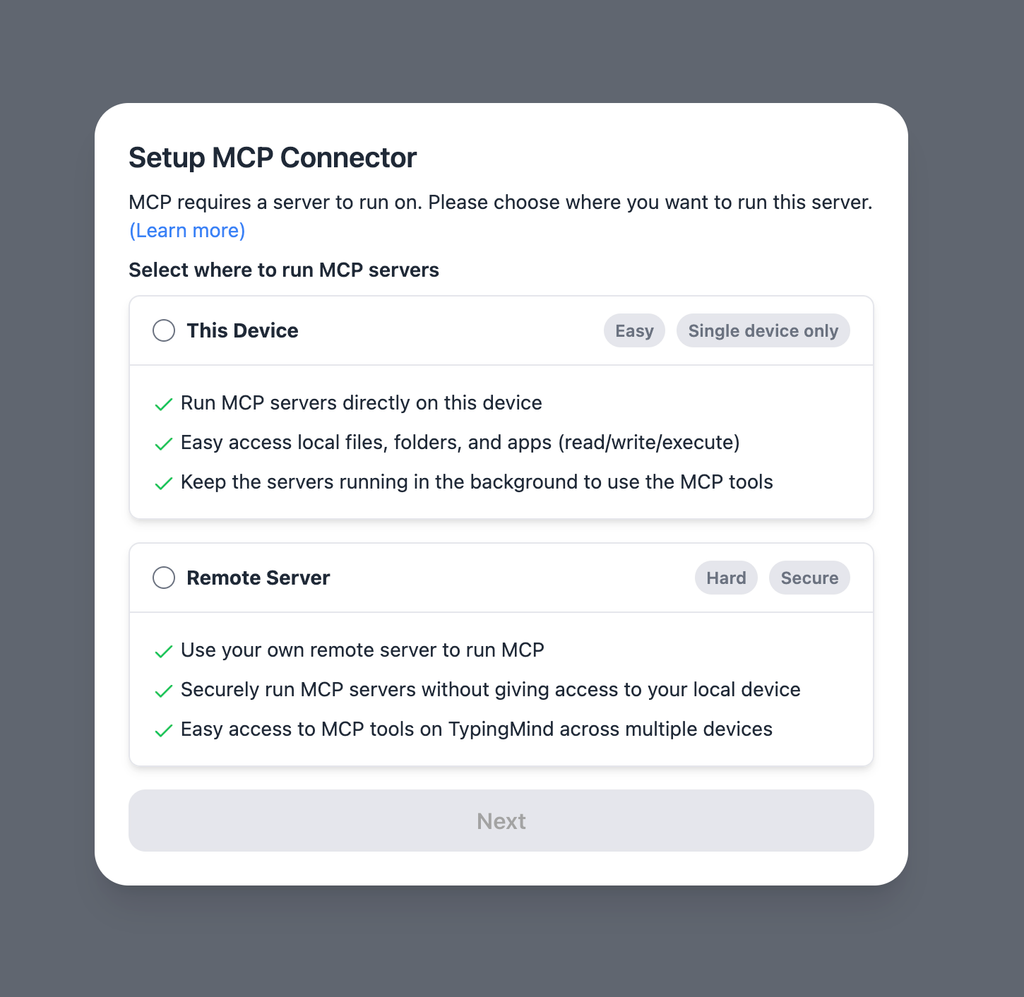
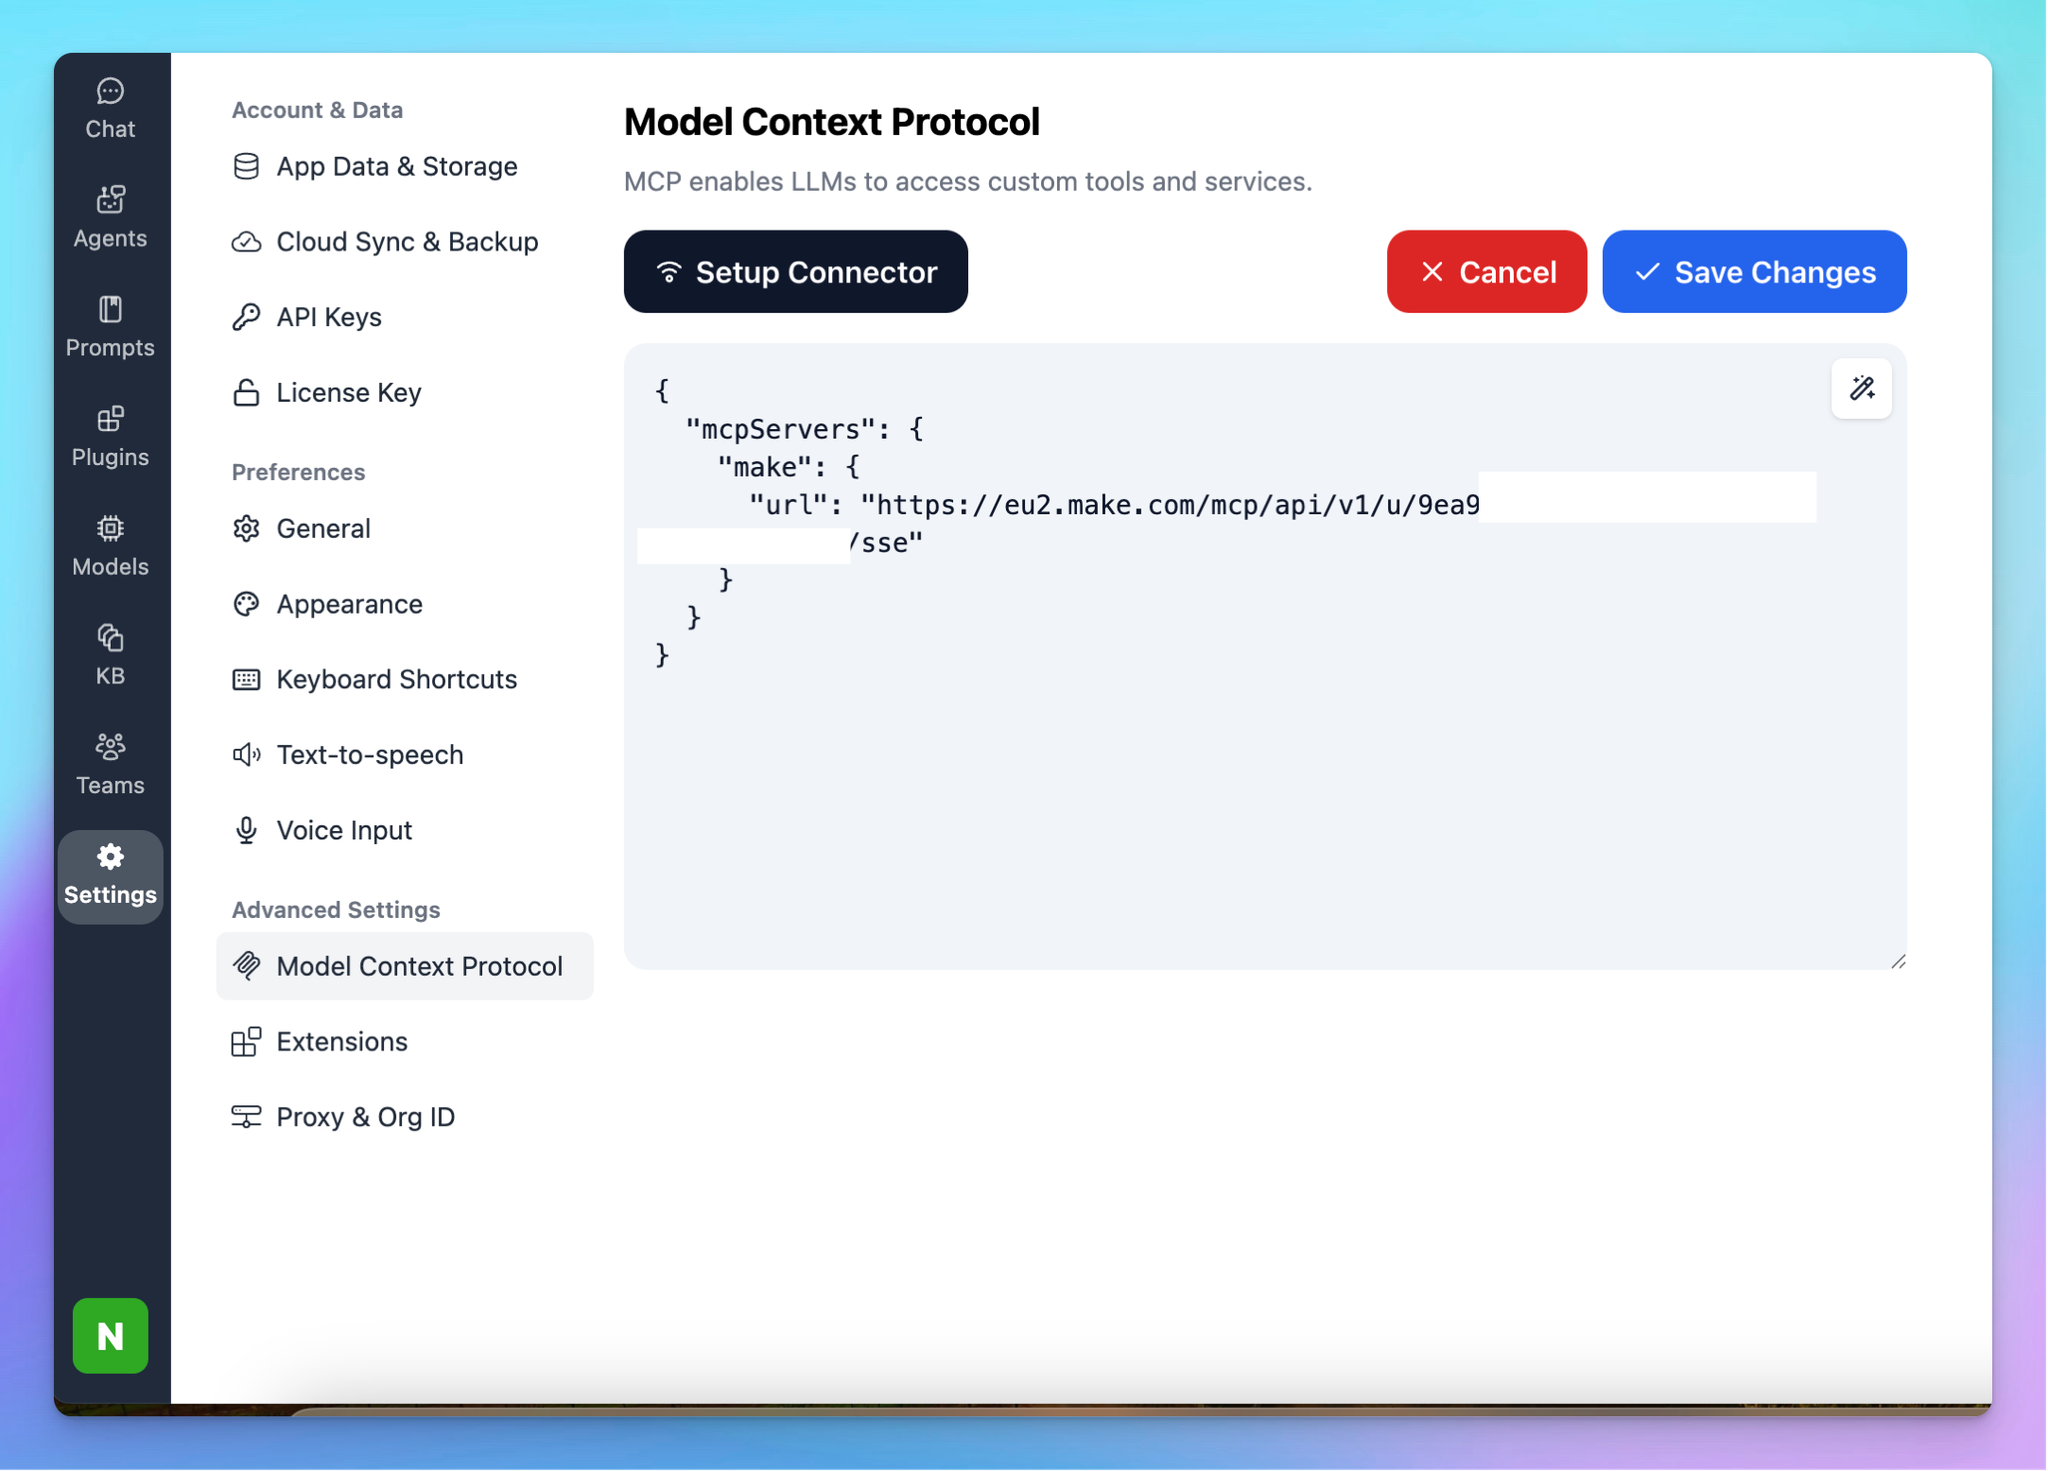
In TypingMind, go to Settings → Advanced Settings → Model Context Protocol to start setup your MCP connector. The MCP Connector acts as the bridge between TypingMind and the MCP servers.
MCP servers require a server to run on. TypingMind allows you to connect to the MCP servers via:
- Your own local device
- Or a private remote server.
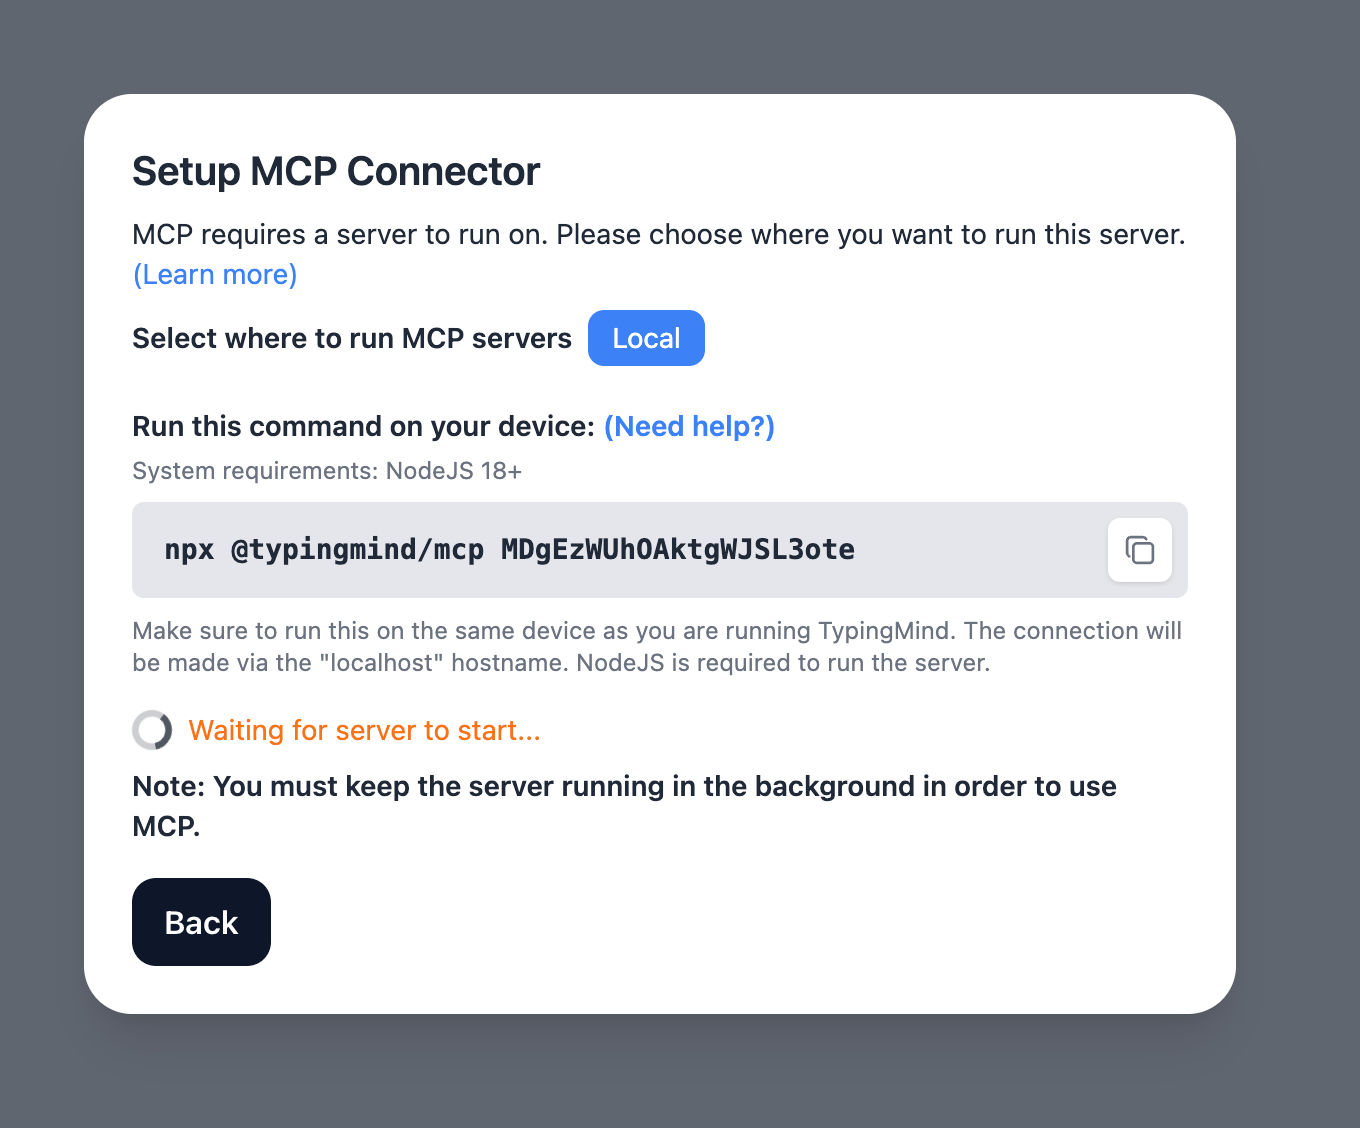
If you choose to run the MCP servers on your device, run the command displayed on the screen.
Detail setup can be found at https://docs.typingmind.com/model-context-protocol-in-typingmind
Step 2: Obtain Make MCP Token
An MCP token is a unique URL that allows external AI systems to access your tools in Make.
To obtain an MCP token:
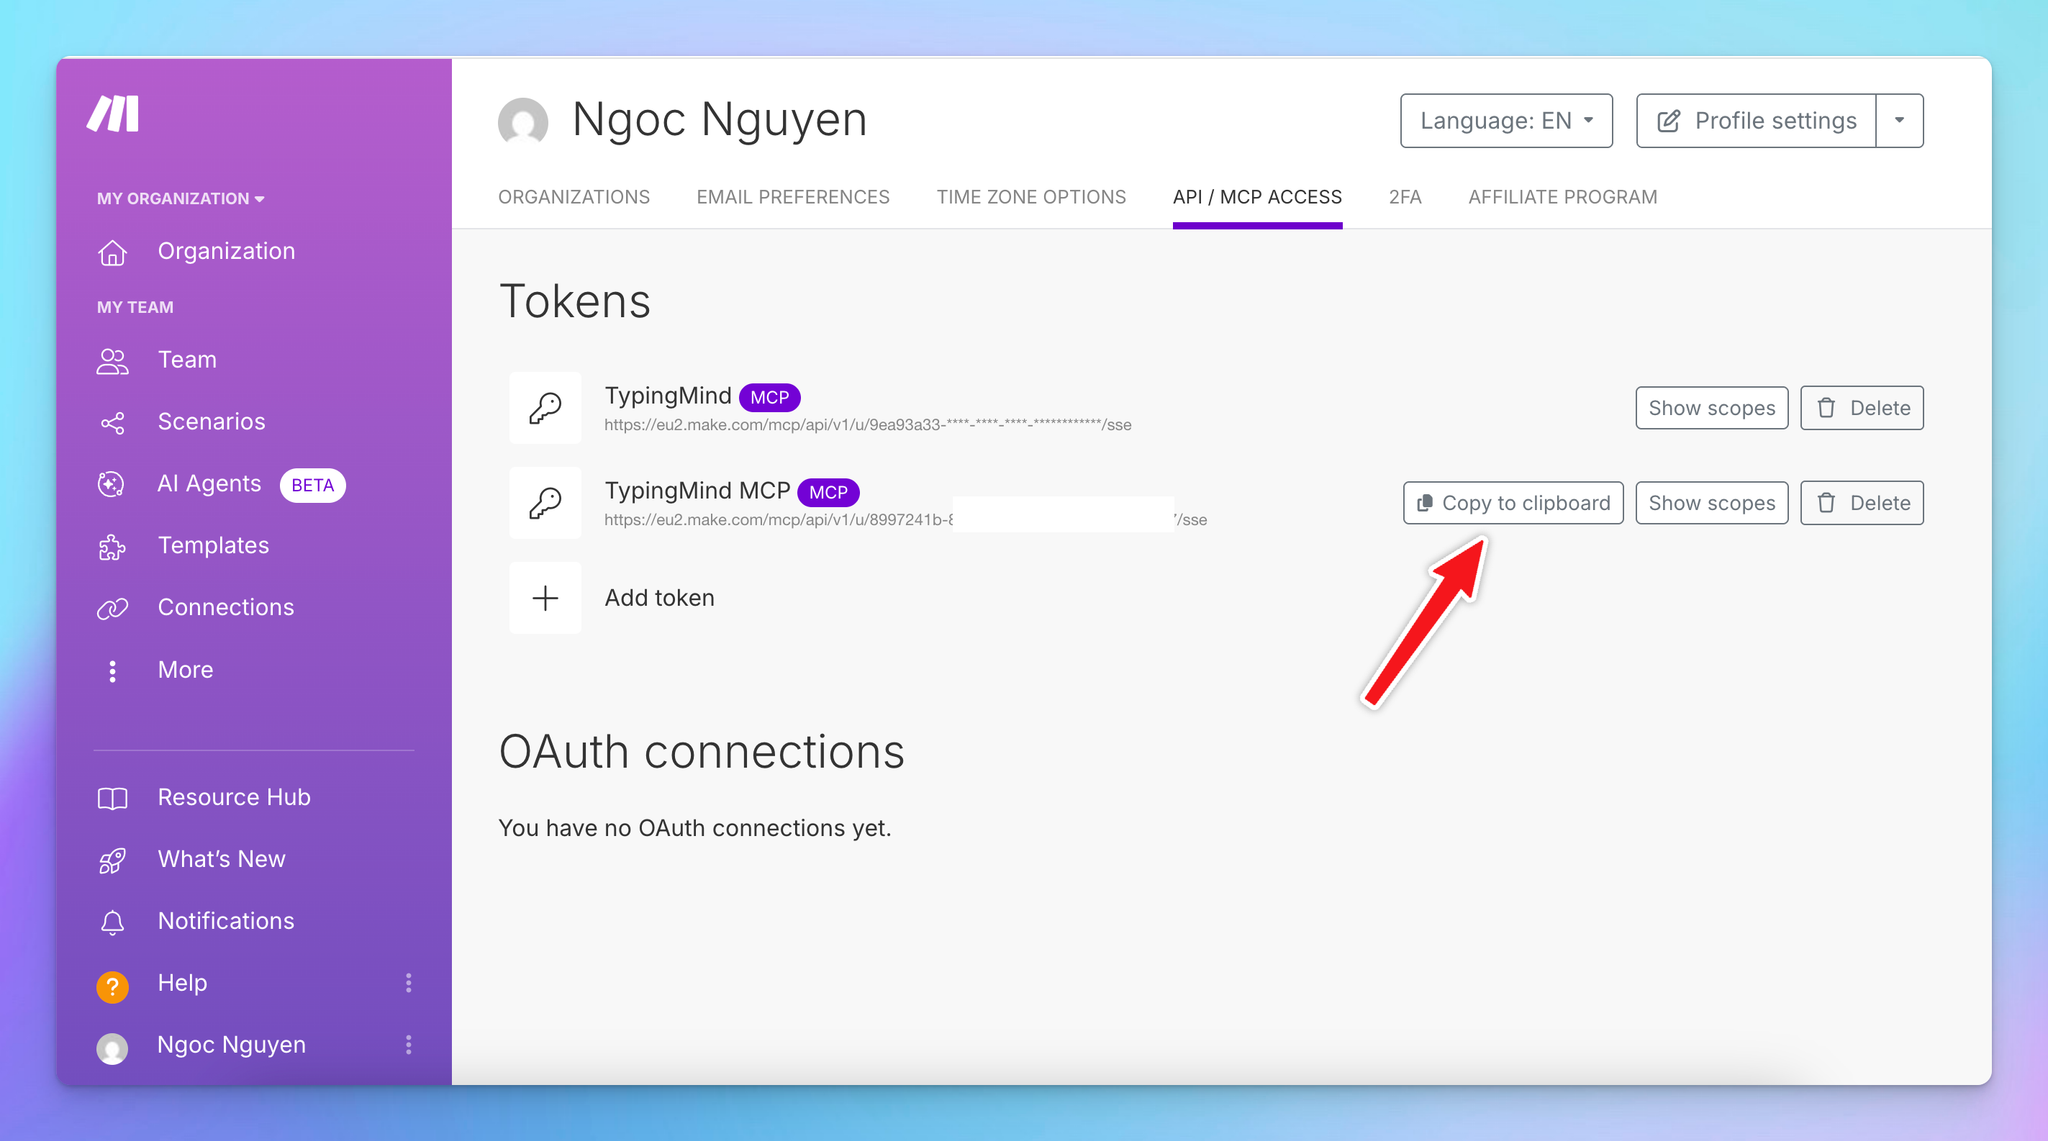
- In the left sidebar of your Make account, click your name.
- Click Profile.
- Navigate to the API / MCP access tab.
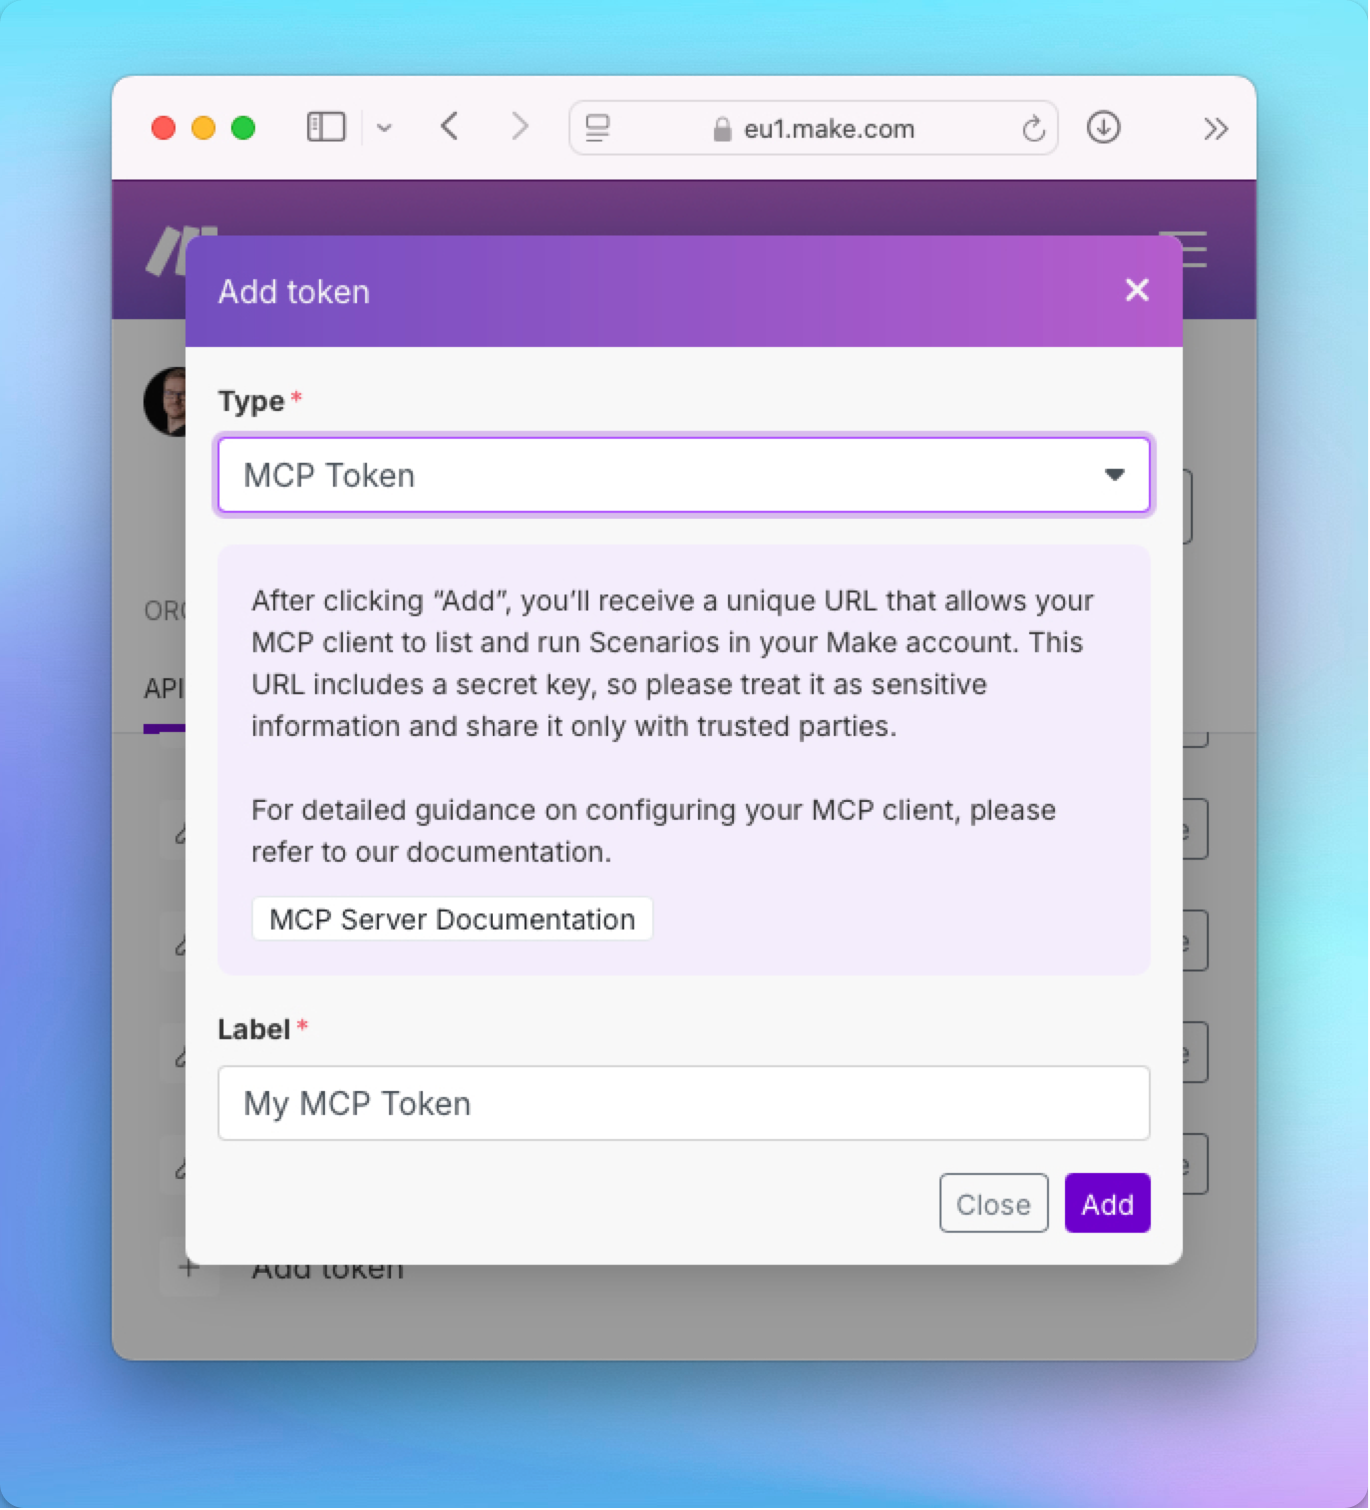
- Click Add token.

- In Type, select MCP Token.
- In Label, name your MCP token.
- Click Add.
- Copy the token to a safe place to use later on TypingMind, example token format:
https://eu2.make.com/mcp/api/v1/u/8*******/sse
⚠️ Treat this URL like a password. It gives TypingMind access to your configured scenarios.
Step 3: Add the Make MCP Server to TypingMind
- Click on Edit Servers to add MCP server
- Add the following JSON to configure the Make MCP server:
json{
  "mcpServers": {
    "make": {
      "url": "https://<MAKE_ZONE>/mcp/api/v1/u/<MCP_TOKEN>/sse"
    }
  }
}
With the URL is your copied Make MCP token in step 2.
Step 3: Enable make via Plugin section
After the MCP servers are added successfully, it will show up in your Plugins page to be used like plugin. You can use the MCP tools directly or assign them to AI agent like other plugins.
- Go to the Plugins section in TypingMind.
- You should see a new plugin called "make".
- Enable the plugin
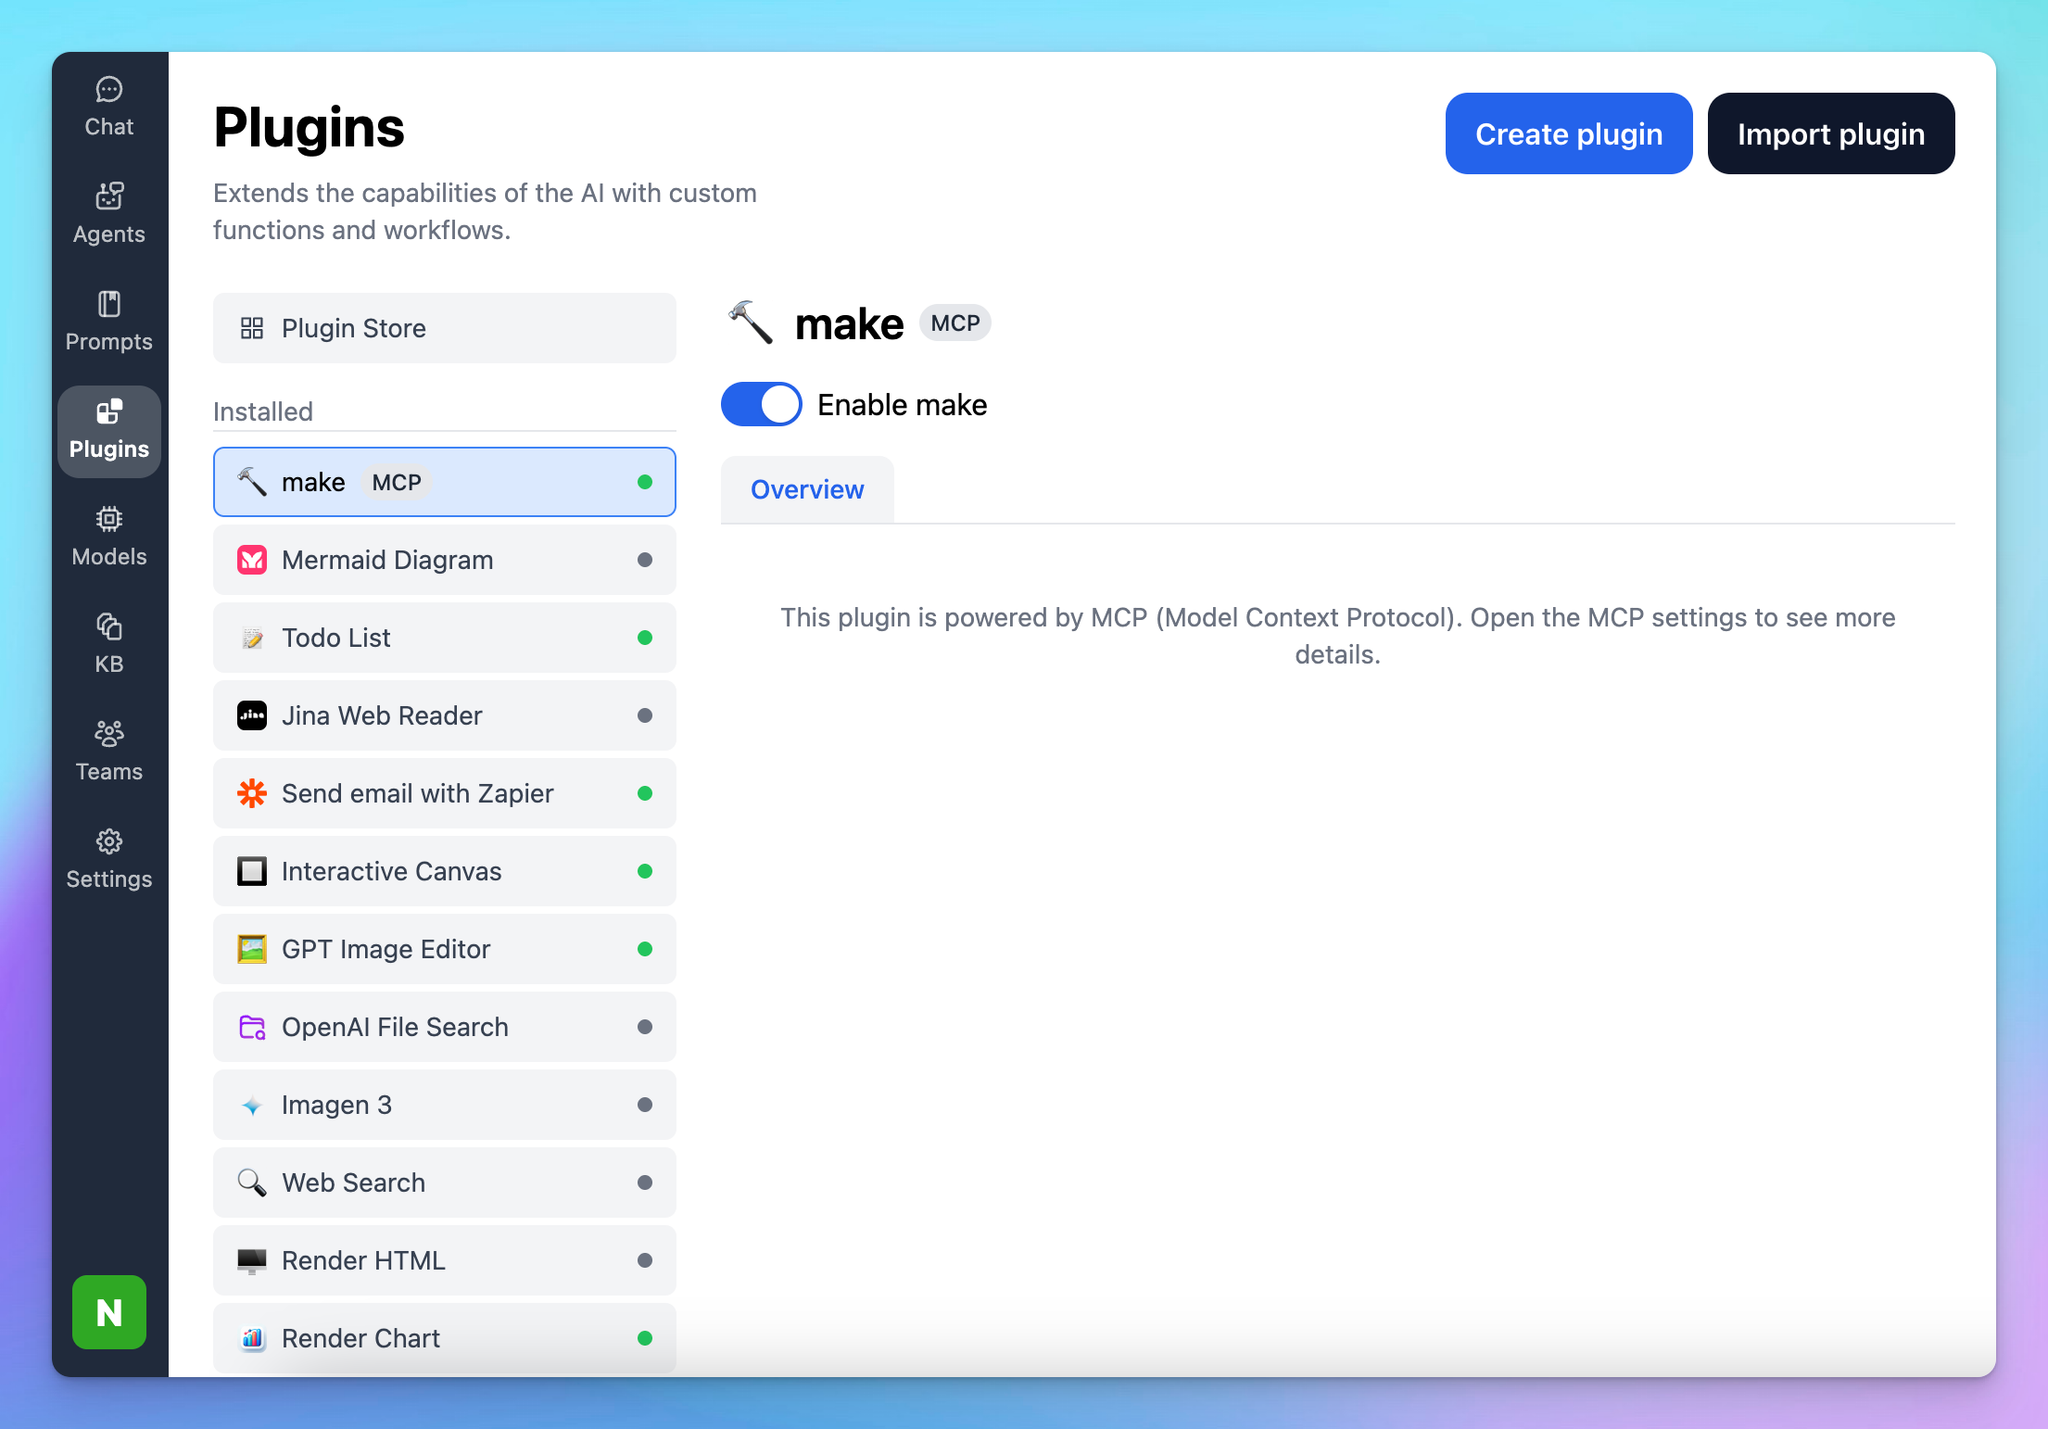
This allows you to run current scenarios available on Make directly on TypingMind easily.
Step 4: Start chatting
You’re all set! Now you can access all Make scenarios and trigger automations via TypingMind!