> ## Documentation Index
> Fetch the complete documentation index at: https://docs.typingmind.com/llms.txt
> Use this file to discover all available pages before exploring further.
# Minimax
Learn how to set up MiniMax models on TypingMind.
## Step 1: Create a MiniMax API account
Go to [https://platform.minimax.io/login](https://platform.minimax.io/login) and create a new MiniMax API account.
 ## Step 2: Set up MiniMax API account
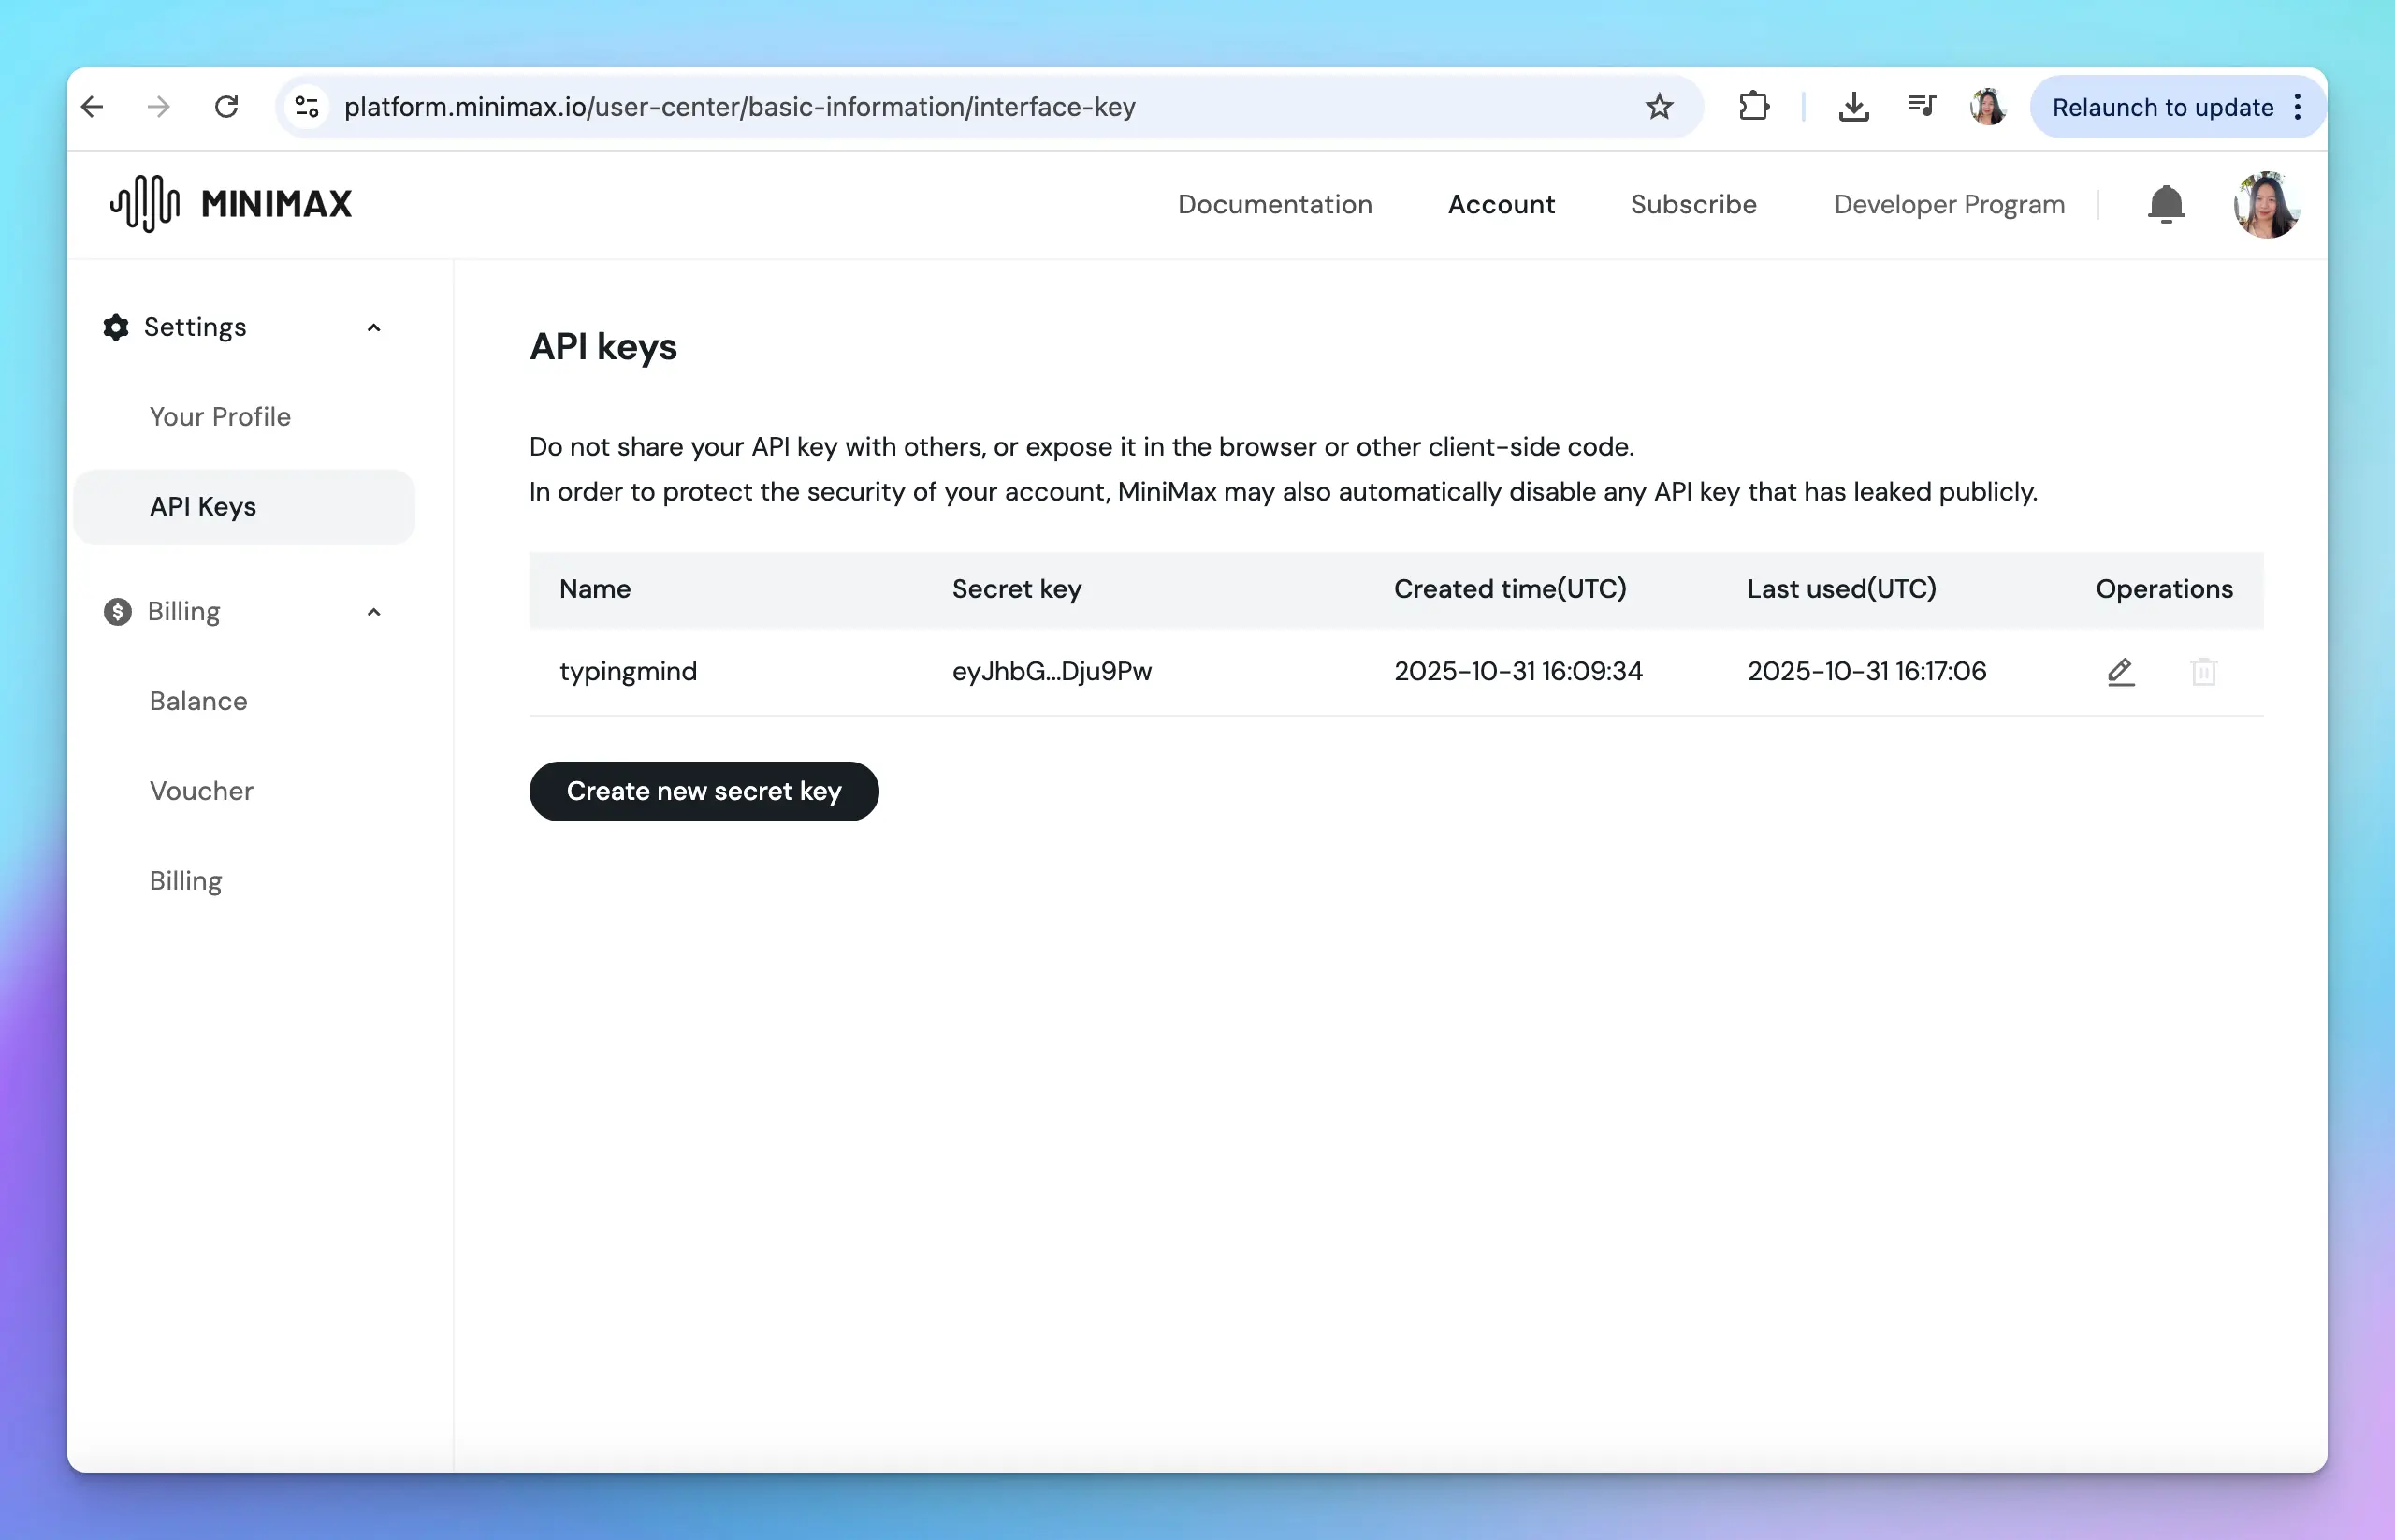
You can go to [https://platform.minimax.io/user-center/basic-information/interface-key](https://platform.minimax.io/user-center/basic-information/interface-key) to get the API key and copy it to a safe place -you’ll need it to set up MiniMax on TypingMind.
## Step 2: Set up MiniMax API account
You can go to [https://platform.minimax.io/user-center/basic-information/interface-key](https://platform.minimax.io/user-center/basic-information/interface-key) to get the API key and copy it to a safe place -you’ll need it to set up MiniMax on TypingMind.
 ## Step 3: Use MiniMax models on TypingMind
You have two options for setting up Minimax models on TypingMind:
### 1. Use available Minimax models
* Go to [typingmind.com](http://typingmind.com)
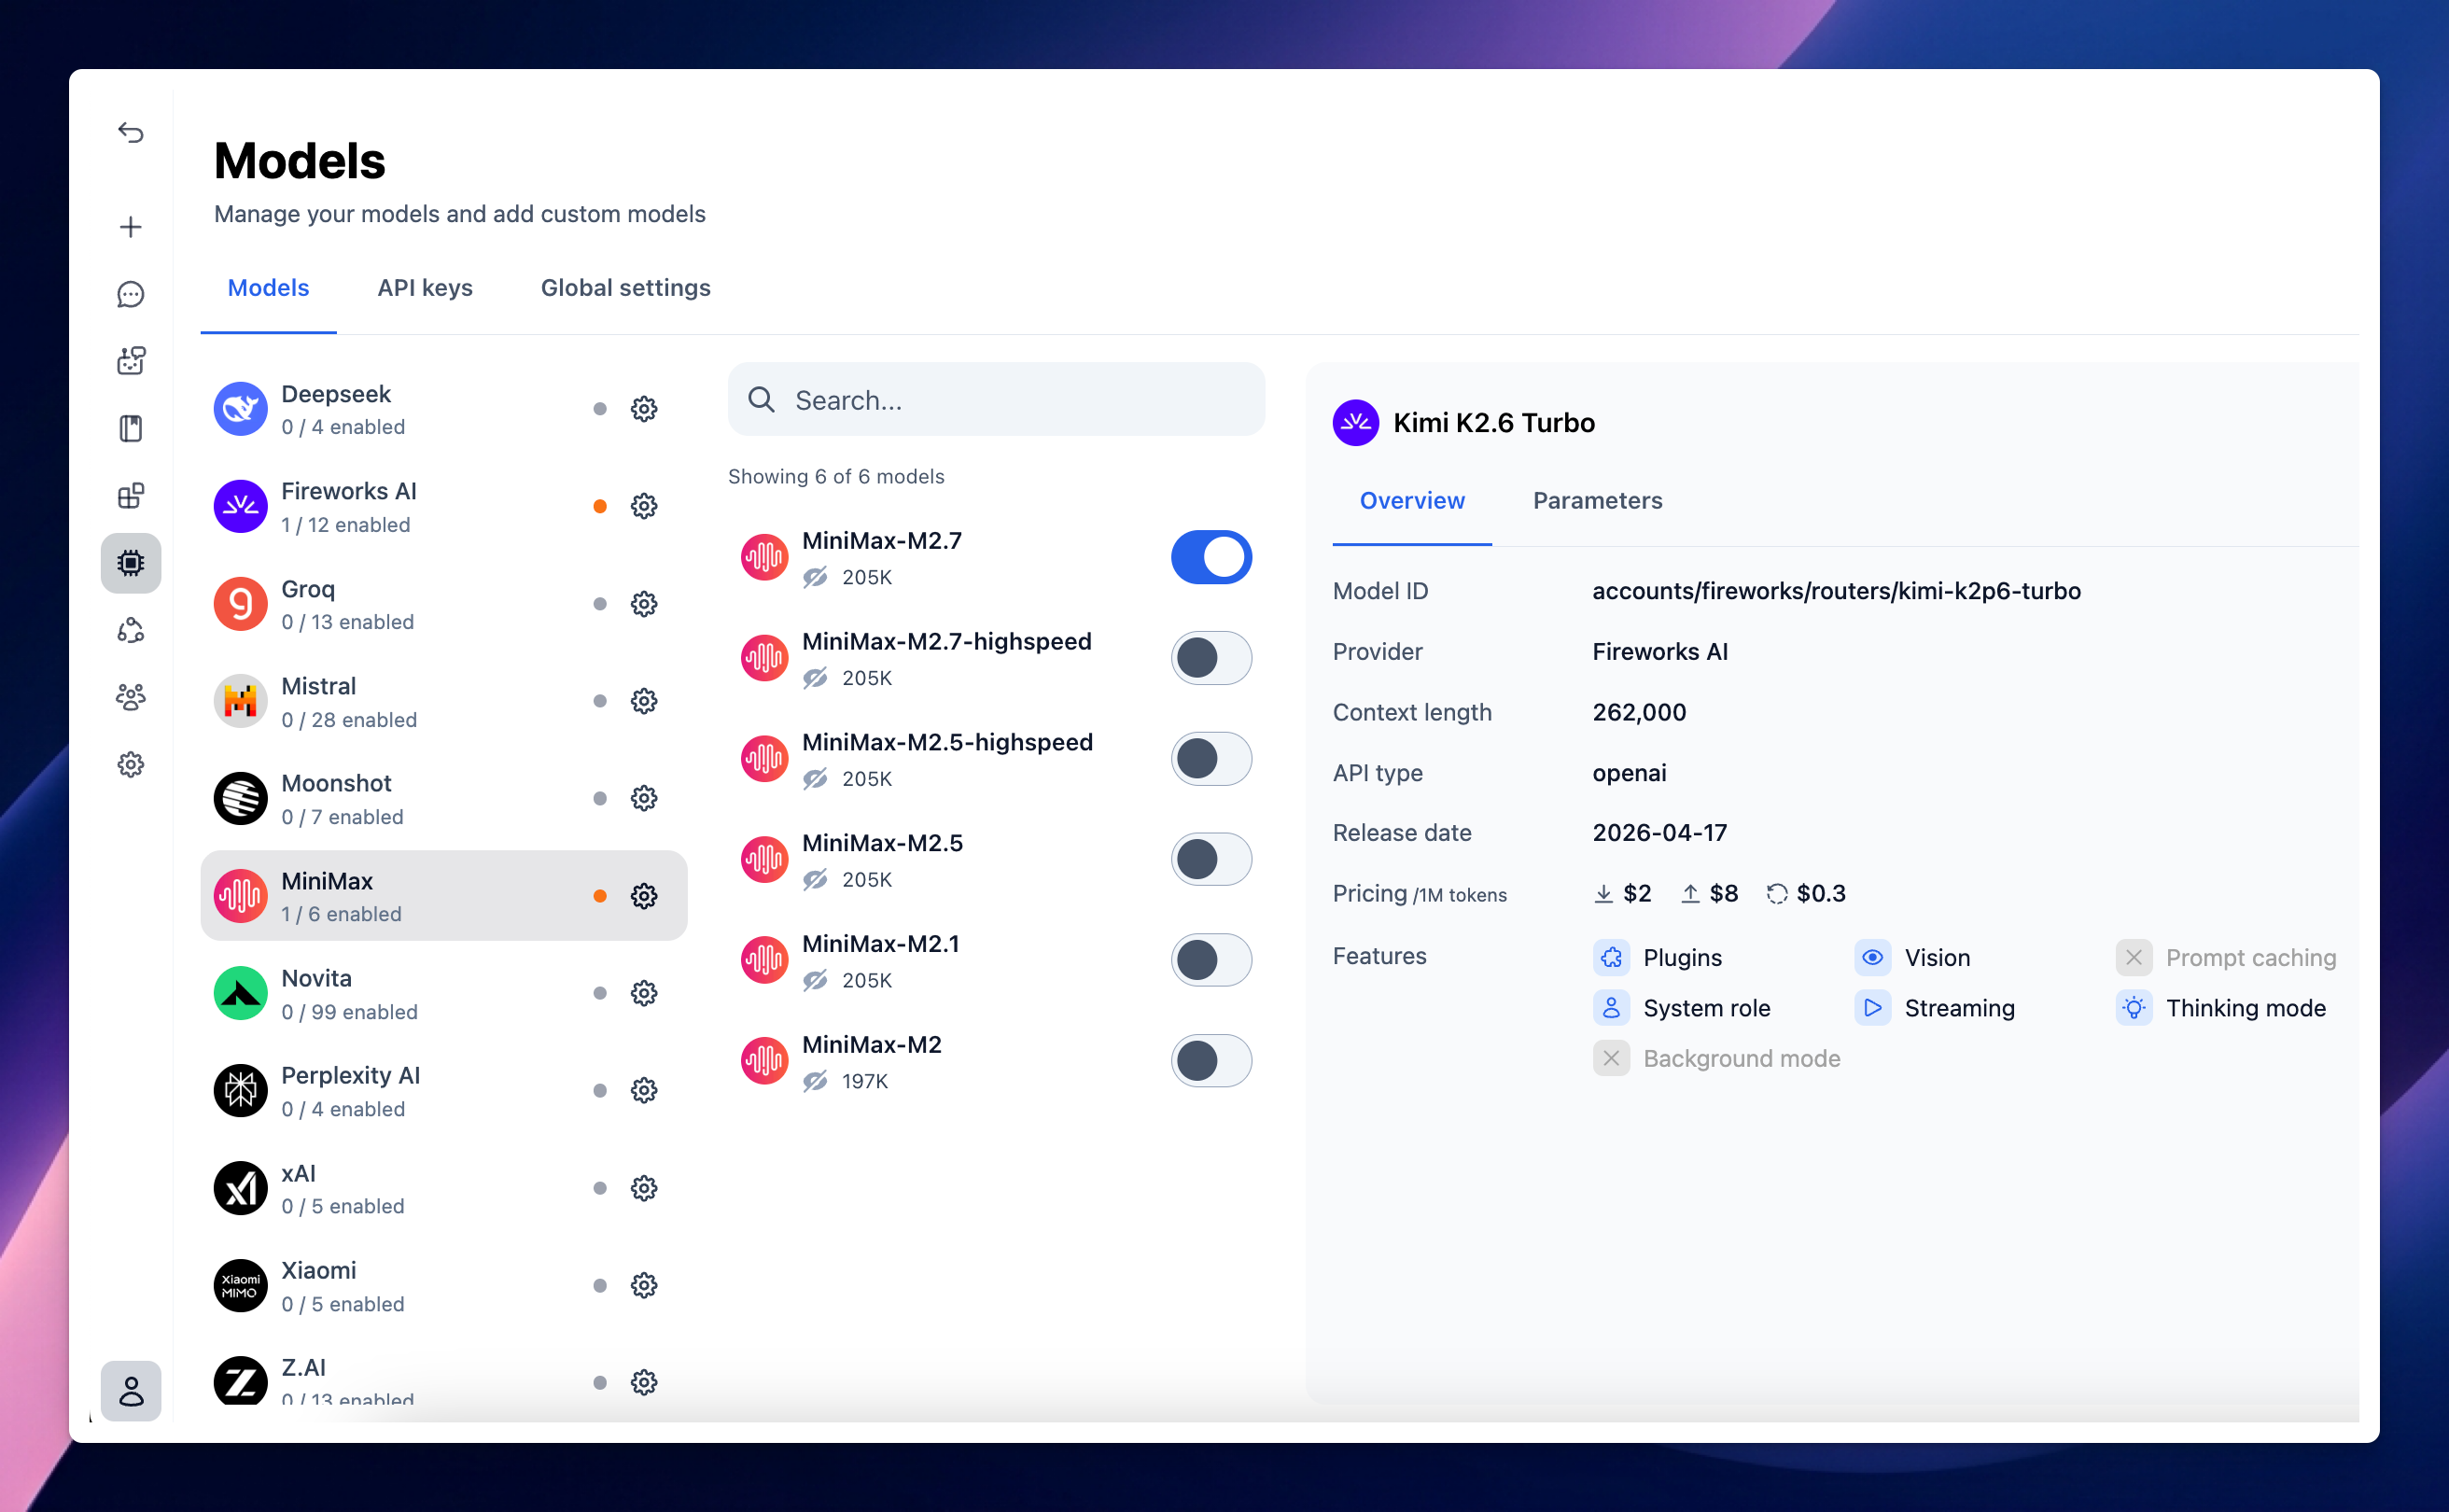
* Go to Models → Switch to API keys tab and enter the API key for Minimax
## Step 3: Use MiniMax models on TypingMind
You have two options for setting up Minimax models on TypingMind:
### 1. Use available Minimax models
* Go to [typingmind.com](http://typingmind.com)
* Go to Models → Switch to API keys tab and enter the API key for Minimax
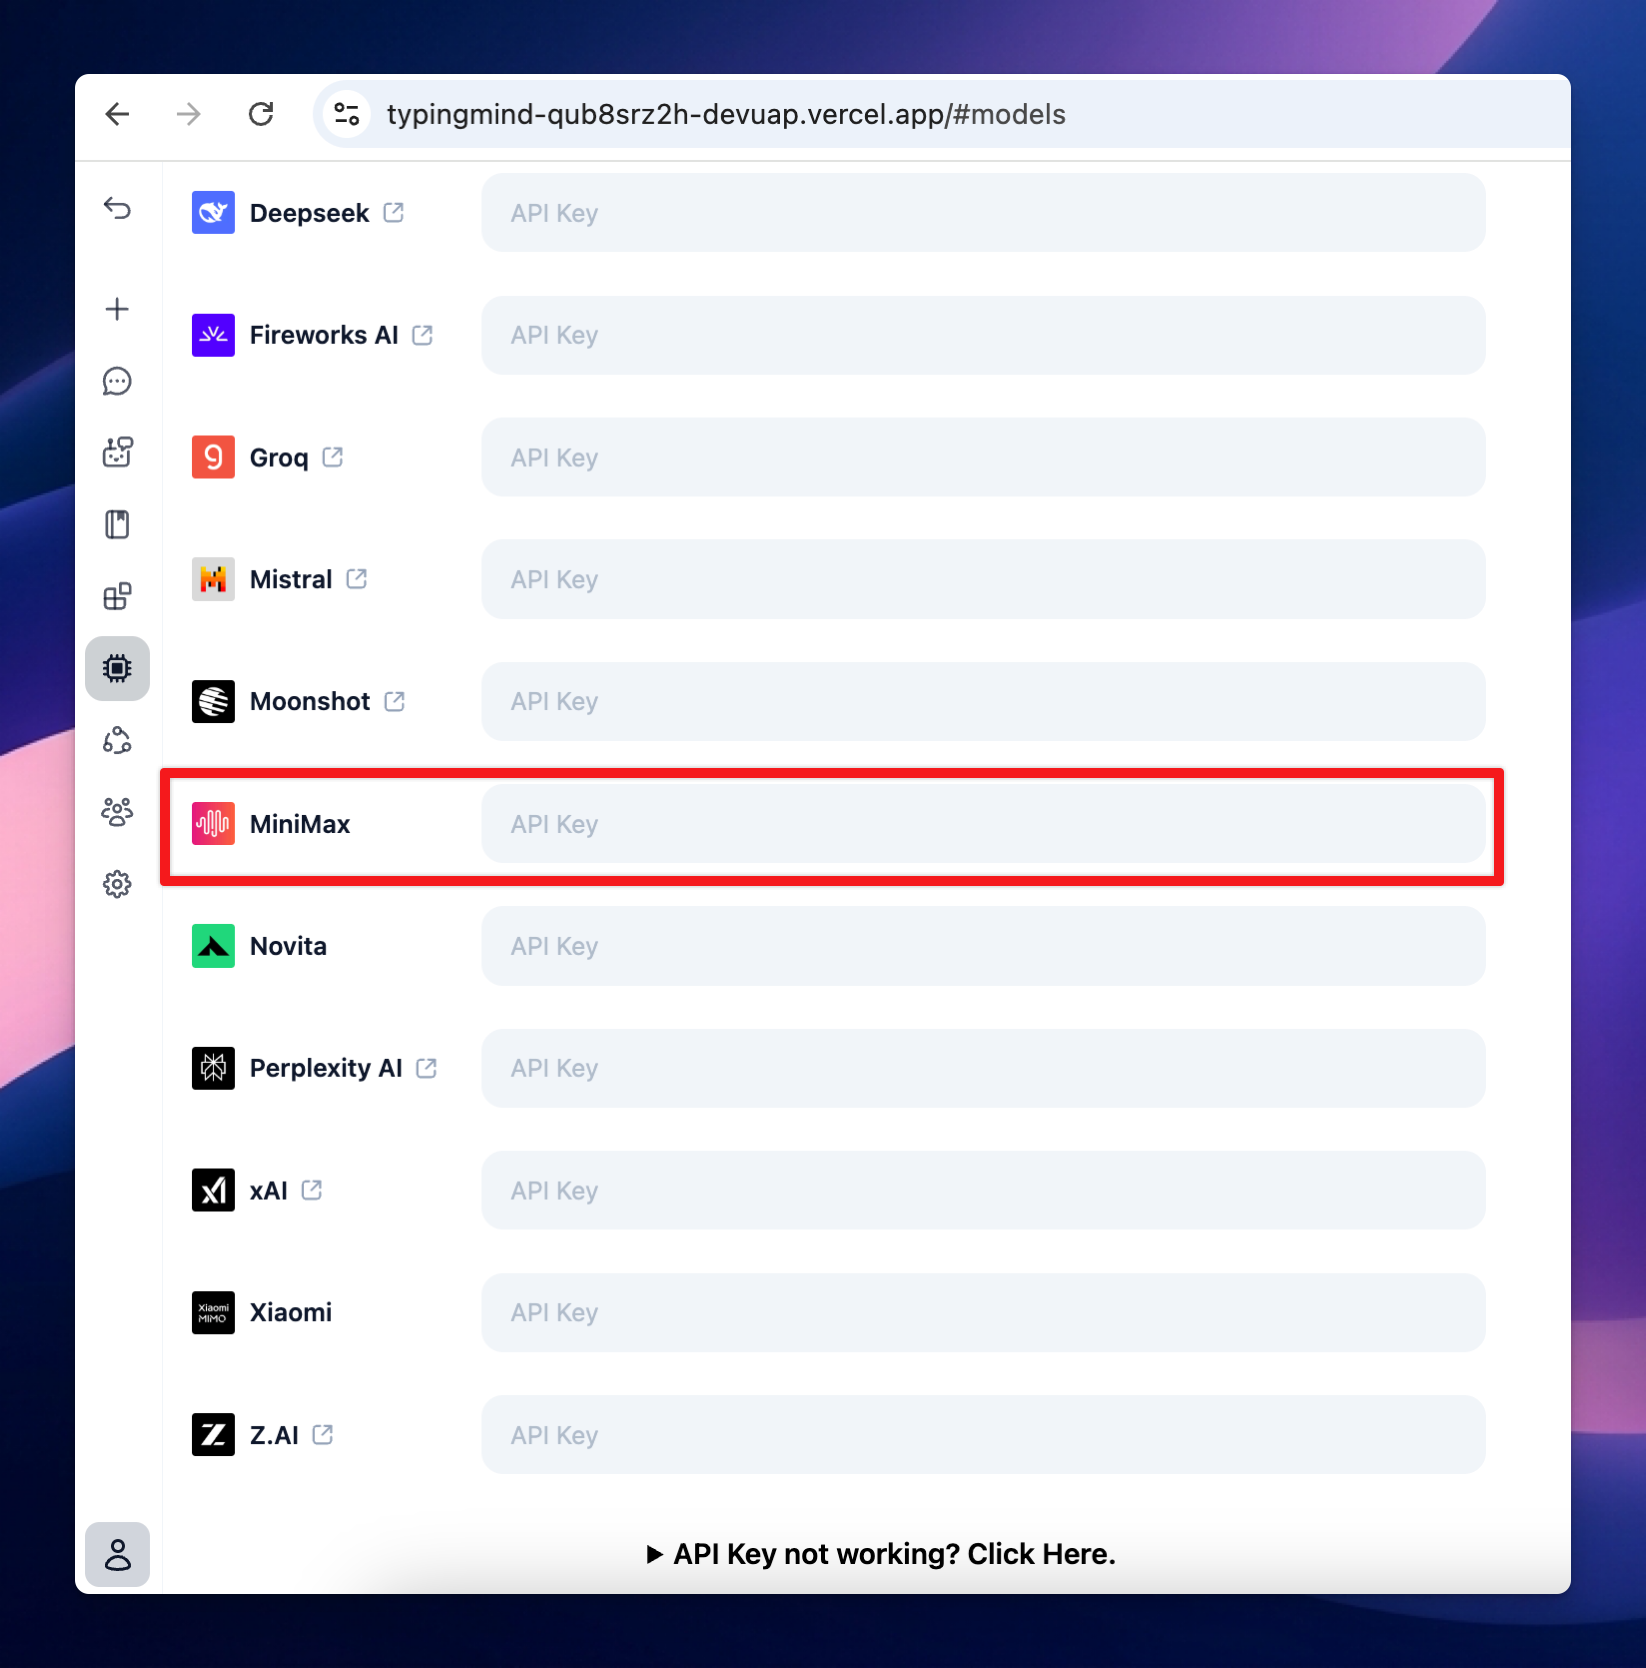 After that, switch back to Models tab → Select Minimax and enable the models you want to chat with.
 ### 2. Use Minimax as custom models
This option is useful when a new model is released but hasn’t been added to the app yet.
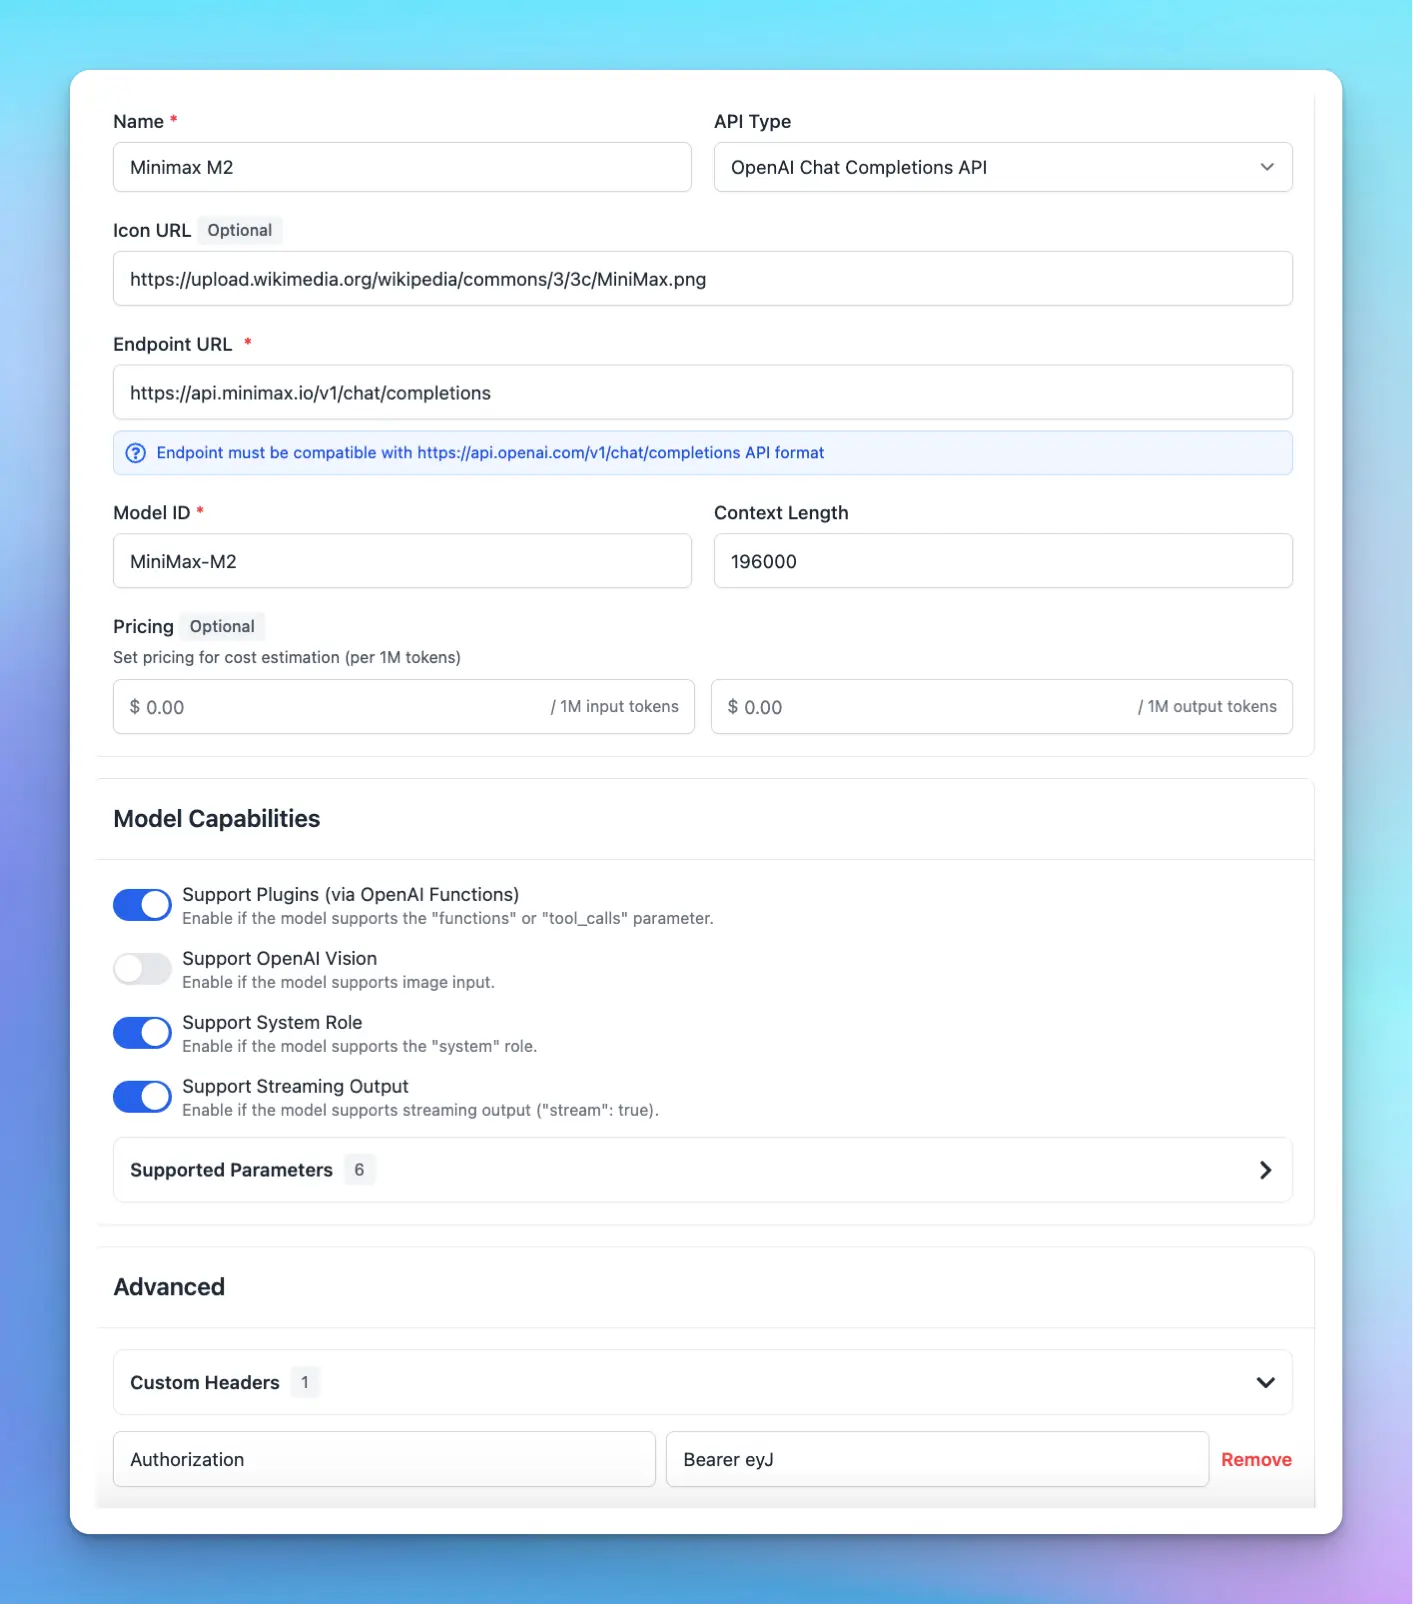
On TypingMind, go to Models → Add Custom Models and enter the following details:
* Give the model any name you prefer
* Enter the endpoint: [**`https://api.minimax.io/v1/chat/completions`**](https://api.minimax.io/v1/chat/completions)
* Enter the Model ID and context length, for example, `MiniMax-M2` **,** context length 200,000 tokens.
* Enable **Support Plugins** if you want to use plugins with this model.
* Add a custom header row, then enter `Authorization` and the API key in the value textbox in the format: `Bearer your_api_key` - with the API key is the copied API key in step 2.
* Click “**Test**” to verify the information is correct
* Click **Add Model**.
### 2. Use Minimax as custom models
This option is useful when a new model is released but hasn’t been added to the app yet.
On TypingMind, go to Models → Add Custom Models and enter the following details:
* Give the model any name you prefer
* Enter the endpoint: [**`https://api.minimax.io/v1/chat/completions`**](https://api.minimax.io/v1/chat/completions)
* Enter the Model ID and context length, for example, `MiniMax-M2` **,** context length 200,000 tokens.
* Enable **Support Plugins** if you want to use plugins with this model.
* Add a custom header row, then enter `Authorization` and the API key in the value textbox in the format: `Bearer your_api_key` - with the API key is the copied API key in step 2.
* Click “**Test**” to verify the information is correct
* Click **Add Model**.
 ## Step 4: Use MiniMax models via TypingMind
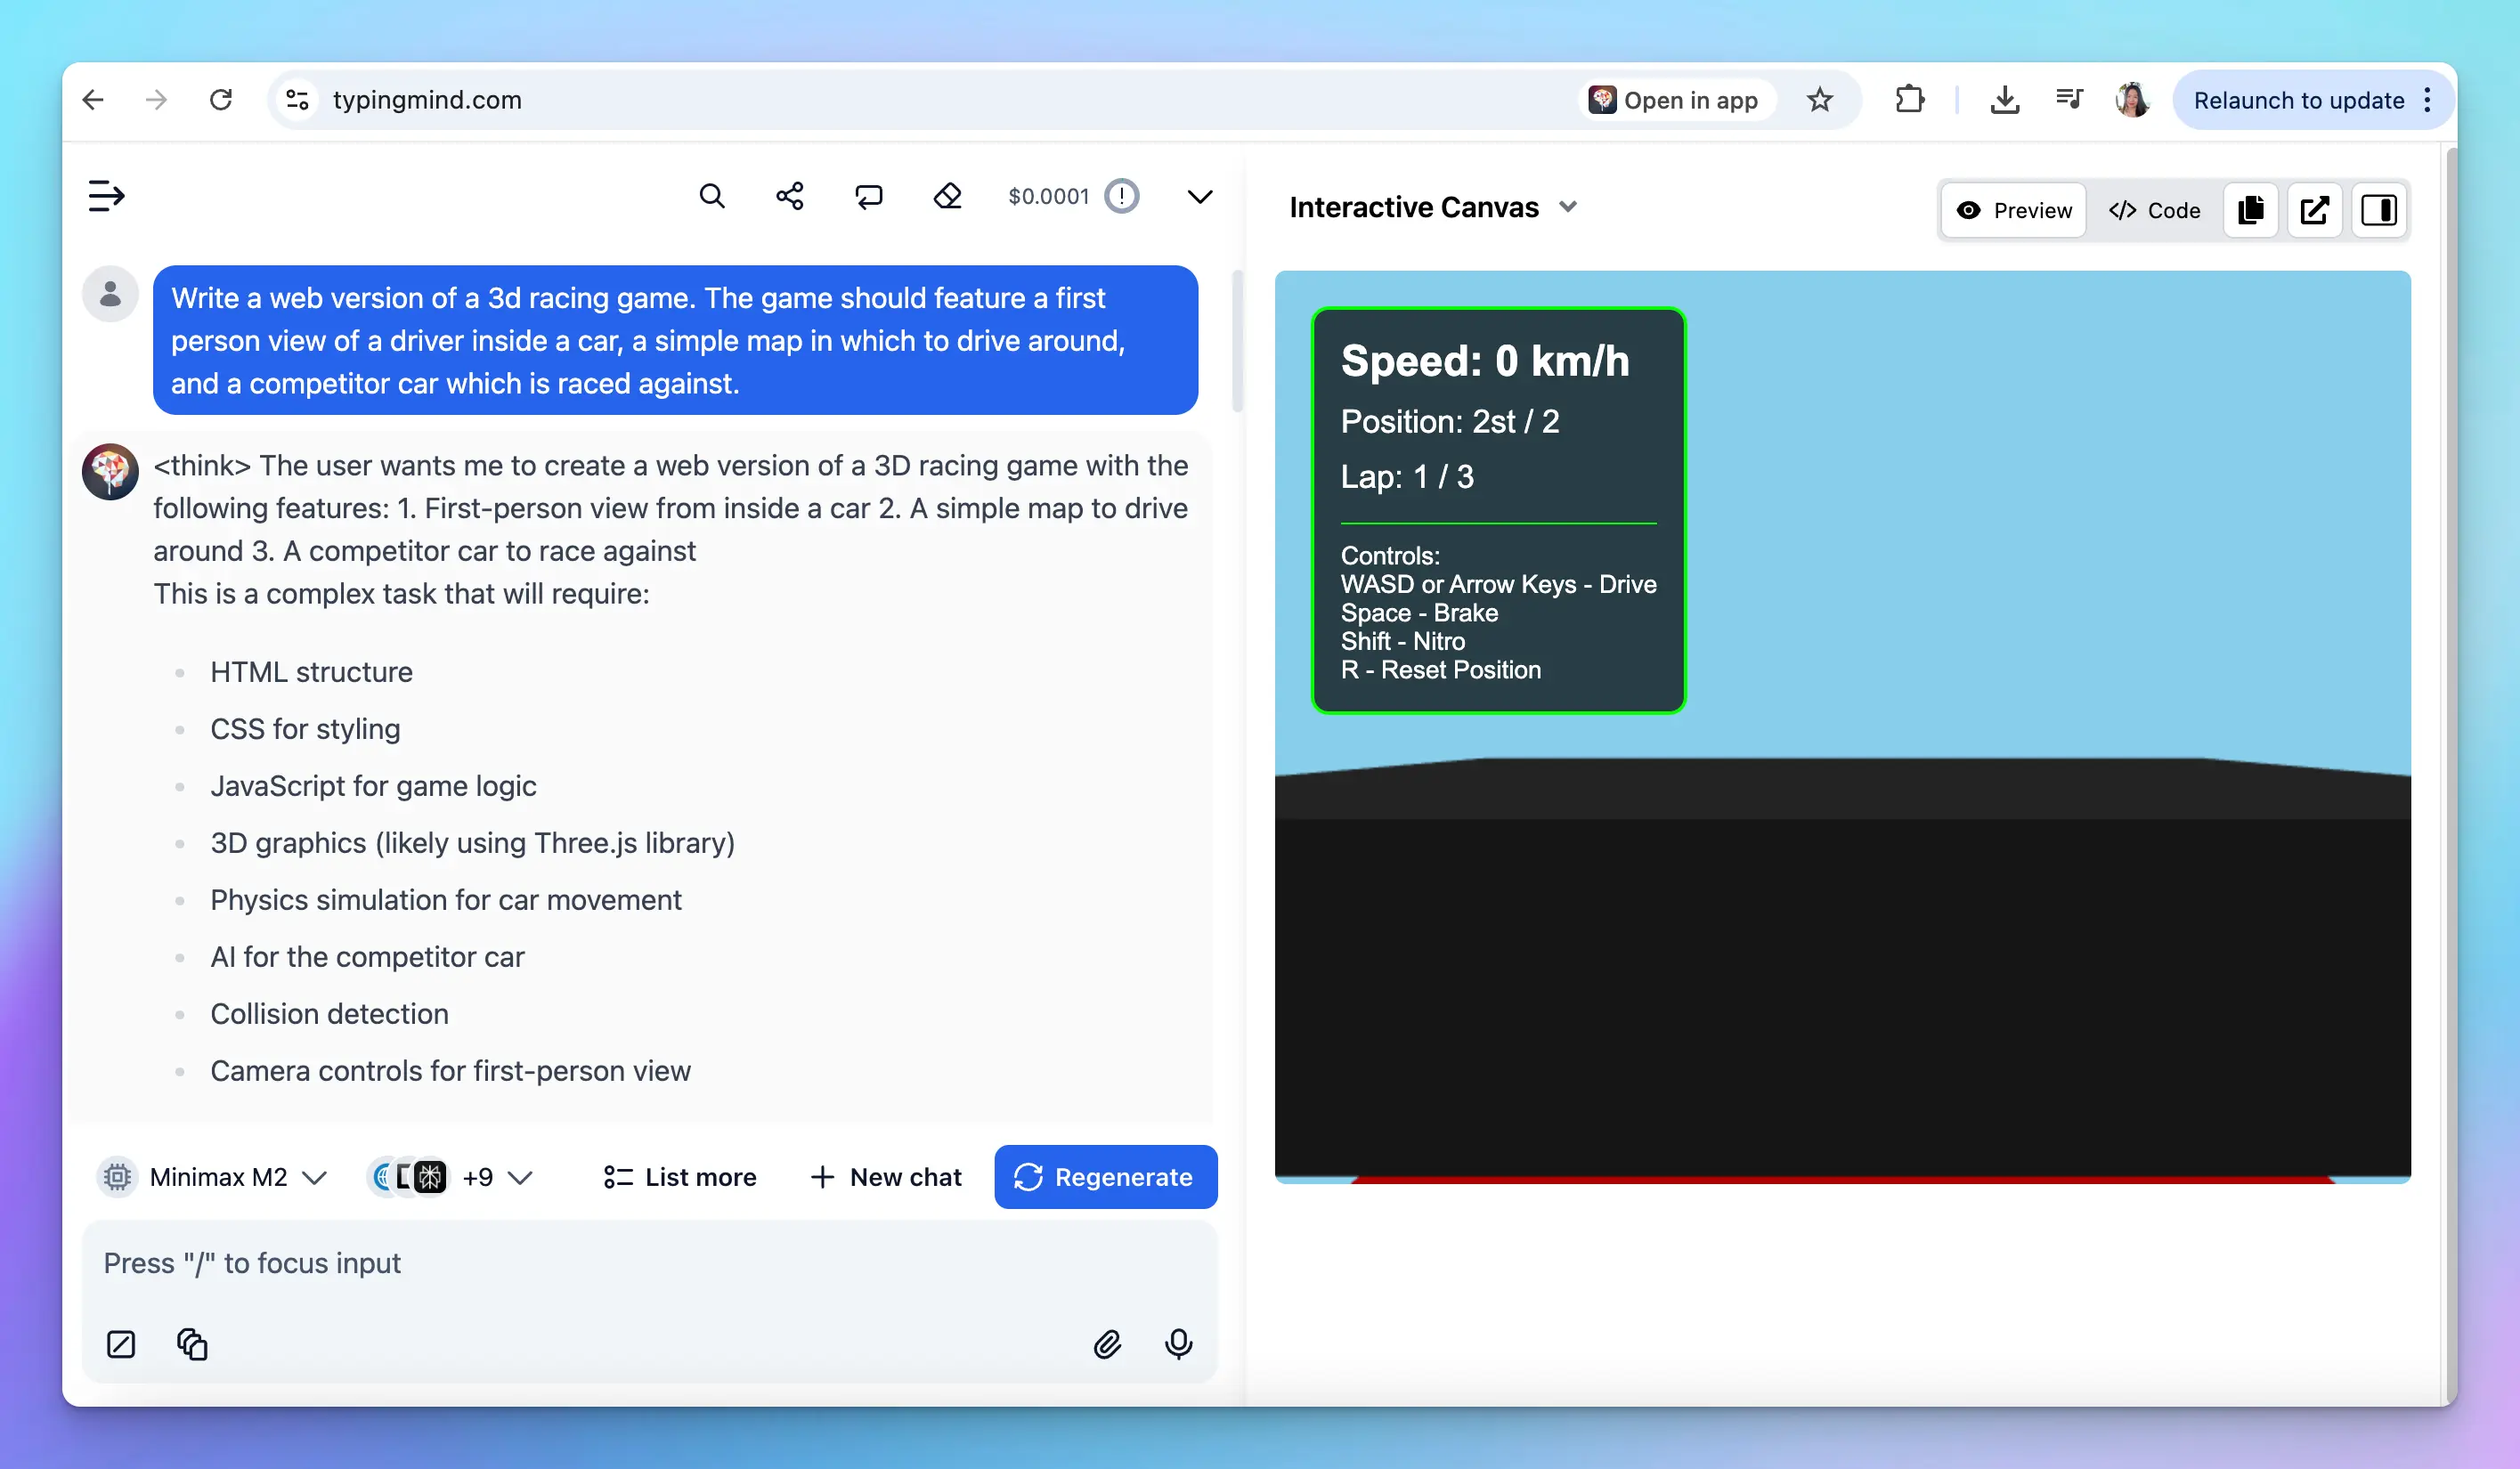
Start a conversation with MiniMax on TypingMind!
## Step 4: Use MiniMax models via TypingMind
Start a conversation with MiniMax on TypingMind!